7: HMI F
UNCTION
7-20 FC6A S
ERIES
MICROS
MART
U
SER
’
S
M
ANUAL
FC9Y-B1722
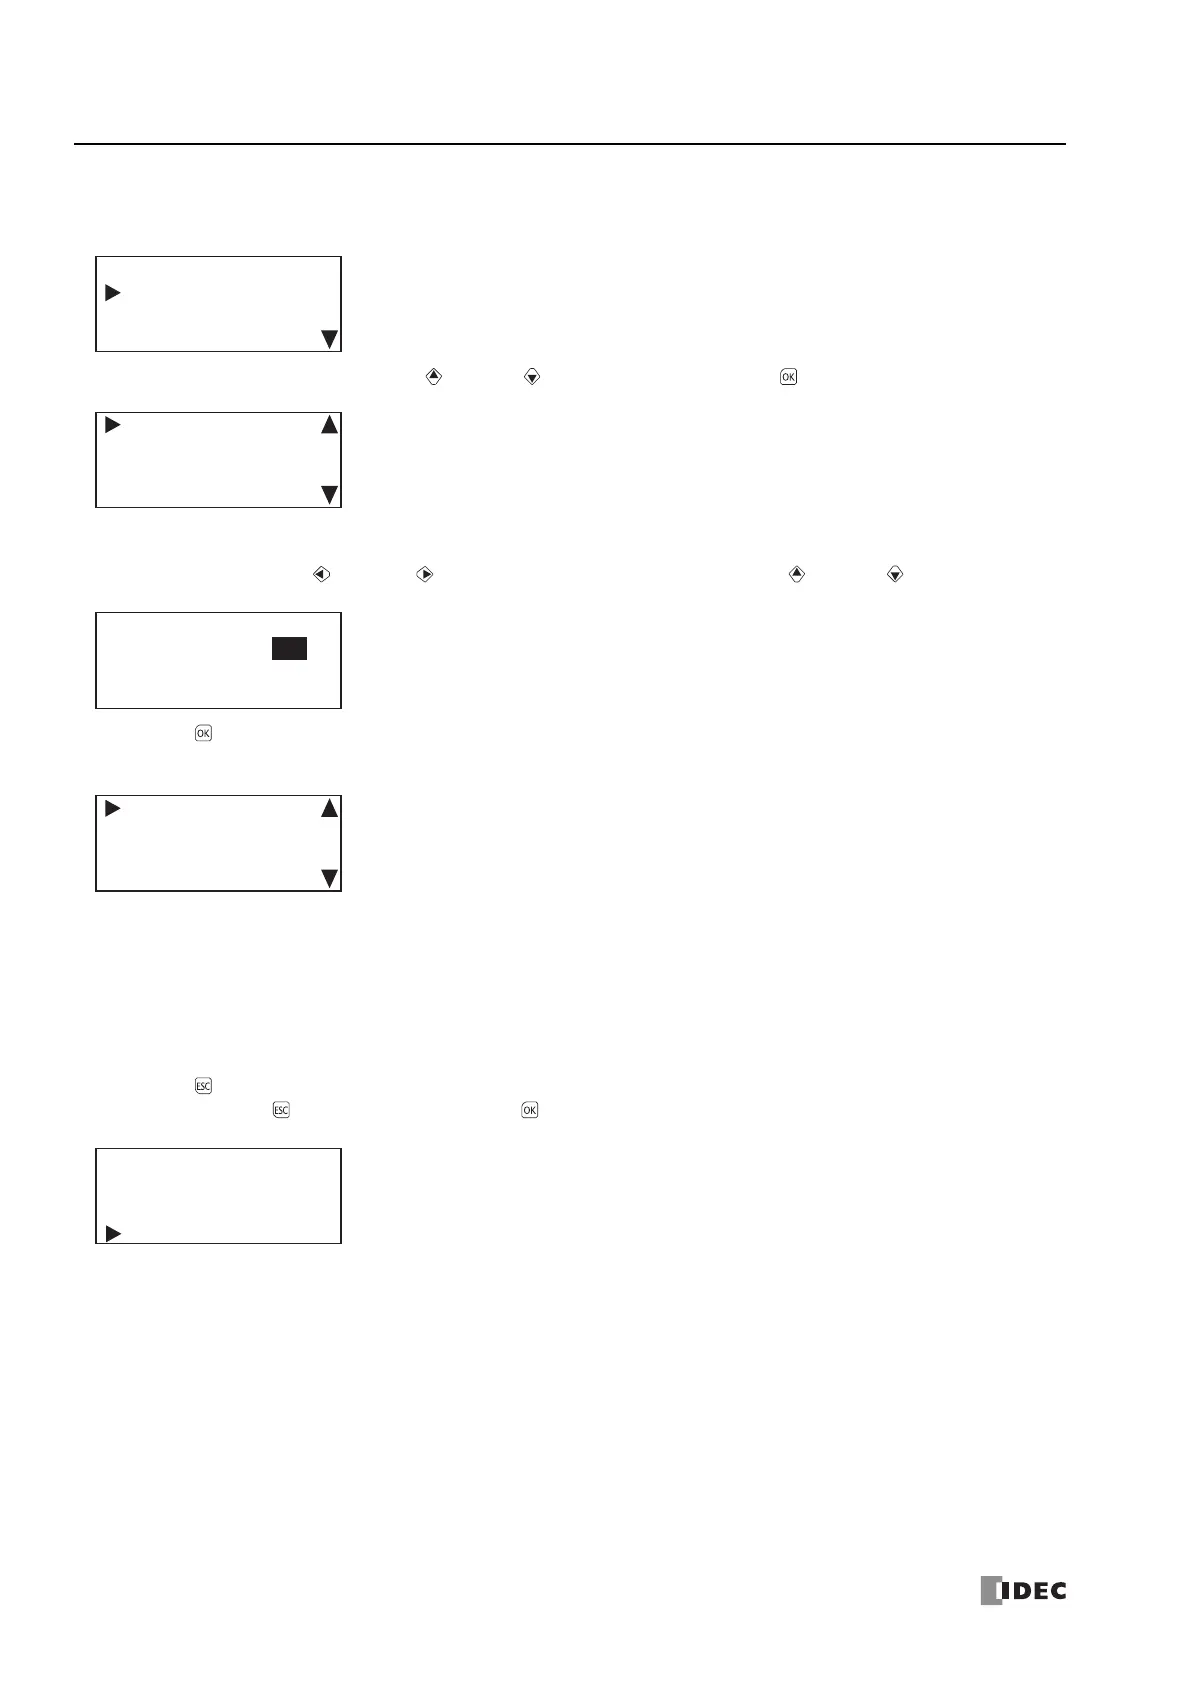
■ Changing the preferred DNS server
1. Display the CPU Network Settings screen with the same procedure as steps 1 through 5 in "Changing the setting" on page 7-15.
2. Select Preferred DNS Server with the (up) and (down) buttons and press the (OK) button.
The range is 000.000.000.000 to 255.255.255.255.
For example, change the preferred DNS server to 192.168.1.200.
3. Move the cursor with the (left) and (right) buttons and modify the value with the (up) and (down) buttons.
4. Press the (OK) button to change the CPU module's preferred DNS server to 192.168.1.200 and to display the following
screen.
Next, to change the setting, IP address, subnet mask, gateway, and alternate DNS server, see the following pages.
"Changing the setting" on page 7-15, from step 6
"Changing the IP address" on page 7-23, from step 2
"Changing the subnet mask" on page 7-18, from step 2
"Changing the preferred DNS server" on page 7-20, from step 2
"Changing the alternate DNS server" on page 7-21, from step 2
5.
Press the (ESC) button to display the screen in the following diagram.
Select Yes with the (down) button and press the (OK) button.
Setting: Fixed
IP Address
192.168. 1. 6
CPU Network Settings
Preferred DNS Server:
0. 0. 0. 0
Alternate DNS Server:
0. 0. 0. 0
Preferred DNS Server:
192.168. 1.200
Preferred DNS Server:
192.168. 1.200
Alternate DNS Server:
0. 0. 0. 0
Do you want to
configure network?
No
Yes
 Loading...