31
You can control your
Associated Research, Inc.
instrument using basic PLC
inputs and outputs. Execute
tests and read PASS/FAIL
conditions remotely, select
memory locations, or set up
a safe work station by using
an interlocked enclosure.
4.2.2. System Parameters
Use the directional soft keys, “,,”, to navigate the system parameters during
reviewing and editing. The directional soft
keys will change depending on which
parameter the cursor is pointing to.
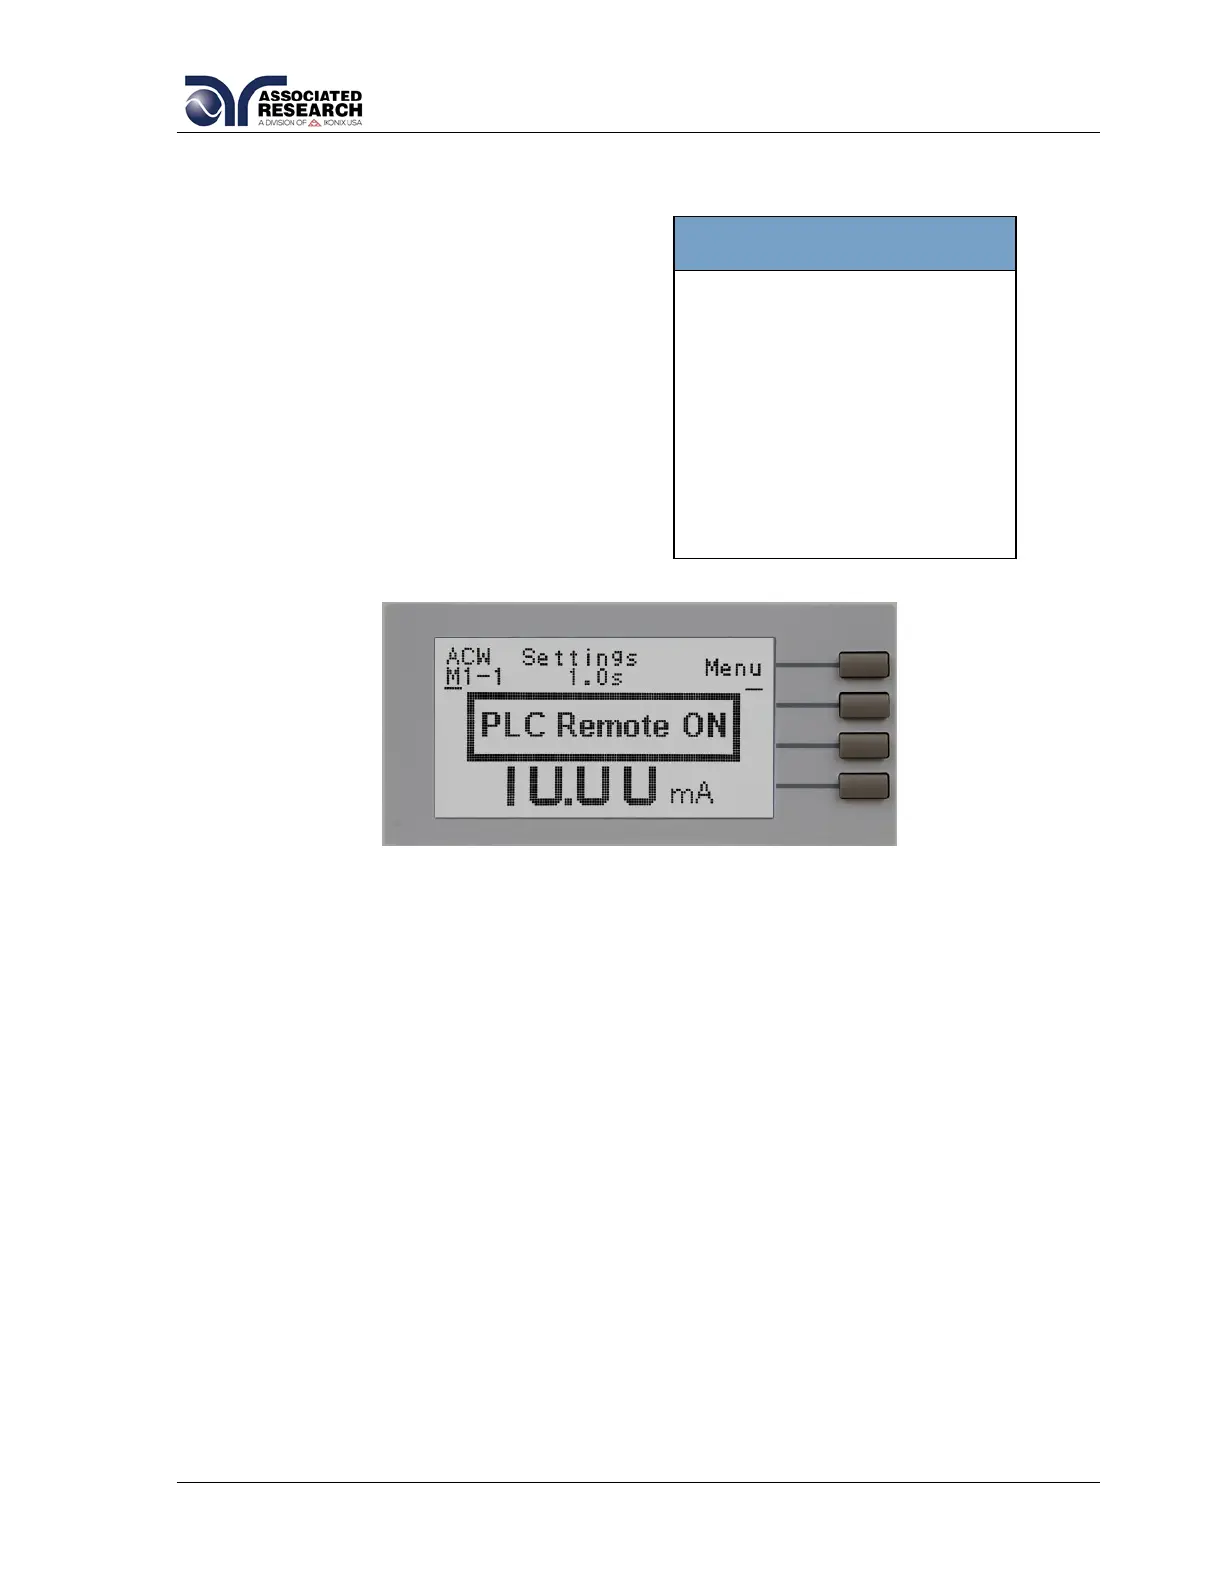
PLC Remote
When the PLC remote is turned ON the front
panel TEST button is disabled and a test
may only be started through the rear panel
I/O. If you attempt to start a test from the
TEST button on the front panel when the
PLC Remote function is turned ON, a pop-
up message will be displayed. The pop-up
message will appear as follows:
Refer to the section 6. Connection of Remote I/O for more details.
Single Step
This function is used to temporarily override the automatic connection feature. When
the Single Step function is ON the instrument will pause after each test step is
completed. To continue the test sequence, press the TEST button to execute the next
connected test step. Each time the TEST button is pressed the next connected test
step will execute. If you press the RESET button before completing all connected test
steps, it will return you to the original starting test step. If a step fails and you wish to
continue to the next test step press TEST.
Alarm Volume
The numbers 0 through 9 correspond to different volume settings, 0 meaning the
volume is OFF and 9 meaning the volume is at the loudest setting. After the “+” soft
key is pressed a momentary alarm chirp will occur to indicate the volume of the new
setting.
LCD Contrast
The numbers 0 through 9 correspond to the different contrast settings, 0 meaning the
lightest color of displayed characters and 9 meaning the darkest color of displayed
characters. After the “+” soft key is pressed the display will automatically adjust to the
new display setting.
 Loading...