Edition 2.0 dated 20/11/2013
List of Illustrations
Typical Enclosure Installation ................................................................................16
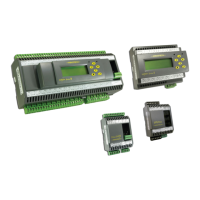
MAXIM I and MAXIM II Controller Dimensions ........................................................17
MAXIM III and MAXIM 1010 Controller Dimensions ................................................18
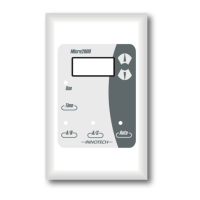
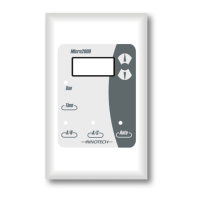
MiniMAX, MicroMAX, VAVMax and IG01 Controller Dimensions.............................19
LCD Optimum Viewing Angle .................................................................................. 20
DIN Rail Dimensions ................................................................................................21
Installing MAXIM Controller on a DIN Rail .............................................................. 21
MAXIM Series III Connection Details Generated with MAXCon Soware ..............25
MAXIM I controller terminal connection layout ..................................................... 26
MAXIM II controller terminal connection layout .................................................... 26
MAXIM III controller terminal connection layout ................................................... 27
MAXIM 1010 controller terminal connection layout ..............................................27
Analogue Output Driving Multiple Solid State Relays ........................................... 30
MiniMAX (MM01 & MM02) Controller Terminal Connection Layout ......................32
VAVMax and MicroMAX Controller Terminal Connection Layout ..........................34
IG01 Sub System Gateway Terminal Connection Layout ...................................... 38
Innotech Network Diagram ....................................................................................42
Checking Power Input Voltage ...............................................................................46
Checking Universal Inputs for 0V ............................................................................47
Checking Digital Relay Output Wiring .................................................................... 48
Checking Analogue Output Voltage .......................................................................50
Checking Analogue Output Resistance .................................................................. 51
End of Cable Jumper Locations on Sub Network Devices ....................................52
Connecting the CT01 to a Sub System Network Device ........................................54
Connecting the CT01 to a Sub System Gateway IG01 ...........................................55
Connecting the CT01 to a Sub Network Device .....................................................56
CT01 Interface - Navigation and Menus .................................................................57
Figure 2-1:
Figure 2-2:
Figure 2-3:
Figure 2-4:
Figure 2-5:
Figure 2-6:
Figure 2-7:
Figure 3-1:
Figure 3-2:
Figure 3-3:
Figure 3-4:
Figure 3-5:
Figure 3-6:
Figure 3-7:
Figure 3-8:
Figure 3-9:
Figure 4-1:
Figure 5-1:
Figure 5-2:
Figure 5-3:
Figure 5-4:
Figure 5-5:
Figure 5-6:
Figure A-1:
Figure A-2:
Figure A-3:
Figure A-4: