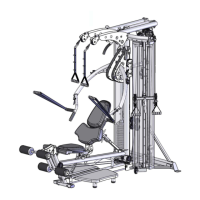
Step 5 Installing Upper Electronics
Required Hardware:
Required Parts:
1x (#170) Console 1x (#3) Heart Rate Grip Handlebar
1x (#84) Bottle Holder
Attaching the Console
A.) Locate the (#170) Console, and remove the black screws on its back, these will be used to mount
the console to the console mounting plate.
B.) Position the Console near the console mounting plate, and plug in the matching connectors to
each other. Route the smaller connectors (C) through the mast and out through location (D).
NOTE: The two smaller connectors are interchangeable.
C.) Once all 4 connectors have been secured, gently slide slack cable into the mast. This will
prevent pinching and/or fraying of the cable
D.) Mount using the 4 screws removed in step A.
Attaching Heart Rate Grip/Bottle Holder Mount
E.) Attach the (#84) Bottle Holder to the (#3) Heart Rate Grip Handlebar using:
6x (#161) Phillip Screw
F.) Position the Heart Rate Grip Bar close to the (D) mounting post, and connect (#177) connectors
to the (C) connector from the console, as seen in the figure.
G.) Slide (#3) Heart Rate Grip/Bottle Holder Mount over the mounting post (D) on the upper part of
the mast. Be sure to have the Inspire Logo on the upper side when mounting.
H.) Center the handles so they are level and aligned with the console. Once centered; attach using: