646265-004 49
Intel
®
Ethernet Network Adapter E810-XXVDA4T
User Guide
5.6 SyncE Setup
This configuration shows how to specifically setup SyncE. Note that users can use this SyncE
configuration with tools such as ptp4l together for clock recovery. SyncE ITU G.811 and G8262 can
assist with better frequency synchronization.
There are two main configuration options for SyncE:
• Only physical clock recovery (Section 5.6.2).
• With ITU G.8264 ESMC messaging using synce4l (Section 5.6.3).
5.6.1 External Connections
5.6.2 Physical Clock Recovery
Before proceeding, it is recommended to set all SMA and U.FL connectors to off (see Section 4.0).
1. Set relevant interface device (only top command is essential):
# export ETH=`grep 000e /sys/class/net/*/device/subsystem_device | awk -F"/"
‘{print $5}’ | head -n 1’ (port0)
# export ETH1=`grep 000e /sys/class/net/*/device/subsystem_device | awk -F"/"
‘{print $5}’ | head -n 2 | tail -n +2’ (port1)
# export ETH2=`grep 000e /sys/class/net/*/device/subsystem_device | awk -F"/"
‘{print $5}’ | head -n 3 | tail -n +3’ (port2)
# export ETH3=`grep 000e /sys/class/net/*/device/subsystem_device | awk -F"/"
‘{print $5}’ | head -n 4 | tail -n +4’ (port3)
2. To enable recovered clock from port0 on the highest priority clock run:
# echo 1 0 > /sys/class/net/$ETH/device/phy/synce
3. To enable recovered clock from port1 on the lowest priority clock run:
# echo 1 1 > /sys/class/net/$ETH1/device/phy/synce
Note: First integer represents enable (1) or disable (0), and the second represents the highest
clock priority (0) and lowest clock priority (1).
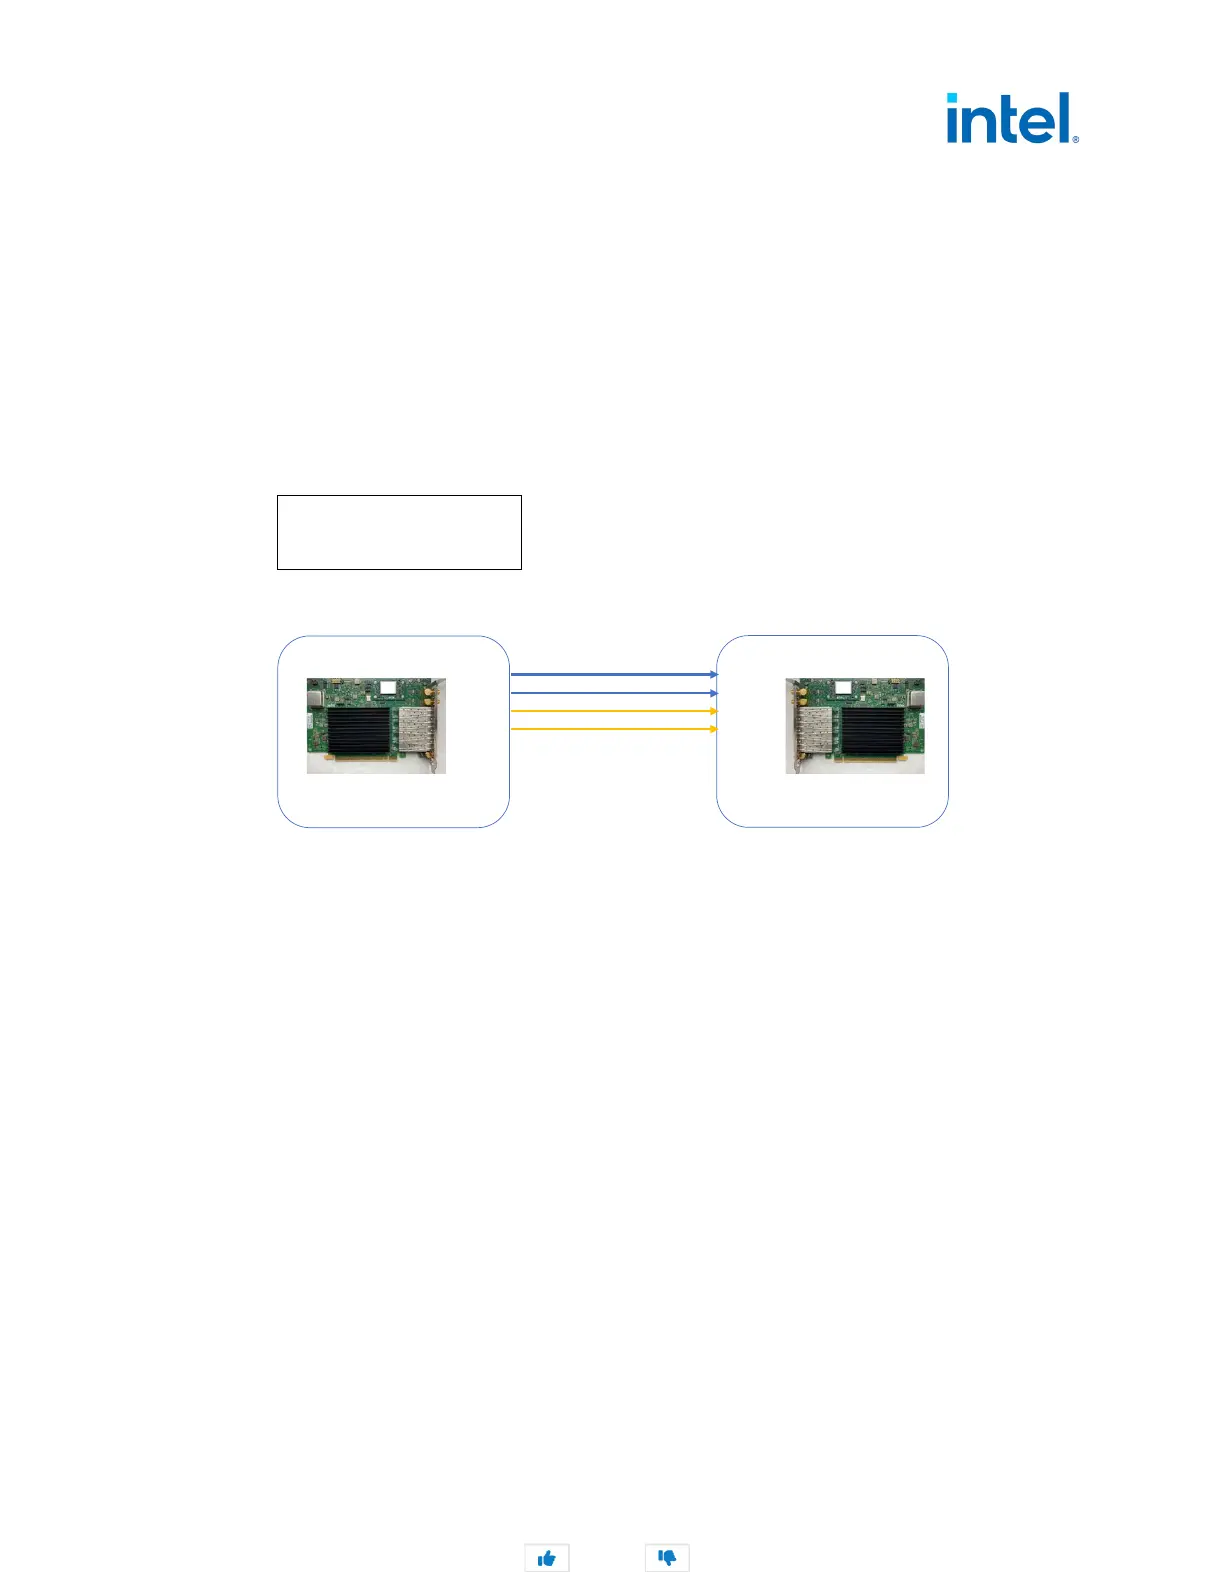
Figure 11. External Connections: SyncE Setup
E810-XXVDA4T
Follower
Port0
Port1
Port2
Port3
SMA1
SMA2
U.FL1
U.FL2
E810-XXVDA4T
Leader
Green = 1PPS output
Blue = SyncE link
Yellow = Alternative SyncE link
Port0
Port1
Port2
Port3
SMA1
SMA2
U.FL1
U.FL2
Did this document help answer your questions?