Getting Started for Admin
Content Access Point
November 2016 User Manual
17
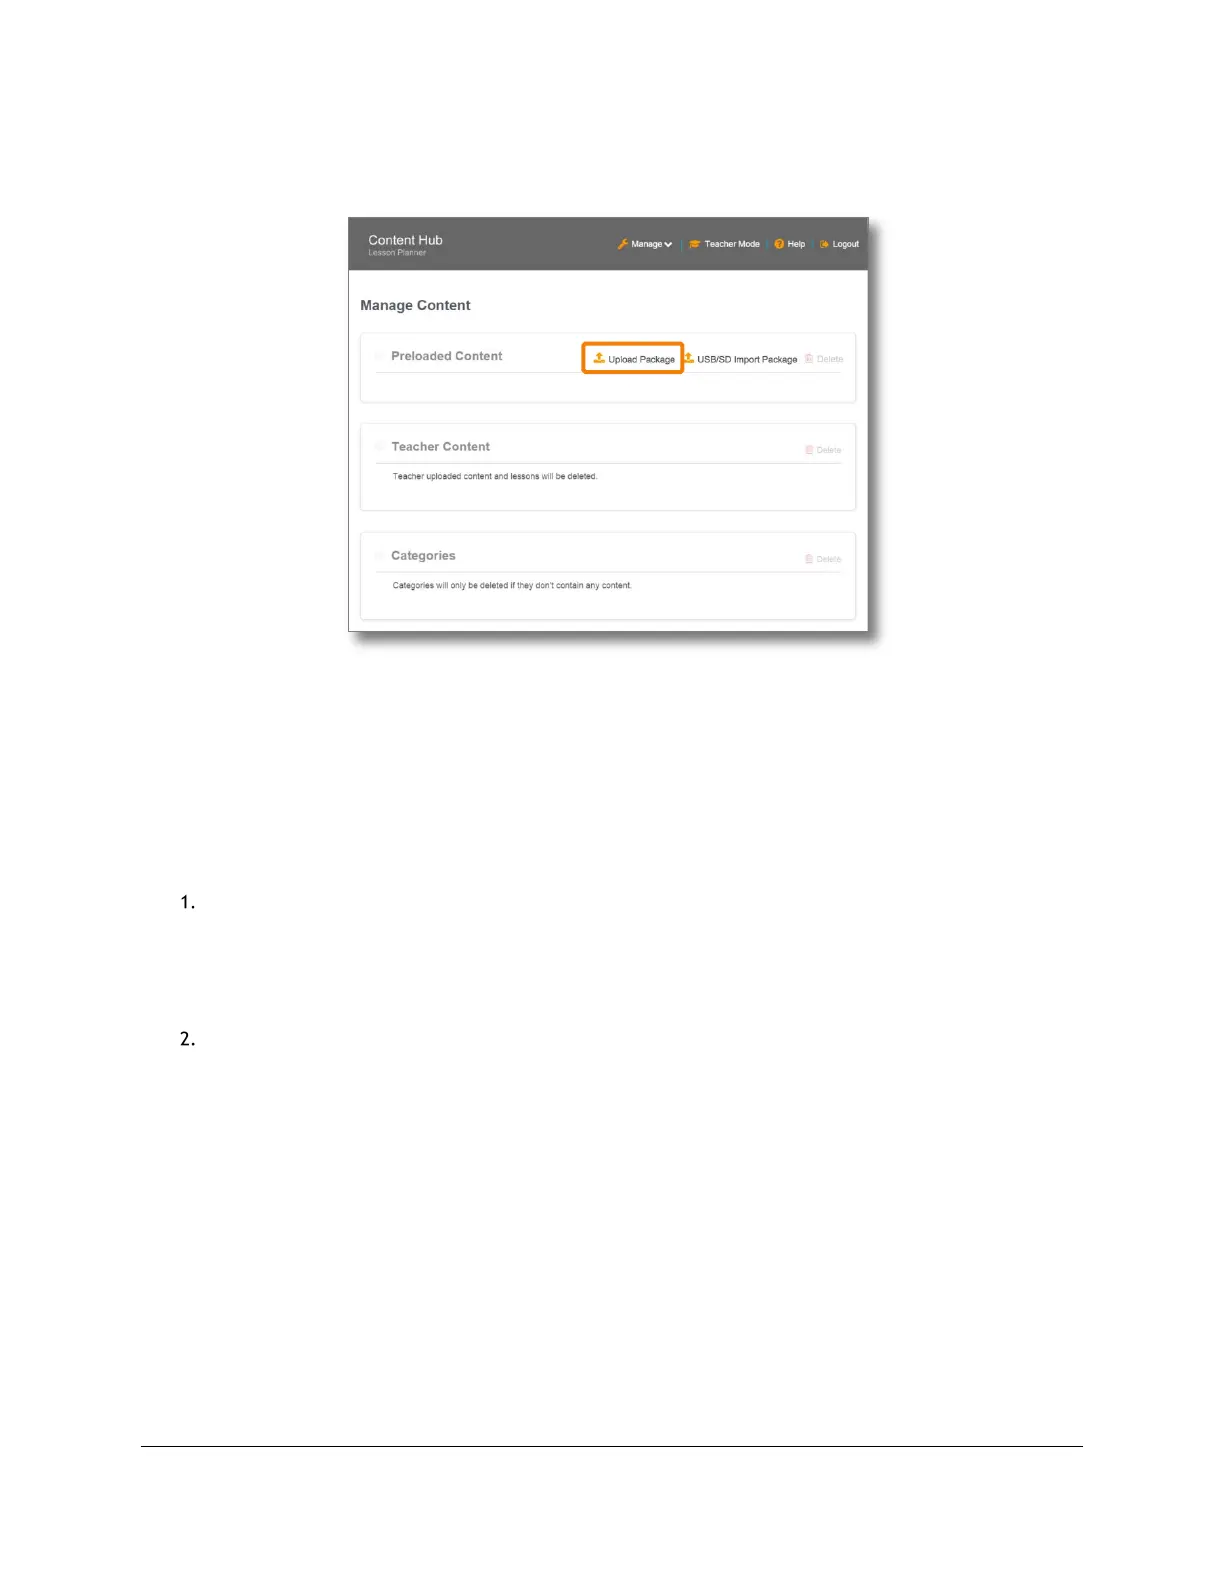
Figure 10: Admin - Upload package
2.10 Upload offline websites
TIP! See Section 5 (Lesson Planner & Offline Website Content Management (Admin Guide)) for additional details.
The Content Access Point can host offline/static websites. This is easily achieved by uploading a zipped package
containing the website’s components. Each uploaded website appears on the Content Hub home page and is
represented by a tile.
To add an offline website, do the following:
Create a package containing the website:
a. Zip the website into a file. The website’s index file must be at the root level.
Note: Do not use Windows* built-in compression tool.
b. Do not encrypt or password-protect the zipped file.
c. Place the zipped package onto a USB drive.
d. Plug the USB drive into the Content Access Point.
Upload:
a. Open browser and go to http://my.content.
b. Click Login.
c. Log in with the administrator’s username and password.
d. Click Add Tile. (See Figure 9.)
e. Checkmark the package to upload.
f. Click Import.
g. Enter a title for the website. (See Figure 11.)
h. Click Choose File and select an icon (PNG or JPG format) to represent it.
i. Set its access properties:
I. Hidden from Students – Only the teacher and admin can see the website.
II. Hidden from All Users – Only the admin can see the website.
j. Click Create.