b. Install wheel / tyre assemblies and secure them
using bolts and lock washers. Tighten them to
102 Nm (75 ft-lbs.).
c. Lower the rear of the tractor.
NOTE: Turf wheels will be installed with the valve to the
inside. Wider position will prevent interference
with check chains.
8. Three-Point-Hitch-is partially assembled with the
lift rods attached the lower links and the sway
chain attached to the lower links.
a. Attach lower links to the tractor attaching points
and secure them with lynch pins. The lower link
with the adjustable lift rod goes on the right
side. The lower links will flare outward at rear
when correctly installed.
b. Connect clevis-end of the check chains to the
axle brackets and secure them with a clevis pin
and cotter pin.
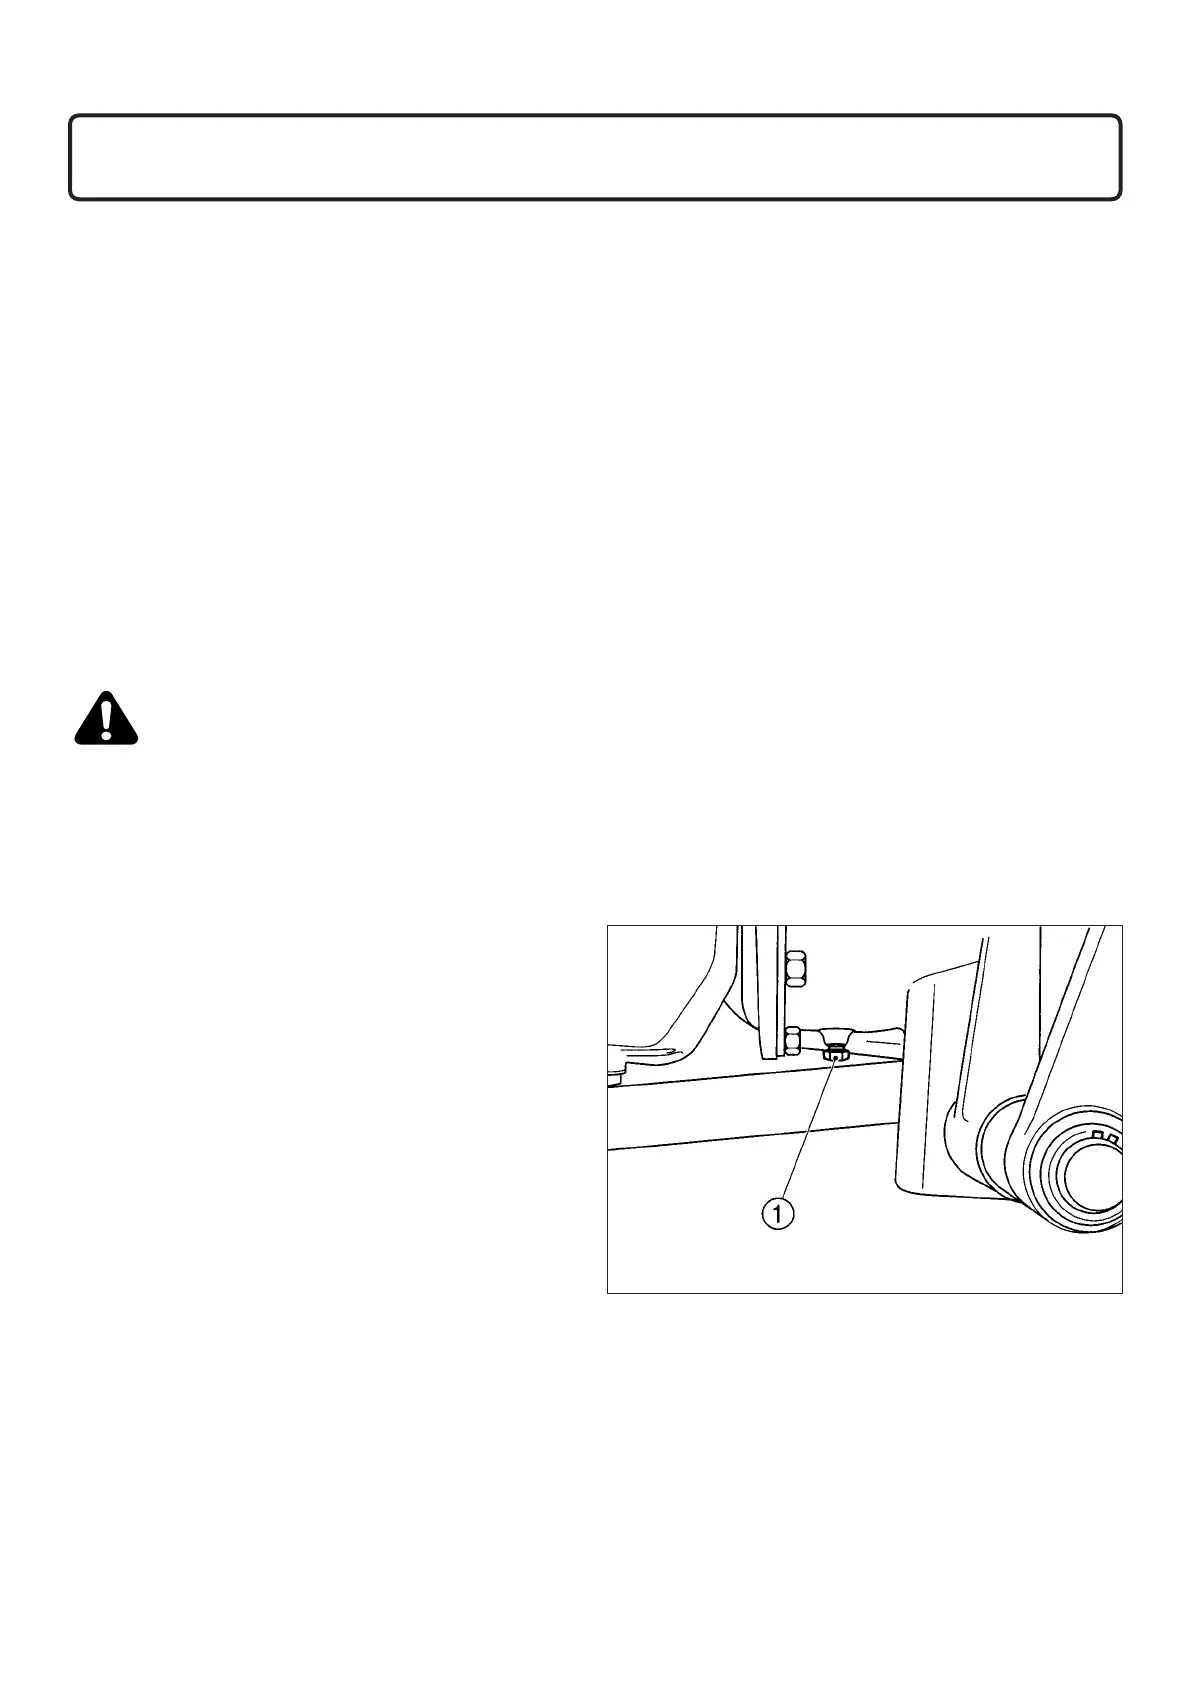
9. Clutch Housing Plug -1/8" pipe plug (1) in Fig.
115 into the hole in the bottom of the clutch hous-
ing.
ASSEMBLY & PRE-DELIVERY INSPECTION
85
IMPORTANT: Do not commence assembly of the tractor
until reading these instructions completely
and carefully.
NOTE: For certain lubrication, adjustments, etc., refer to
appropriate section of this manual. All nuts,
bolts, etc., on these tractors are in METRIC
dimensions.
The tractor is shipped in an individual container. The
tractor will be partially disassembled to make the contain-
er as compact as possible. Wheels, steering, top linkage,
and some attaching hardware will be removed.
Larger items will be fastened in the container and the
remainder of items will be shipped in sundry boxes also in
the container.
To assemble and pre-deliver the tractor, proceed as
follows:
Caution: Be observant of components such
as wheels that may be attached to, or held in
position by container panels.
1. Remove the top and four sides from container.
The easiest way to do this is to cut the corner
posts and uprights down near the base of the
carte with a circular saw. Then cut out rear 2x4
and cut tie straps. The top and sides of the crate
can then be removed from the tractor.
2. Remove wheels and sundry boxes from the con-
tainer.
3. Inspect the tractor for damage and any evidence
of coolant, fuel or lubricant leaks.
4. Inspect and remove all hardware securing the
tractor to the lower crate panel.
5. Install the handle on the right hand fender if
removed.
6. Front Wheels-
a. Carefully raise and block the front of the tractor.
b. Install wheel / tyre assemblies and secure them
using bolts and lock washers. Tighten them to
102 Nm (75 ft-lbs).
c. Lower the front of the tractor.
7. Rear Wheels-
a. Carefully raise and block the rear of the tractor.
ASSEMBLY & PRE-DELIVERY INSPECTION
FIG. 118



 To Next Page