ACCESSORIES AND MISCELLANEOUS REPAIR
4181384 First Edition 9-13
9
Disassembly and Inspection
See Figures 9-27 through 9-31.
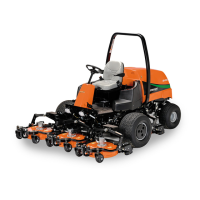
Figure 9-27
1. Remove boot (1).
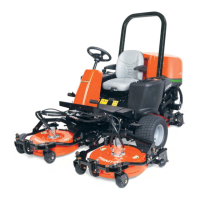
Figure 9-28
2. Remove screw (3).
3. Remove snap ring (2).
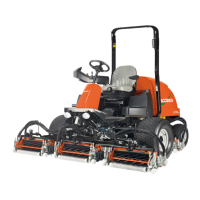
Figure 9-29
NOTE
The end cap is a tight fit. To aid in removal, place a length
of metal tubing or a deep well socket over the piston rod
and against the face of the end cap, and tap with a
hammer to dislodge the end cap.
4. Remove the end cap (5).
5. Remove the piston rod assembly (4) from the
cylinder weldment (6).
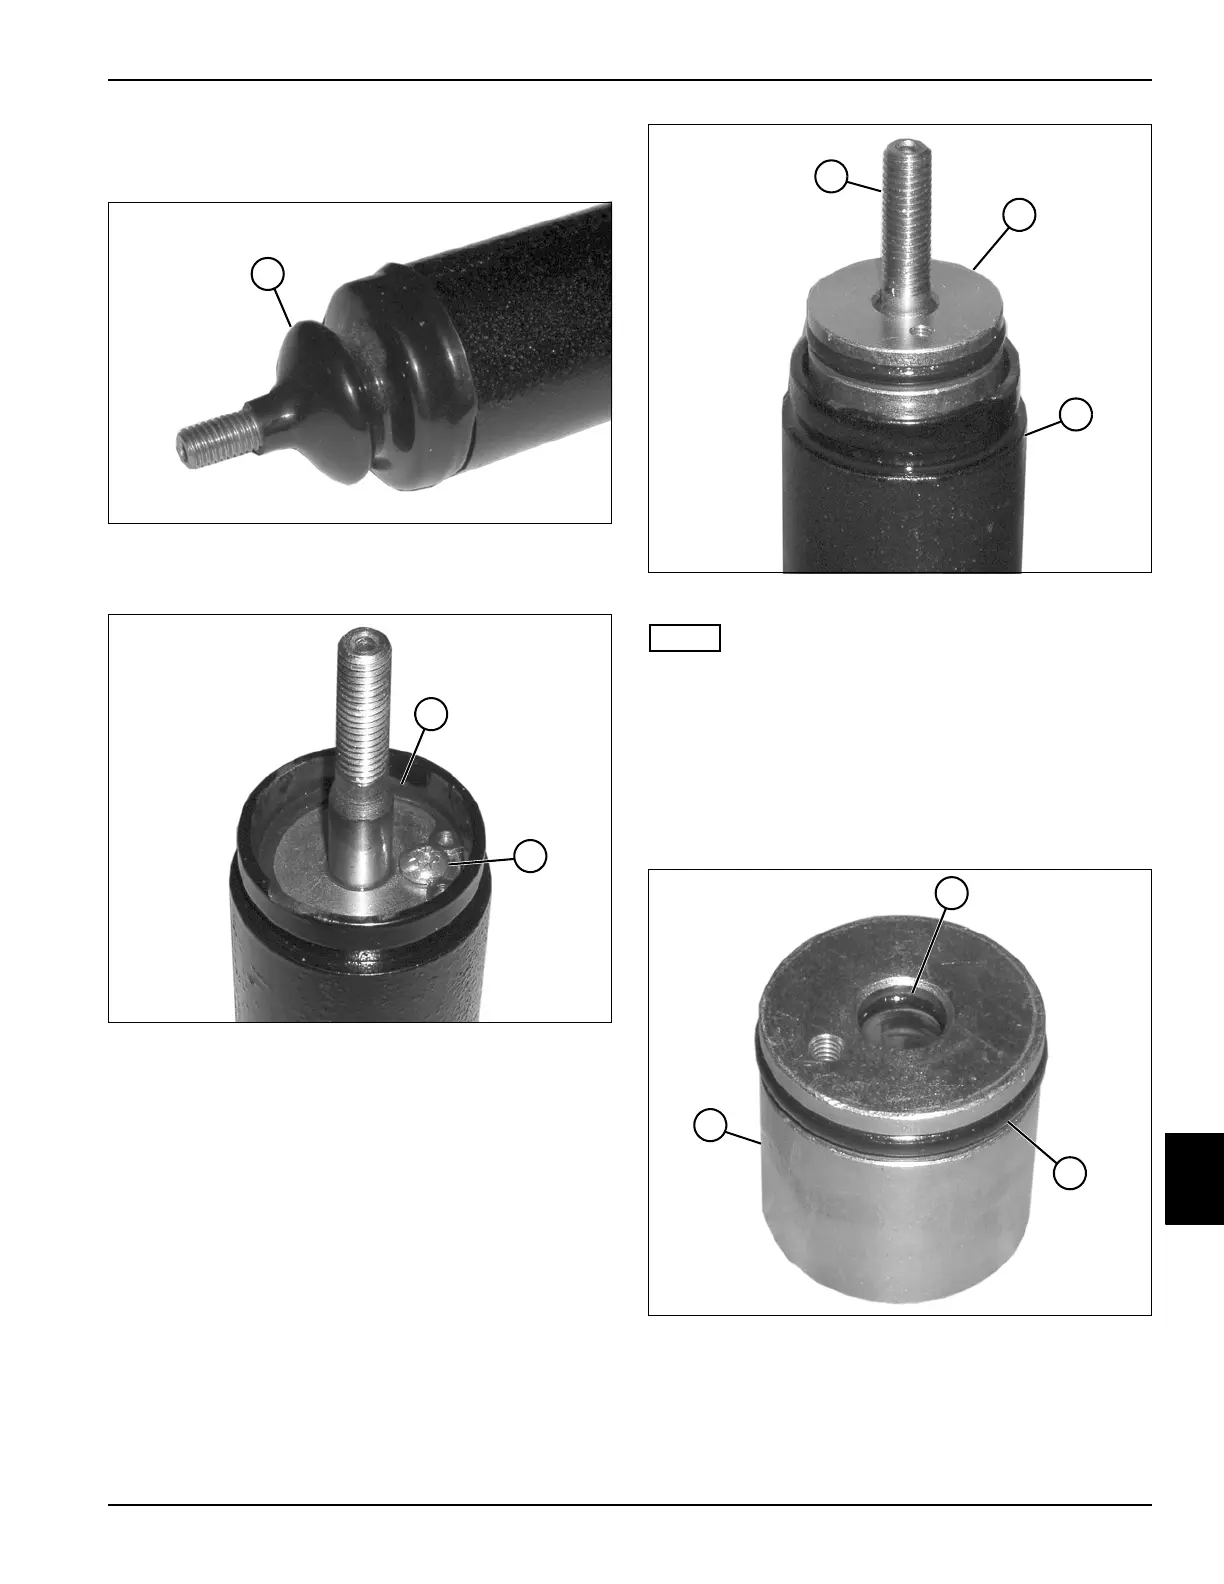
Figure 9-30
6. Remove O-rings (7 and 8) from the end cap (9).
TN1071
1
TN1105
2
3
TN1114
4
6
5
TN1115
9
7
8