-22-
You can take pictures with the self-timer in any shooting mode.
Use the self-timer to set a delay from the time the shutter button is pressed to the time
the image is shot.
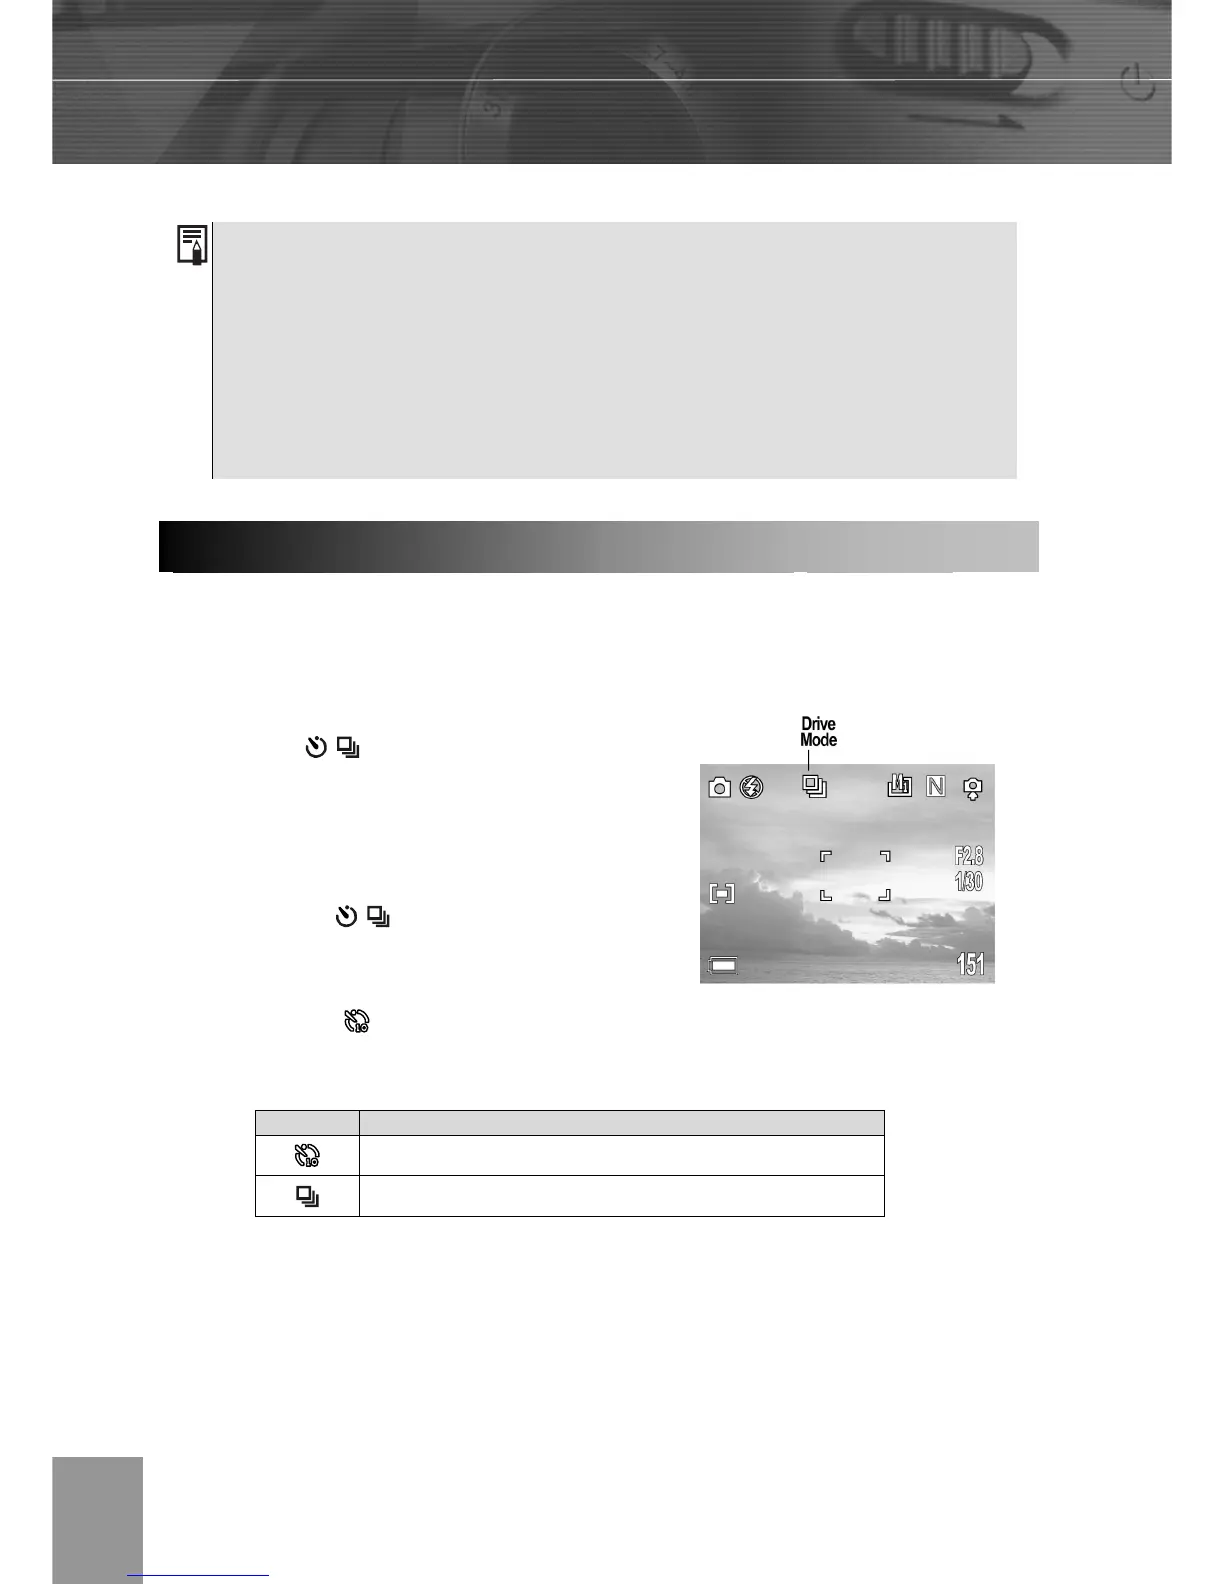
1. Press the
/ button to switch
between Drive modes.
2. The selected drive mode appears on the
LCD monitor.
3. You can switch between settings by
pressing the
/ button.
4. Shoot the image.
If you select
, the self-timer starts blinking after the shutter button is pressed all
the way. The self-timer blinking gets faster two seconds before the shutter activates.
Continuous Shooting
Use this mode to shoot successive frames while the shutter button is fully pressed. (3
images at one shoot.)
Setting Description
Ten seconds
3 images at one shot
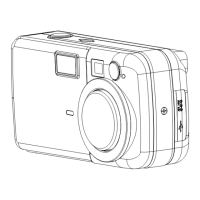
1. Distances referred to measure the distance between the camera lens
surface and the subject.
2. Any flash setting can be used in macro mode.
3. Always use the LCD monitor to compose images in macro mode. Shooting
with the optical viewfinder is possible, however, the parallax phenomenon
may cause images composed with the optical viewfinder to be off-center.
Settin
 Loading...