.
Nor
mal trainer system — all functions are controlled by
either the master transmitter or the slave transmitter
.
B.
Programmable function trainer — stick functions may be
assigned to the slave one at a time. Since the control functions
can be transferred one at a time, students can concentrate on
only one function at a time until they are competent to fly solo.
Basic Connections and Limitations
1.
The slave transmitter must be PPM (Pulse Position Modulation)
with a DSC (direct se
vo control) jack. If the slave transmitter is
PPM/PCM selectable, select PPM. The master transmitter can be
S-PCM, Z-PCM or PPM.
2.
Plug the trainer cord into each transmitter’
s DSC jack. Note
each transmitter will appear to be ON, but neither is actually
transmitting at this time.
3.
Switch the master transmitter ON.
Do not switch on the
slave transmitter
; you must only have the master transmitter
ON.
4.
Pull the trainer switch on the master transmitter toward you to
transfer control to the slave. Releasing the switch automatically
rever
ts control to the master transmitter
.
5.
Be sure the slave transmitter ser
vo reversing, dual rates, and
point adjustment and trims are identical to the master transmitter
.
This can be checked by pulling the trainer switch toward you. If
the control surfaces move, adjust the slave transmitter until the
trainer switch can be activated without a change of the control
sur
face position.
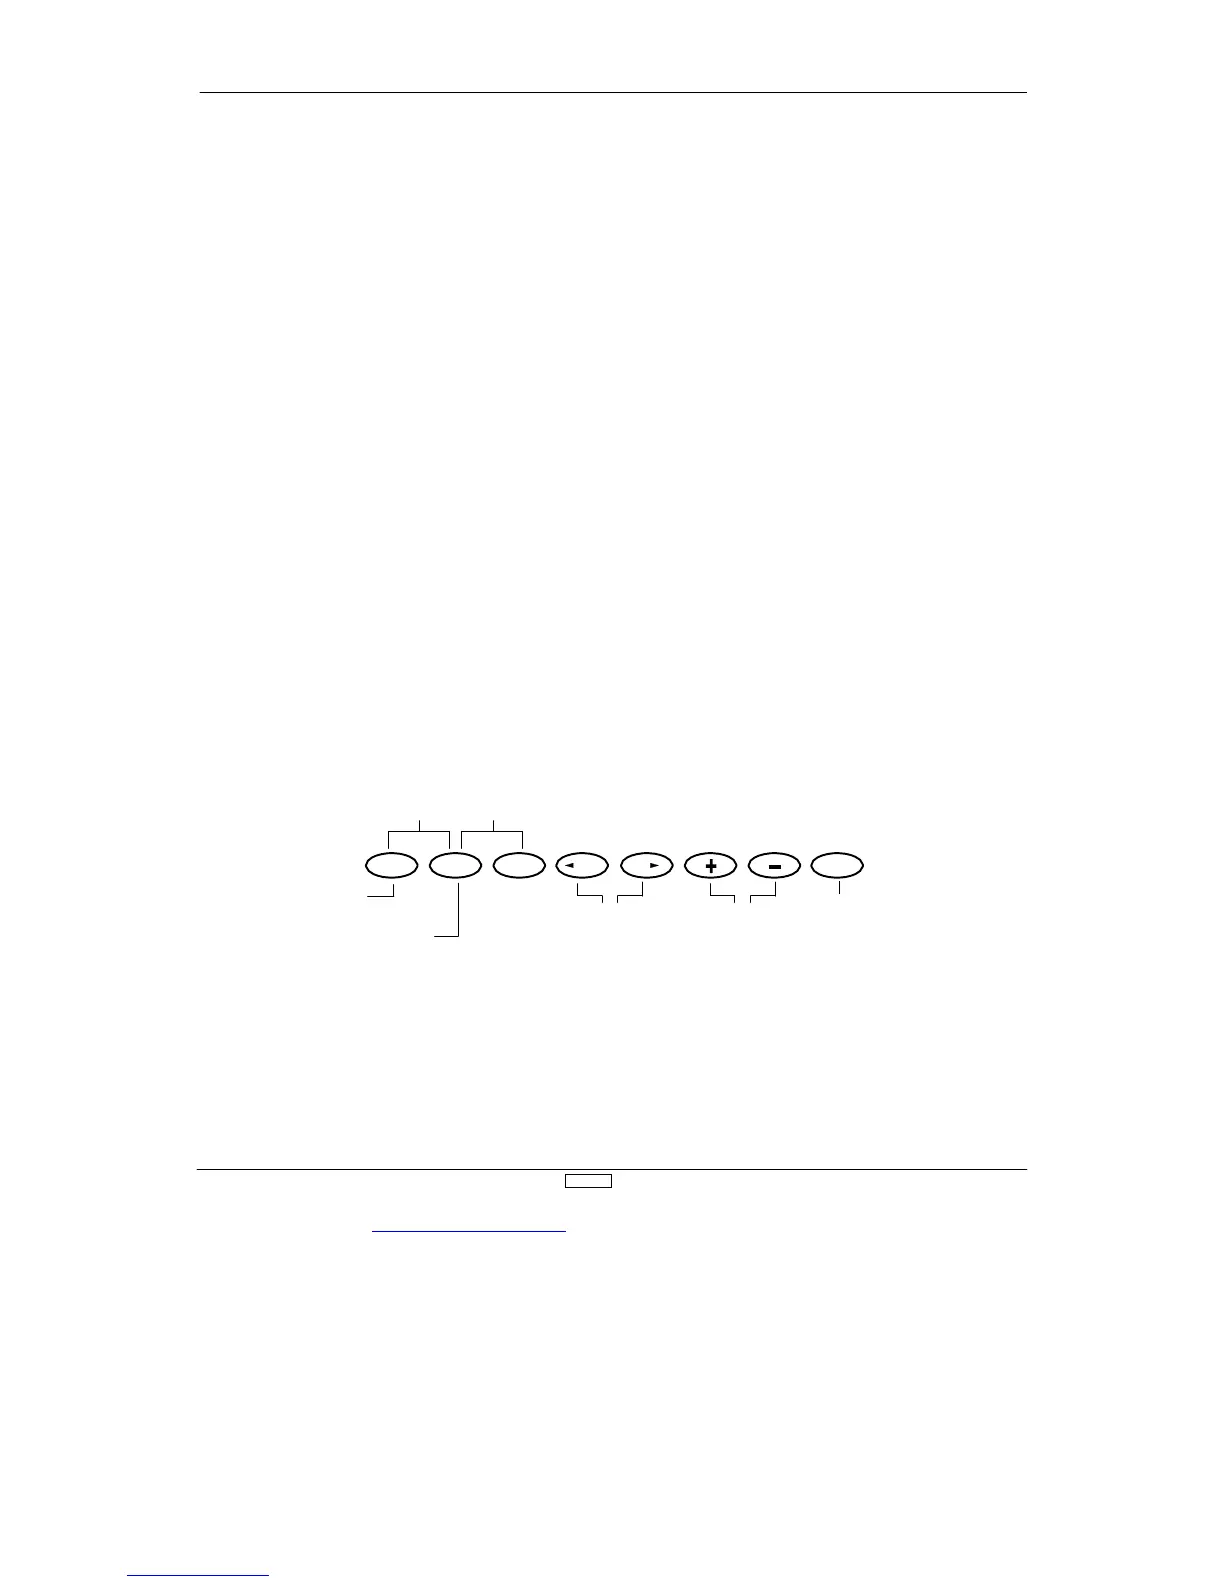
. Using the Normal T
rainer System
In this mode, all functions are switched from the master to the
slave using the trainer switch. This is the normal mode. No
function set-up (reversing switch or travel adjust) is necessar
y to
activate this system.
Normal trainer dis