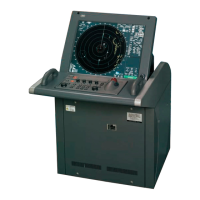
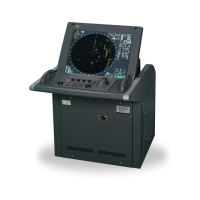
1. Press the
MAP
key to set the Radar Mode.
2.
Press the
VRM1
VRM2
key to display VRM1 and set the range of VRM1 to 18 NM.
3. Press the
SUB
MENU
key to open the SUB MENU.
4. Press the
9
key twice to open the INIT SET #2 menu.
5. Press the
5
key to select "PM ADJUSTMENT".
6. Press the
ENT
key to display performance monitor screen.
A small menu will open in the lower right corner of the screen and the characters of
“During Performance Monitor Adjustment” and the character and numeral of “P. NON”
will blink in it for approx. 30 sec.
The radar will be set automatically to relative motion, relative azimuth, off-center
OFF, and 24 NM.
7. When the blinking of the character and numeral of “P. NON” has stopped,
press the minus (-) side of the
RANGE
key or plus (+) side of the
RANGE
key to adjust the outer edge of the PM pattern so that it is aligned with the
setting in Procedure 2.
Exit
8. Press the
ENT
key.
The menu will disappear and the LVR setting value on the Performance Monitor will
be stored.
9. Remove the information label from the performance monitor and paste it
to the indicator panel at an appropriate position.
10. Fill the information label with the value of P.MON displayed in the lower
right corner of the screen with the date of check.
HL
PM pattern
18nm
Adjustment in Procedure 7
 Loading...