CHAPTER 7
Installing and Connecting the Access Point
•
Installing the WLA532 Access Point on a Suspended Ceiling Rail on page 33
•
Installing the WLA532 Access Point on the Wall Using Hardware Kits on page 36
•
Connecting the Access Point to Wireless LAN Controllers on page 48
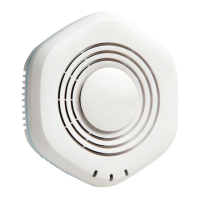
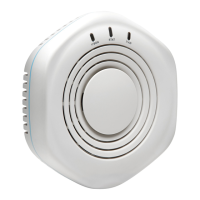
Installing the WLA532 Access Point on a Suspended Ceiling Rail
You can install the WLA532 access point on the ceiling using the provided mounting
bracket or on a junction box on a wall. Mounting the device on the ceiling is the primary
installation method and ceiling-mount installation steps are provided in this topic. You
can purchase a junction box wall-mount kit separately and follow the wall-mounting
instructions in the Wireless LAN Services (WLS) documentation at
http://www.juniper.net/techpubs/ .
The WLA532 access point package includes a bracket for mounting the access point to
a recessed, 9/16-inch or 15/16-inch T ceiling-tile rail.
Ensure that you have the following parts and tools available to install the access point:
•
Ceiling-mount bracket (provided)
•
Category 5 cable, installed (not provided)
•
Mounting template (provided)
•
Box cutter or similar tool to cut ceiling tiles (not provided)
•
(Optional) Security kit, which includes a security tool and a security screw (The kit is
not provided; you can order it separately.)
To install the access point on a suspended ceiling rail:
1. Select an installation location under a recessed rail in the ceiling.
2. Cut a hole as follows in the ceiling tile for the Category 5 cable:
a. Place the mounting template over the area where you will install the access point.
b. Use the box cutter or similar tool to cut along the line marking the opening for the
port connectors.
33Copyright © 2012, Juniper Networks, Inc.