10
Tap “EXECUTE”.
.
STOPEXECUTE
DVD 02
DVD(DL)1
REMAINING
CREATE BY PLAYLIST
0
When “INSERT THE
NEXT DISC TO CREATE OR PRESS STOP TO
EXIT” appears, change the disc.
11
Tap “OK” when “COMPLETED” is displayed.
.
OK
COMPLETED
CREATE BY PLAYLIST
12
Turn off this unit and disconnect the USB cable.
Caution :
0
Do not turn off the power or remove the USB cable until copying is
complete.
0
Files that are not on the index screen during playback cannot be copied.
Special files cannot be copied either.
0
All DVDs will be finalized automatically.
Files cannot be added to the DVD-R/DVD-RW later.
Memo :
0
A list of playlists is displayed on the top menu of the created DVD.
0
To check the created disc, refer to ““Playing Back with a DVD Writer”
(A p. 83) ”.
“Playing Back with a DVD Writer” (A p. 83)
0
To create a playlist
“Creating Playlists from the Recorded Videos” (A
p. 63)
Copying Selected Files
Select and copy the desired videos or still images individually.
1
Select video or still image mode.
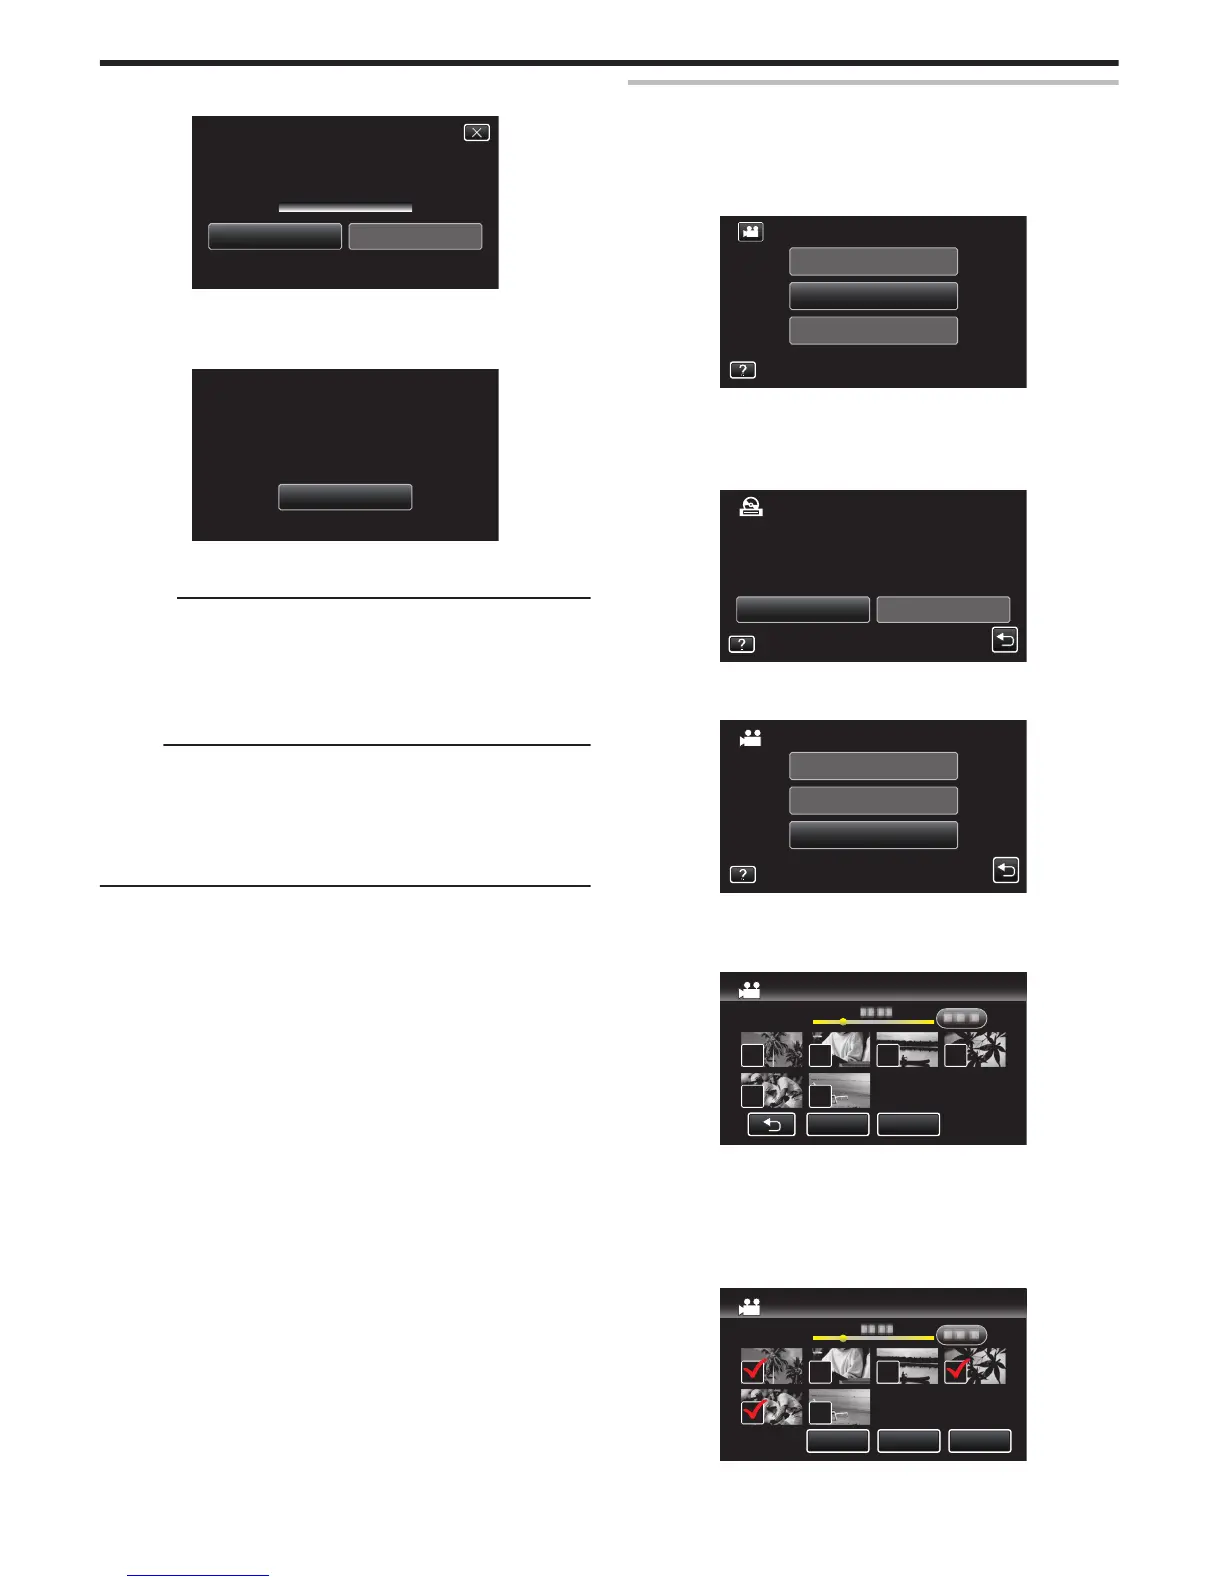
2
Tap “SELECT AND CREATE” (video) or “SELECT AND SAVE” (still
image).
.
PLAYBACK
SELECT AND CREATE
CREATE FROM ALL
VIDEO BACKUP
0
While the video mode is shown in the image, the same operations
apply for the still image mode.
0
Tap A to switch between the video and still image modes.
3
Tap on the media to copy.
.
SELECT THE MEDIA TO BACK UP
SELECT AND CREATE
SLOT BSLOT A
4
Tap “SELECT FROM SCENES” (video) or “SELECT FROM IMAGES”
(still image).
.
SELECT FROM SCENES
CREATE BY PLAYLIST
CREATE BY DATE
SELECT AND CREATE
0
While the video mode is shown in the image, the same operations
apply for the still image mode.
5
Tap on the videos or still images to copy.
.
QUITCHECK
SELECT FROM SCENES
0
P appears on the selected files.
To remove P from a file, tap on the file again.
0
Tap “CHECK” to check the file.
0
While the video mode is shown in the image, the same operations
apply for the still image mode.
6
After selecting all the files, tap “SAVE”.
.
SAVEQUITCHECK
SELECT FROM SCENES
0
While the video mode is shown in the image, the same operations
apply for the still image mode.
Copying
82
 Loading...