1-20 (No.MB014)
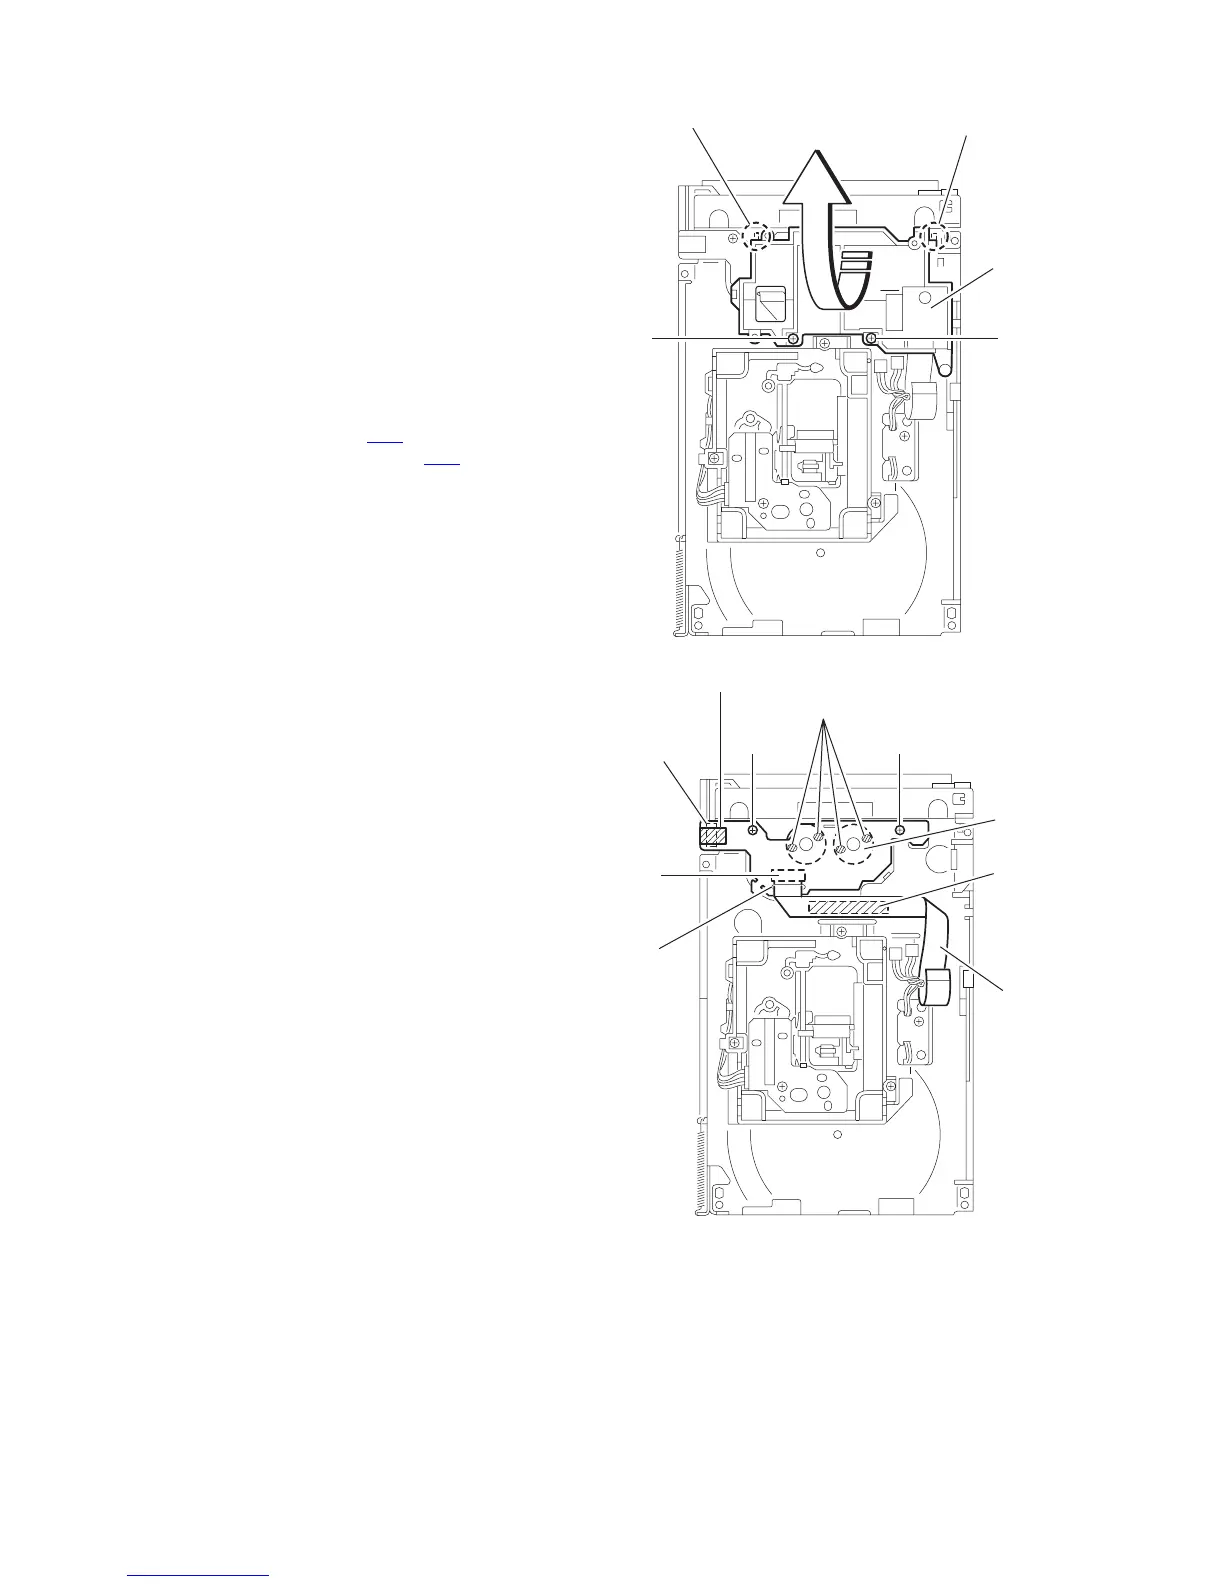
3.2.4 Removing the motor board
(See Fig.10 , 11)
• Prior to performing the following procedure, remove the servo
control board.
(1) Turn over the body and remove the two screws D. Move
the CD module bkt. in the direction of the arrow to release
two joints f.
(2) Unsolder the four soldered parts on the motor of the motor
board.
Caution:
If removing the motor board with the motor, you should
remove the screws attaching the motor from top of the
body(Refer to another section).
(3) Remove the two screws E attaching the motor board.
(4) Remove the spacer fixing the motor board and tray switch
board, and disconnect connector CN2
on the motor board.
(5) Disconnect the card wire from connector CN1
on the motor
board.
Caution:
When reconnecting the card wire, let the card wire through the
slot g of the motor board and attach it to the bottom of the body
using a double tape.
Fig.10
Fig.11
DD
f
CD Module
braket
f
E
g
CN2
Spacer
Card wire
Double
face tape
Motor
Soldering point
CN1
E
 Loading...