Page
30
3
SONG RECORDER
Step 3
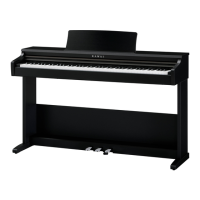
Play the piano.
The recorder will automatically start recording with the fi rst note played.
The LED indicators for the PLAY/STOP and REC buttons will turn on.
Any changes made to the sound while recording will also be recorded.
The recording can also be started by pressing the PLAY/STOP button
instead of pressing a key, allowing a blank bar or ‘up beat’ to be
inserted at the beginning of a song.
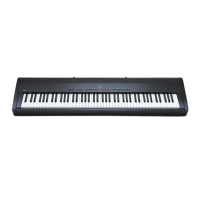
Step 4
Press the PLAY/STOP button to stop recording.
The LED indicators for the PLAY/STOP and REC buttons will fl ash briefl y as the newly recorded part is saved to
memory.
Saving may take a few moments. During this time, the ES6 digital piano will not respond to any other operations.
To record the part again, simply repeat the above procedure. The new recording will completely erase the previous
recording.
RECORDING A SECOND PART
A second part can be recorded in PART2 of the same song.
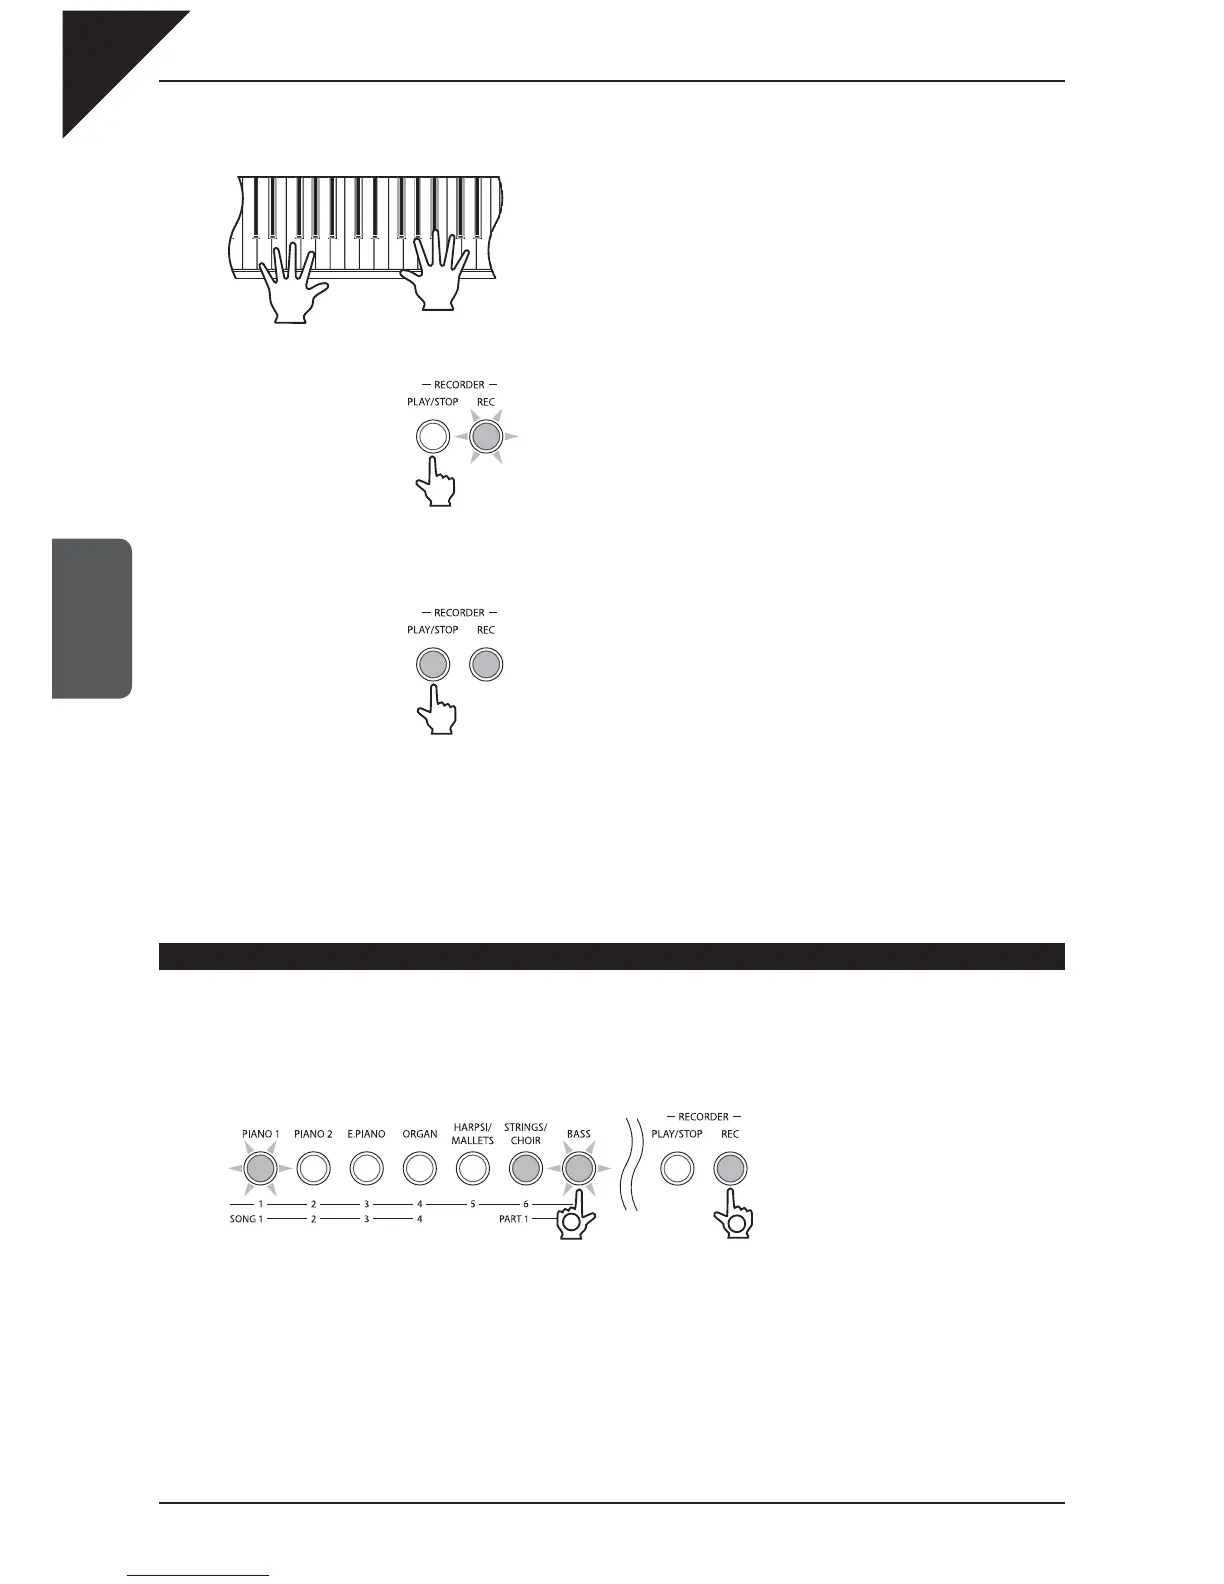
Step 1
Press and hold the REC button, then press the BASS button to select PART2 for recording.
The LED indicators for the PIANO1 and BASS buttons will start to fl ash, indicating that SONG1 and PART2 are
selected for recording. The LED indicator for the STRINGS/CHOIR button will now be turned on, indicating that
PART1 has already been recorded.
Select PART2 Press and hold the button
1
2
 Loading...