Introduction 1
Preparing Your Multimeter
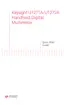
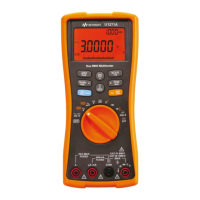
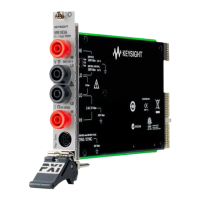
U1271A/U1272A User’s Guide 27
Enabling the backlight
If viewing the display becomes difficult in low- light
conditions, press to activate the LCD backlight.
To conserve battery life, a user- adjustable timeout controls
how long the backlight stays on. The default timeout is 15
seconds. To change the backlight timeout refer to “Changing
the auto power- off and backlight timeouts” on page 138.
Selecting the range
The multimeter’s selected range is always displayed above
the right- hand end of the bar graph, as the range indicator.
Pressing switches the multimeter between manual and
autoranging. It also cycles through the available multimeter
ranges when manual ranging is enabled.
Autoranging is convenient because the multimeter
automatically selects an appropriate range for sensing and
displaying each measurement. However, manual ranging
results in better performance, since the multimeter does not
have to determine which range to use for each measurement.
In autorange, the multimeter selects the lowest range to
display the highest available precision (resolution) for the
input signal. If manual range is already enabled, press
for more than 1 second to enter the autoranging mode.
If autoranging is enabled, press to enter the manual
range mode.
Each additional press of sets the multimeter to the
next higher range, unless it is already in the highest range,
at which point the range switches to the lowest range.
The range is fixed for diode tests, temperature, Qik-V, and Z
LOW
measurements.