Version 1.1.0.x KICstart
42 KICstart User Manual
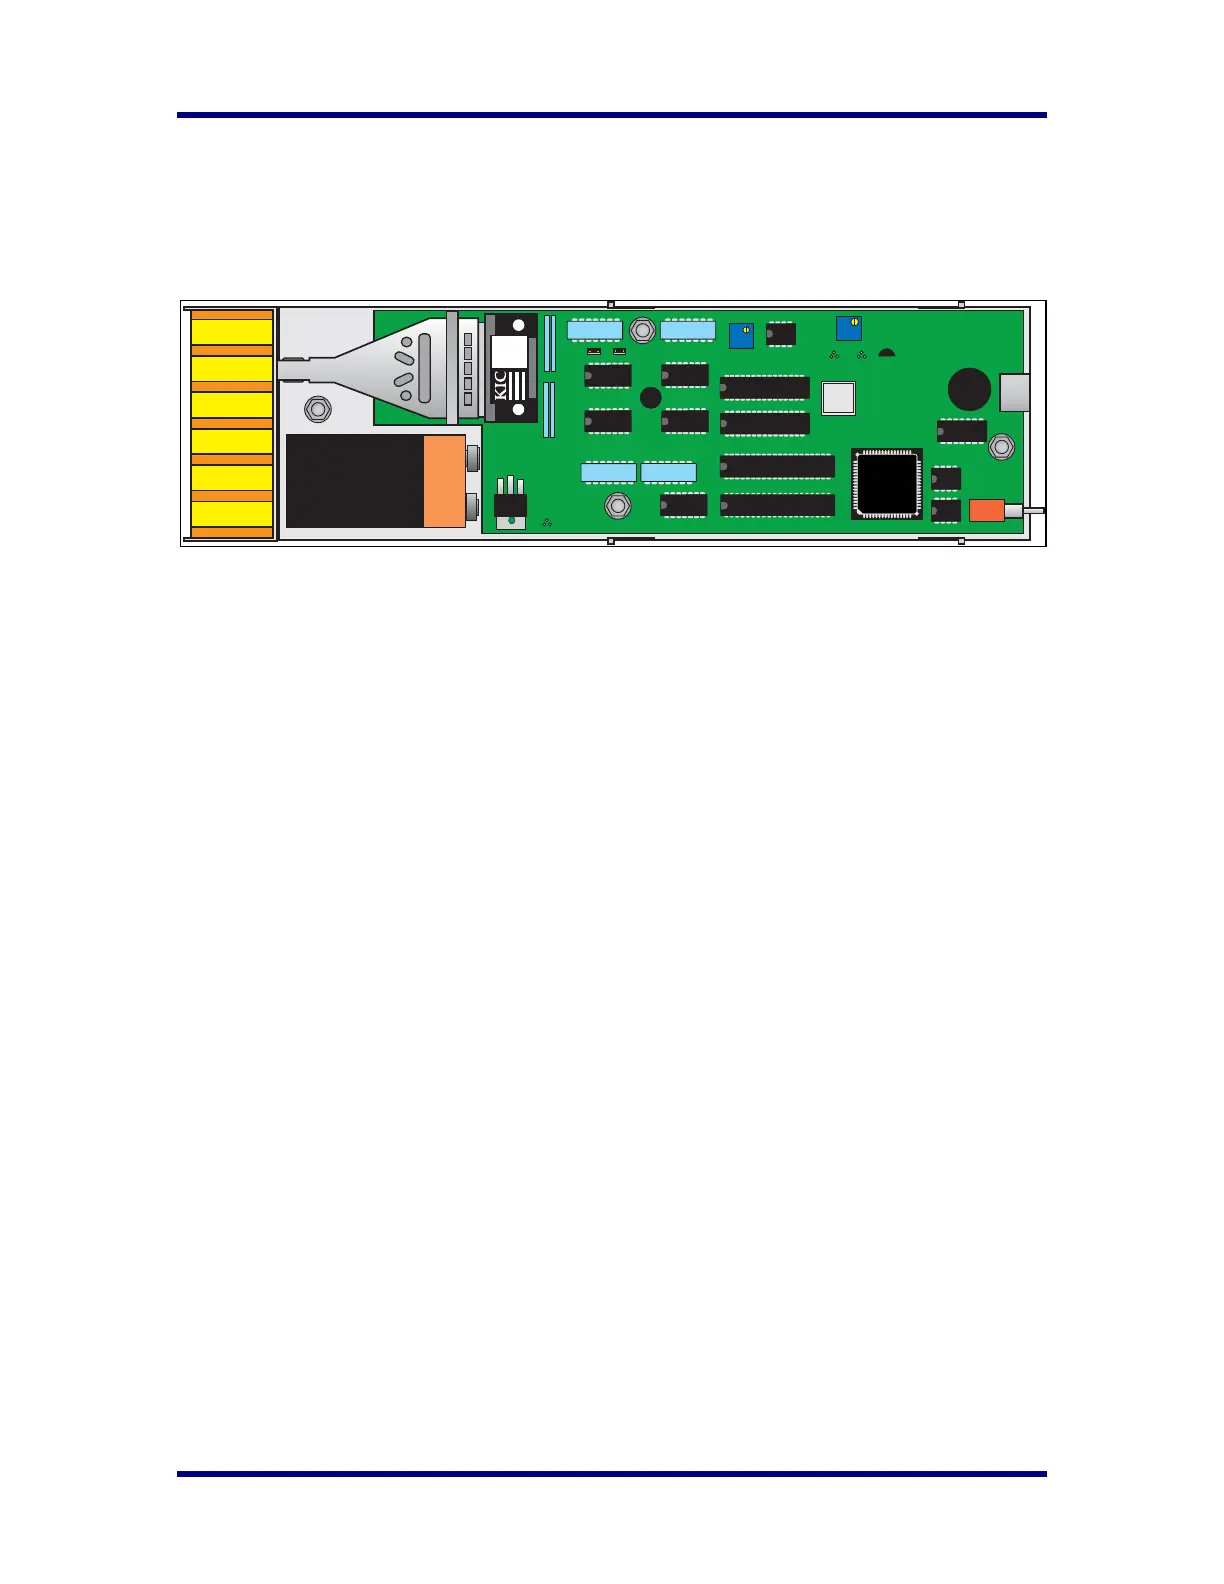
Inside the KICstart
Serial Number Location
The KICstart serial number label is located on the main connector block (J1) and near the battery. The
KICstart battery cover must be removed in order to view the serial number.
TP2
TP1
R10
R6
SW1
RN6
U9
9V Battery
JP1
JP2
Y1
J2
E8
RN7
U6
U10
U8
U7
U11
U2
U3
U5
U4
RN5
RN8
U14
U15
U13
U12
PROM
123
KICstart Internal view
Internal Components
J2 This is the 8 pin download/communication port located at the rear of the KICstart.
P1 This is the main power connector. This connector fits a 9Volt battery.
R10 This is the CALIBRATE potentiometer, and is the only adjustment on the KICstart used for
calibrating the unit.
R6 This is the MAX TEMP Potentiometer. This is used to increase or decrease the upper range of
temperatures that the KICstart can read.
SW1 This is the On/Off toggle switch.
U12 This is the socket that holds the KICstart - EPROM. The EPROM version can change, check with
KIC regularly to ensure you have the latest version firmware in your KICstart.