Diagnostics
SM1399-1 – 19JUN06 23
Low Voltage Test
[1] Connect the DIGITAL MULTIMETER to the BATTERY VOLTAGE ADJUSTMENT TOOL:
[2] Energize the DIGITAL MULTIMETER.
[3] Adjust the BATTERY VOLTAGE ADJUSTMENT TOOL to 2.5 V.
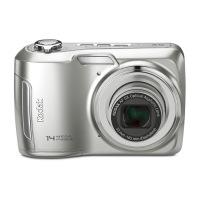
[4] Check that the CAMERA is de-energized.
[5] Install the CAMERA on the BATTERY VOLTAGE ADJUSTMENT TOOL.
[6] Rotate the MODE DIAL to “AUTO” to energize the CAMERA.
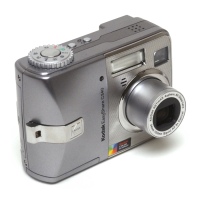
[7] Set the CAMERA to the “Fill Flash” mode.
[8] Press the SHUTTER BUTTON.
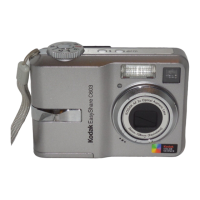
[9] Check:
• STROBE actuates
• image displays correctly
• low “Battery” icon displays
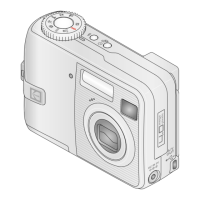
[10] Press:
•“review” BUTTON
•“T” BUTTON continually to a magnification to 8X
[11] Check the MONITOR for image quality.
[12] Do any of the following errors occur?
• red VIEWFINDER LED blinks
•“Battery” icon blinks
• error message “Batteries are too low for live view” displays
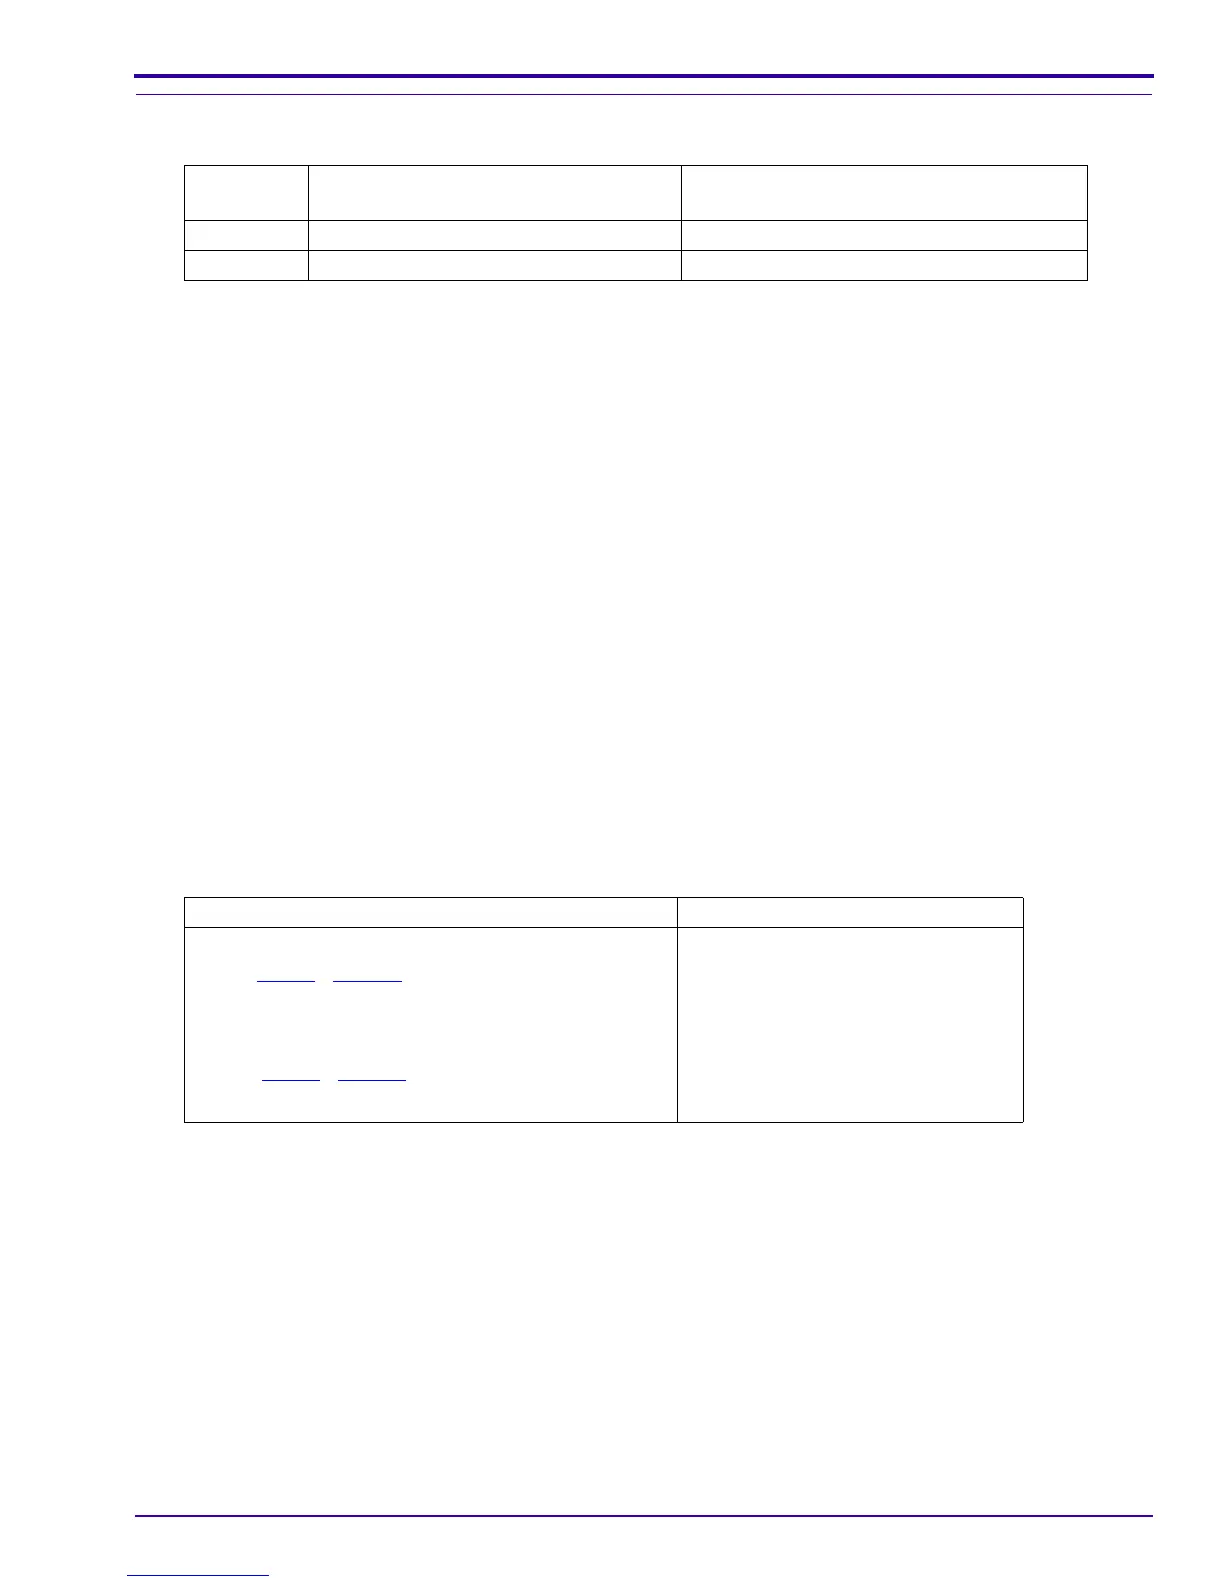
Wire Color From the DIGITAL MULTIMETER:
To the BATTERY VOLTAGE
ADJUSTMENT TOOL
Red “+”“2.6 V”
Black Ground Ground
Yes No
1. Install a new POWER BOARD AND FRAME AY.
2. Do Step 1
- Step 11 again.
3. If any of these errors occur again, do:
• install a new LENS AY AND MCU BOARD
• Step 1
- Step 11 again
4. De-energize the CAMERA.
De-energize the CAMERA.
 Loading...