SERVICE MANUAL
46 19JUN06 – SM1399-1
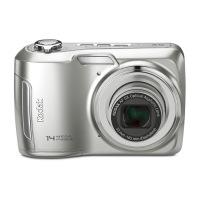
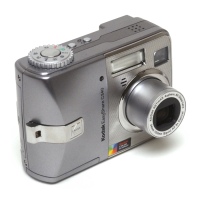
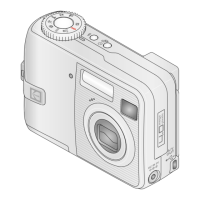
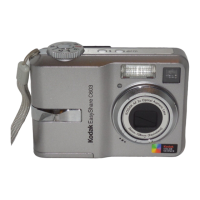
MONITOR LCD
Prerequisites:
None
To Remove:
Caution
To prevent injury, you must do a discharge of the CAPACITOR - see Step 1 in To Remove: for the
“
POWER BOARD AND FRAME AY” on Page 44.
[1] See “
MONITOR LCD” on Page 12 for the parts diagram.
To Install:
Important
You must do this procedure when you do a replacement of the MONITOR LCD.
[1] Compare the serial number of the CAMERA with the “Beginning Serial Number”:
[2] Is the serial number the same or higher than the “Beginning Serial Number”?
[3] Remove:
• MONITOR LCD
• POWER BOARD AND FRAME AY
Important
See the replacement procedure for the “POWER BOARD AND FRAME AY” on Page 44.
[4] Install a new:
• POWER BOARD AND FRAME AY
• MONITOR LCD
[5] Assemble the CAMERA.
[6] Do Preparing the “C643_C603 Monitor LCD” MEMORY CARD
on Page 69.
[7] Insert the “C643_C603 Monitor LCD” MEMORY CARD in the CAMERA.
[8] Energize the CAMERA.
[9] Check that the MONITOR LCD displays the message “Script Loading... Run...”.
[10] Capture an image.
[11] Check the quality of the image displayed on the MONITOR LCD.
Postrequisites:
None
CAMERA Beginning Serial Number
C643 KCGFN61713506
C603 KCGFP61901199
No Yes
Continue with Step 3
. 1. Install a new MONITOR LCD.
2. Advance to Step 5
.
 Loading...