Diagnostics
SM1399-1 – 19JUN06 35
Checking the Communication
[1] Connect the CAMERA DOCK to the computer with the USB CABLE for the CAMERA DOCK.
[2] Download the images and the video file with the USER SOFTWARE.
[3] Check the quality of the images.
[4] Do “
Checking the Connection to the SERVICE SOFTWARE” on Page 63. If successful, the USB interface on
the DOCK CONNECTOR is operating correctly.
[5] Remove the CAMERA from the CAMERA DOCK.
[6] Connect the CAMERA to the computer with the USB CABLE for the CAMERA.
[7] Download the 2 images with the USER SOFTWARE. If successful, the USB CONNECTOR on the MCU
BOARD is operating correctly.
Checking the Accessories
[1] Disconnect the USB CABLE from the CAMERA.
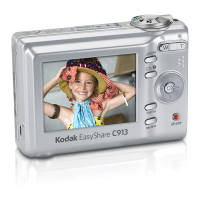
[2] Connect the VIDEO MONITOR to the CAMERA with the VIDEO CABLE.
[3] If you are not using the internal memory, insert a MEMORY CARD with image files into the CAMERA.
[4] Energize the CAMERA.
[5] Press the “review” BUTTON.
[6] Check that the MONITOR LCD de-energizes and the image displays on the VIDEO MONITOR.
[7] De-energize the CAMERA.
[8] Remove the MEMORY CARD.
[9] Energize the CAMERA.
[10] Check that the green LED next to the VIEWFINDER blinks.
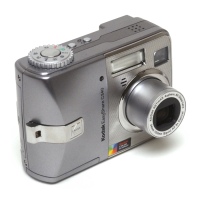
Checking the External Components of the CAMERA
[1] Check the COVERS of the CAMERA for scratches.
[2] If necessary, install new COVERS.
[3] Clean:
• COVERS
• SCREEN on the MONITOR LCD
• VIEWFINDER WINDOW
• FLASH COVER
[4] Check and clean the LENS.
 Loading...