A-61550 July 2008 7
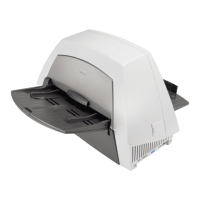
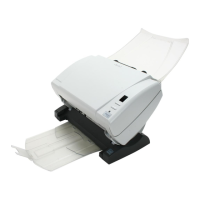
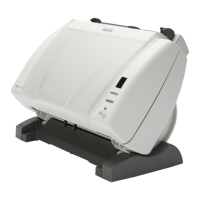
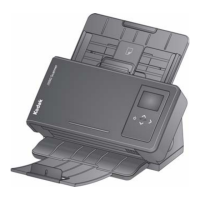
Installing the scanner Install the scanner in the following order:
1. Install the Kodak Driver Software.
2. Connect the power cord to the scanner.
3. Connect the USB cable between your scanner and PC.
4. Attach the input and output trays.
5. Turn the scanner on and finalize the Kodak Driver Software
installation.
6. Verify your scanner installation (see Chapter 3)
7. Install other supplied applications (optional).
IMPORTANT:Install the Kodak Driver Software on the host PC
before you connect the scanner.
Installing the Kodak
Driver Software
Windows operating
systems
Install the driver software before connecting the scanner to your PC.
1. Insert the Kodak i1400 Series Scanner Installation CD in the CD-
ROM drive of your computer. The installation program starts
automatically.
NOTE: If the CD does not start automatically, open the My
Computer icon on your desktop. Double-click the icon for
your CD-ROM drive, then double-click on Install Scanner
Software.
2. Select Install Scanner Software. The following message may be
displayed: Portions of this application are already installed.
Existing files will be upgraded as necessary. Continue with
installation? If the message is displayed, click Yes to upgrade the
software already on your PC.
 Loading...