11.10
Section 11
Reassembly
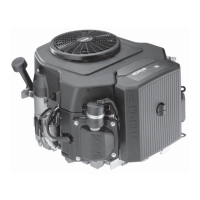
2. Reattach the fan to the flywheel, using the
spacers and hex. flange screws, or shoulder
screws. See Figure 11-28. Torque the hex. flange
screws to 9.9 N·m (88 in. lb.). On electric start
models, with the domed fan, proceed through
step 4 before reattaching the fan.
Figure 11-28. Installing Fan to Flywheel.
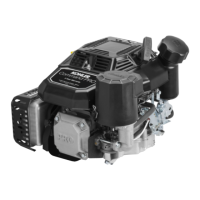
3. Place the flywheel over the keyway/crankshaft.
Retractable Starter Models: Install grass screen,
drive cup, plain washer (flat side towards the drive
cup), and the hex. flange screw. See Figure 11-29.
Fan
Hex. Flange Screws (4)
Spacers (4)
Flywheel
Drive
Cup
Hex. Flange
Screw
Grass
Screen
Plain Washer
Figure 11-29. Installing Flywheel (Retractable
Starter Models).
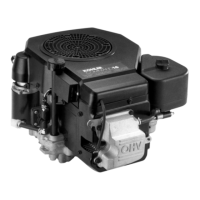
Electric Start Models: Install the plain washer
and the hex. flange screw. See Figure 11-30.
Figure 11-30. Installing Flywheel Retaining Screw
and Washer (Electric Start Models).
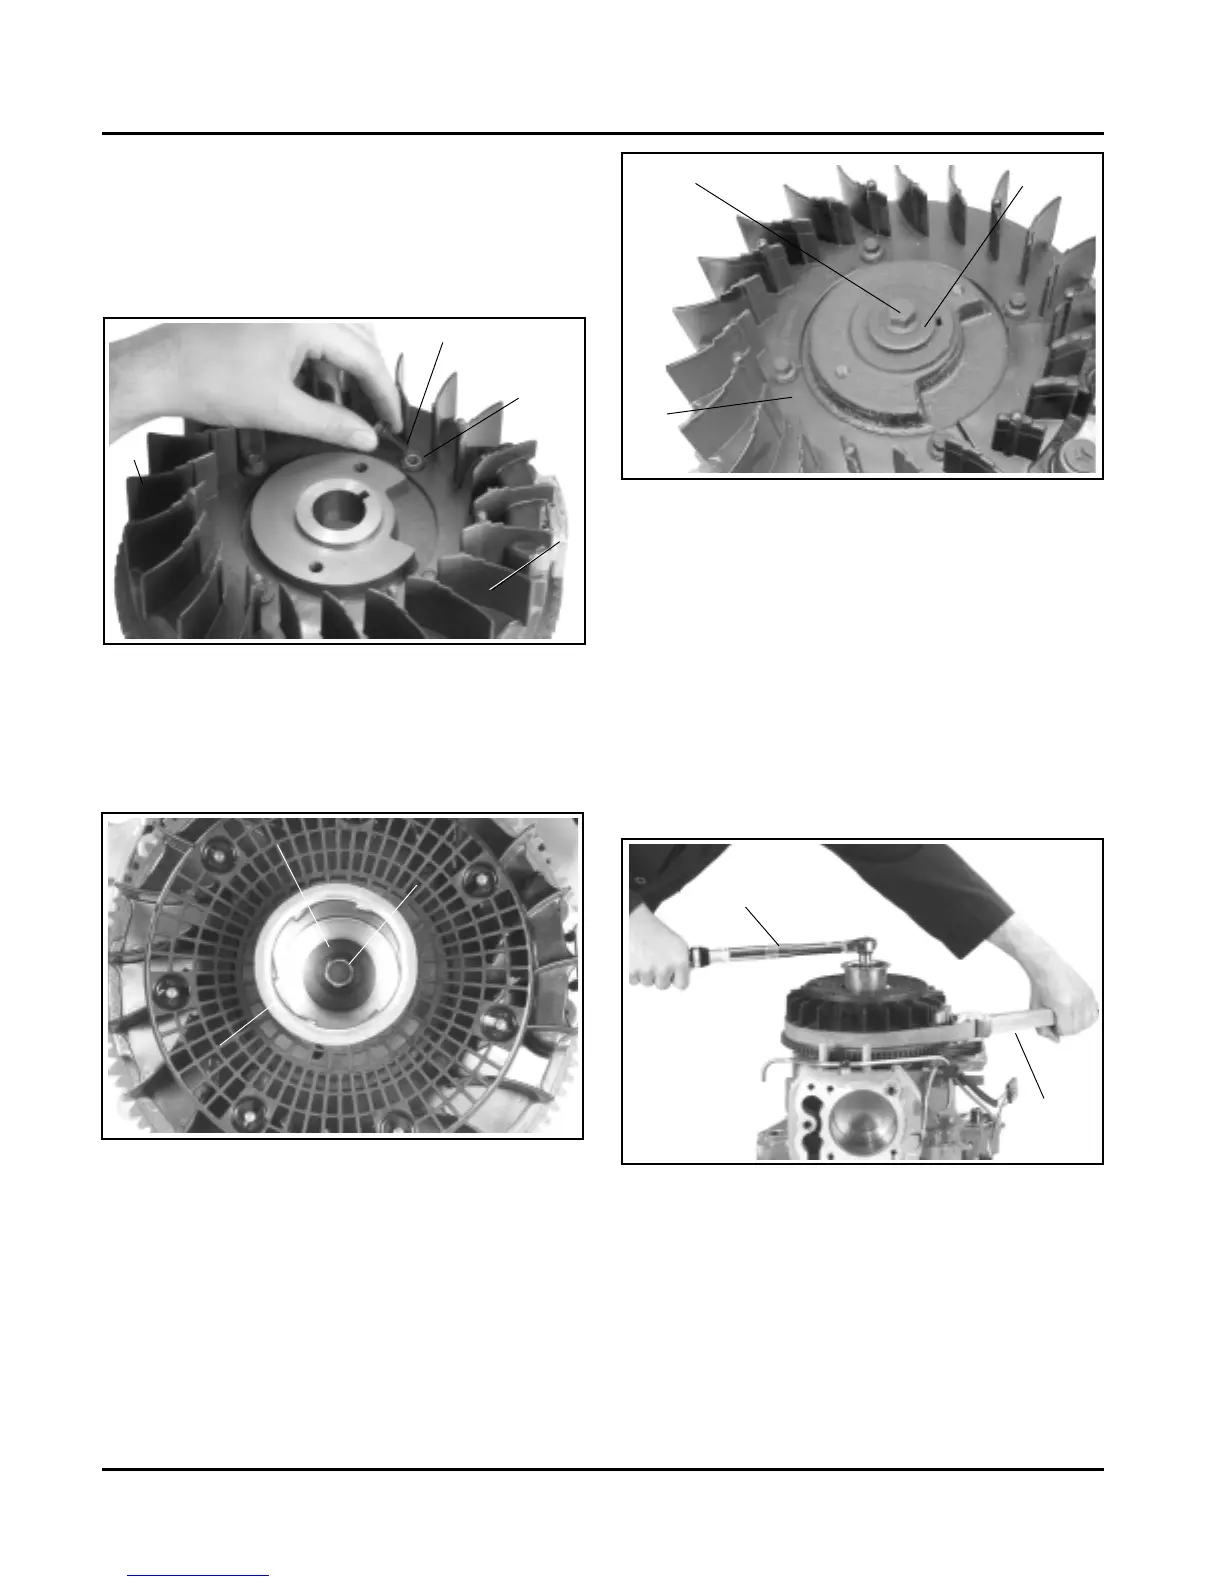
4. Hold the flywheel with a strap wrench or holding
tool (see Section 2) and torque the hex. flange
screw to 66.4 N·m (49 ft. lb.). See Figures 11-31
and 11-32.
NOTE: Always use a flywheel strap wrench or
flywheel holding tool to hold the flywheel when
tightening the flywheel fastener. Do not use
any type of bar or wedge between the cooling
fins or flywheel ring gear, as these parts could
become cracked or damaged.
Fan
Washer
Hex. Flange Screw
Figure 11-31. Torquing Flywheel Fastener
(Retractable Starter Models).
Torque Wrench
Strap
Wrench
 Loading...