11.22
Section 11
Reassembly
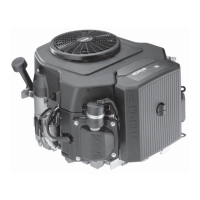
Figure 11-68. Installing Air Cleaner Cover.
Install Electric Starter
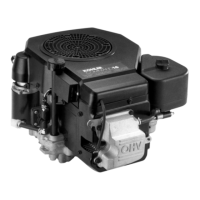
Electric Starter (Bendix Drive or Solenoid Shift)
1. Install the starter and secure with the two hex.
flange screws. If there were spacers on the
mounting screws, be sure they are reinstalled.
Torque the screws to 15.3 N·m (135 in. lb.). See
Figure 11-69.
Figure 11-69. Installing Bendix Drive Starter.
2. Connect the starter leads to the terminals on the
electric starter and/or solenoid.
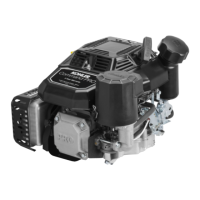
Install Retractable Starter
1. Install the retractable starter and five hex. flange
screws to blower housing. Leave the screws
slightly loose.
Figure 11-70. Installing Retractable Starter.
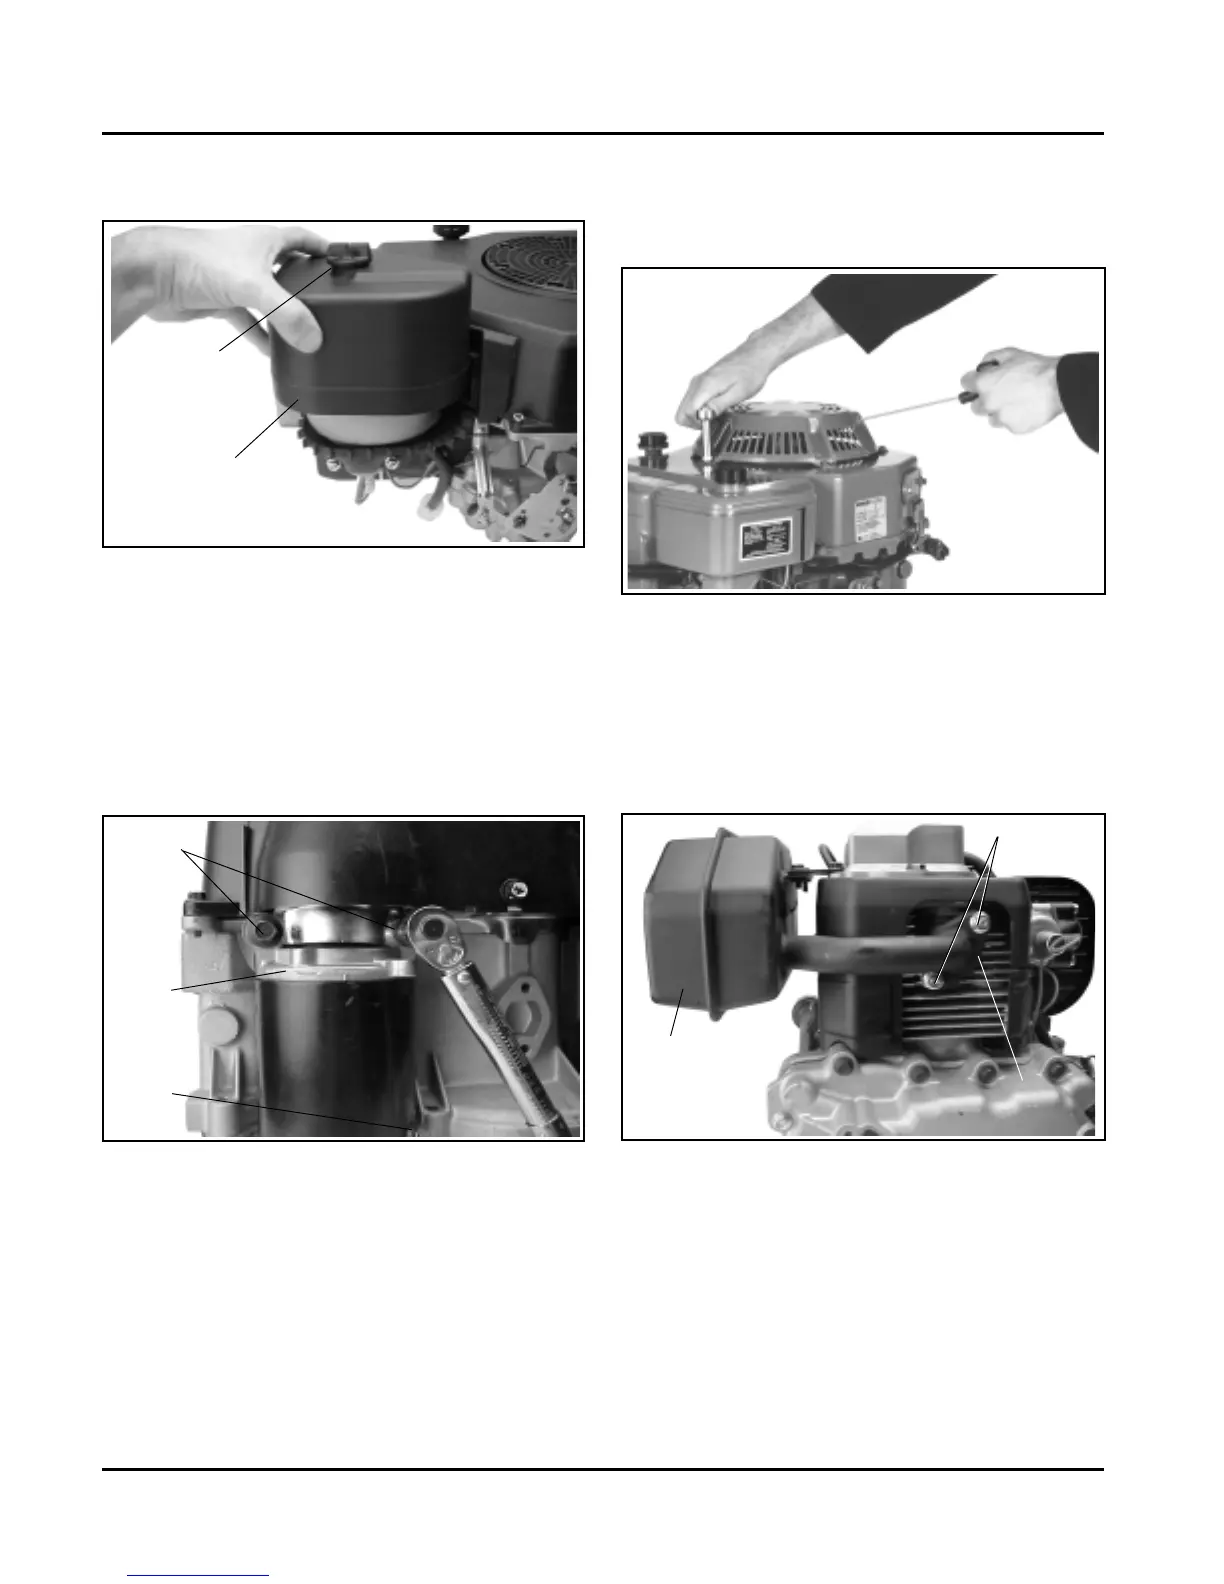
Install Muffler
1. Install the gasket, muffler, and hex. flange nuts to
the exhaust port studs. Leave the nuts slightly
loose. See Figure 11-71. Start the two hex. flange
screws that fasten the muffler to the bracket. See
Figure 11-72.
Hex. Flange
Screws
Figure 11-71. Install Muffler.
2. Torque the hex. flange nuts to 24.4 N·m
(216 in. lb.). Tighten the hex. flange screws
securely.
Knob
Air Cleaner Cover
Electric
Starter
Stud
Terminal
Muffler
Hex. Flange Nuts
Gasket
6. Install the air cleaner cover and tighten the knob
securely. See Figure 11-68.
2. Pull the starter handle out until the pawls
engage in the drive cup. Hold the handle in this
position and tighten the screws securely. See
Figure 11-70.
 Loading...