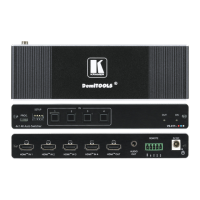
VP-440X – Operating and Controlling VP-440X
Locking Front Panel Buttons
VP-440X enables defining the function of the PANEL LOCK front panel button . For example, the PANEL
LOCK button can be defined to lock all the front panel buttons or only the menu buttons.
To define the front panel button locking mode:
1. On the front panel press MENU. The menu appears.
2. Click Advanced and select Lock Mode.
3. Set panel lock mode according to the information in the following table:
Lock all the front panel buttons.
Lock the menu buttons only.
Lock all the front panel buttons and keep locked after cycling power.
To unlock the panel, press both PANEL LOCK and RESET TO
XGA/1080P buttons simultaneously for about 5 seconds.
Lock the menu buttons only and keep locked after cycling power.
To unlock the panel, press both PANEL LOCK and RESET TO
XGA/1080P buttons simultaneously for about 5 seconds.
PANEL LOCK button mode is defined.
Defining CEC
VP-440X enables passing CEC commands via the connected source to the connected
display.
To set the CEC (Consumer Electronic Control) functionality:
1. On the front panel press MENU. The menu appears.
2. Click Advanced and select HDMI Output CEC.
3. Select:
▪ Off – Automatically send CEC commands to shut down the output display after a
timeout period when no input signal is found and to power up the display when the
input returns.
▪ On – Pass CEC commands via the source connected to the selected HDMI input.
CEC is enabled/disabled.
Configuring the REMOTE Pin
VP-440X enables defining the function of the REMOTE pin on the rear panel.
To configure the REMOTE pin (see Connecting the Remote Control Switches on page 10):
1. On the front panel press MENU. The menu appears.
2. Click Advanced and select Remote Pin.
3. Select the REMOTE configuration:
▪ Momentary Contact (toggle on/off).