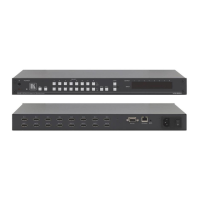
VS-88H2A – Defining VS-88H2A 4K HDMI 8x8 Matrix Switcher
Defining VS-88H2A 4K HDMI 8x8
Matrix Switcher
This section defines VS-88H2A.
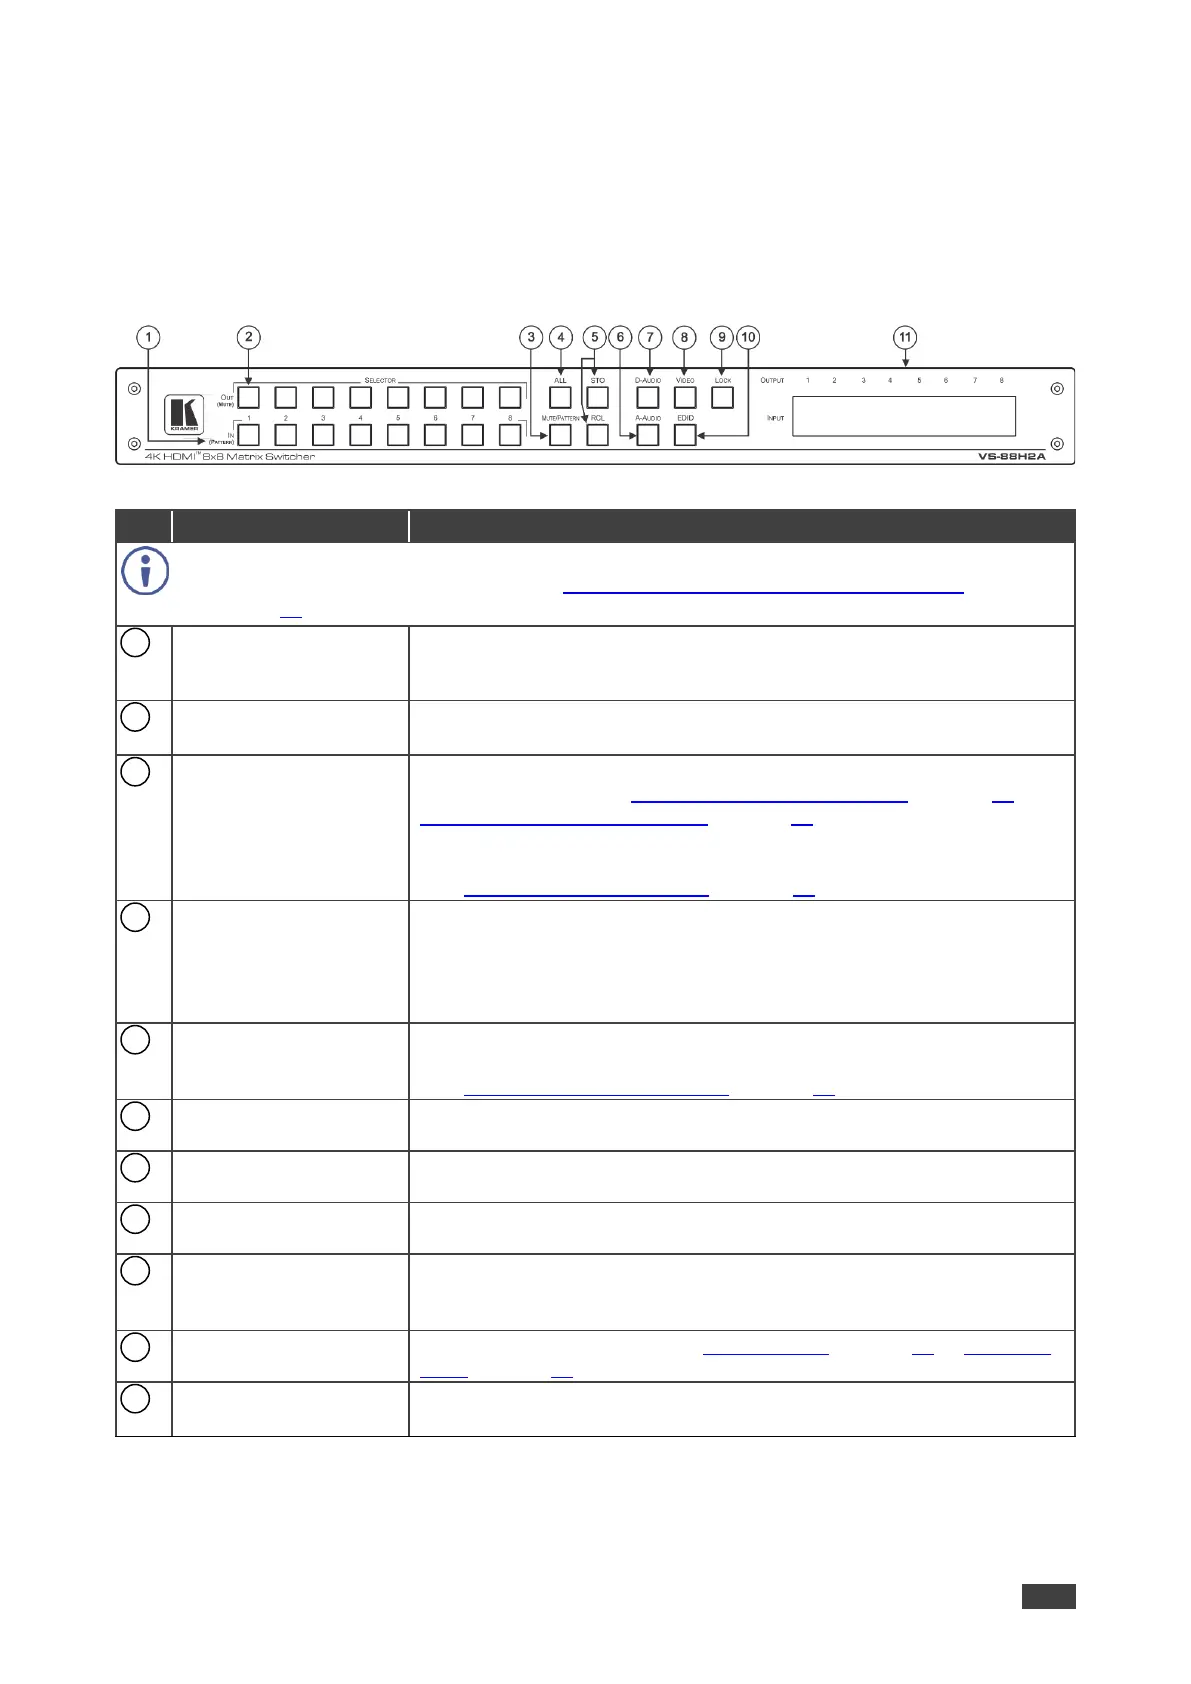
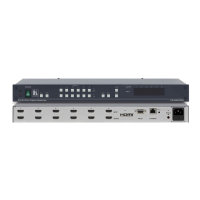
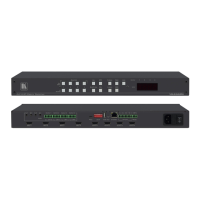
Figure 1: VS-88H2A 4K HDMI 8x8 Matrix Switcher Front Panel
The behavior of the front panel buttons and the 7-segment display changes along with the
operation modes. For further details see Operating VS-88H2A via Front Panel Buttons
on page 10.
IN (PATTERN)
SELECTOR Buttons
Press to select the input (1 to 8) to switch after selecting an output (also
used for storing machine setups in the STO-RCL modes and for
selecting a pattern in the Pattern mode).
OUT (MUTE)
SELECTOR Buttons
Press to select an output (1 to 8) to which the input is routed. Also used
for storing machine presets.
Press to view the current pattern status and select the output/s to which
a pattern is routed (see Routing a Pattern to the Output on page 17 or
Switching a Pattern to an Output on page 35).
Press to mute audio or video on a selected output when
D-AUDIO/A-AUDIO, and/or VIDEO buttons are pressed (lit)
(see Muting/Unmuting an Output on page 16).
Press to perform an action on all outputs (for example setting Mute
mode, Pattern mode and so on).
For switching, press ALL and then a specific IN button to route the
selected input to all outputs. For example, press ALL and then IN 2 to
route input 2 to all the outputs.
Press STO to store the current switching setting to a preset button.
Press RCL to recall the switching setting from a preset button
(see Storing and Recalling a Setup on page 23).
Press to enable analog audio routing. When pressed together with
VIDEO, the analog audio is routed together with the video signal.
Press to enable digital audio routing. When pressed together with
VIDEO, the digital audio is routed together with the video signal.
Press to select video inputs. When pressed together with
D-AUDIO/A-AUDIO, video is switched together with audio.
Press and hold to toggle locking/releasing of the front panel buttons.
Press to save the following setups: HDCP (On/Off), ARC, Fast Switch
and Switch mode.
Press to capture the EDID (see Copying EDID on page 25 or Managing
EDID on page 49).
OUTPUT/INPUT
7-segment LED Display
Displays the selected inputs switched to the outputs (marked above
each input).