4-10 Issue 05, 01/01 Krautkramer DM4E / DM4 / DM4 DL
Basics of operation Automatic probe zero adjustment
4.7 Automatic probe recognition
When you work with one of our DIALOG probes, the
correction data stored in the corresponding probe is
automatically recognized. By doing this, a higher mea-
surement accuracy is achieved as well as an optimum
setting and DM4 performance.
The automatic probe recognition of all specified DM4
probes is indicated after the P0 display; the corre-
sponding probe type number is displayed for a short
time (for probe type numbers refer to page 1-13).
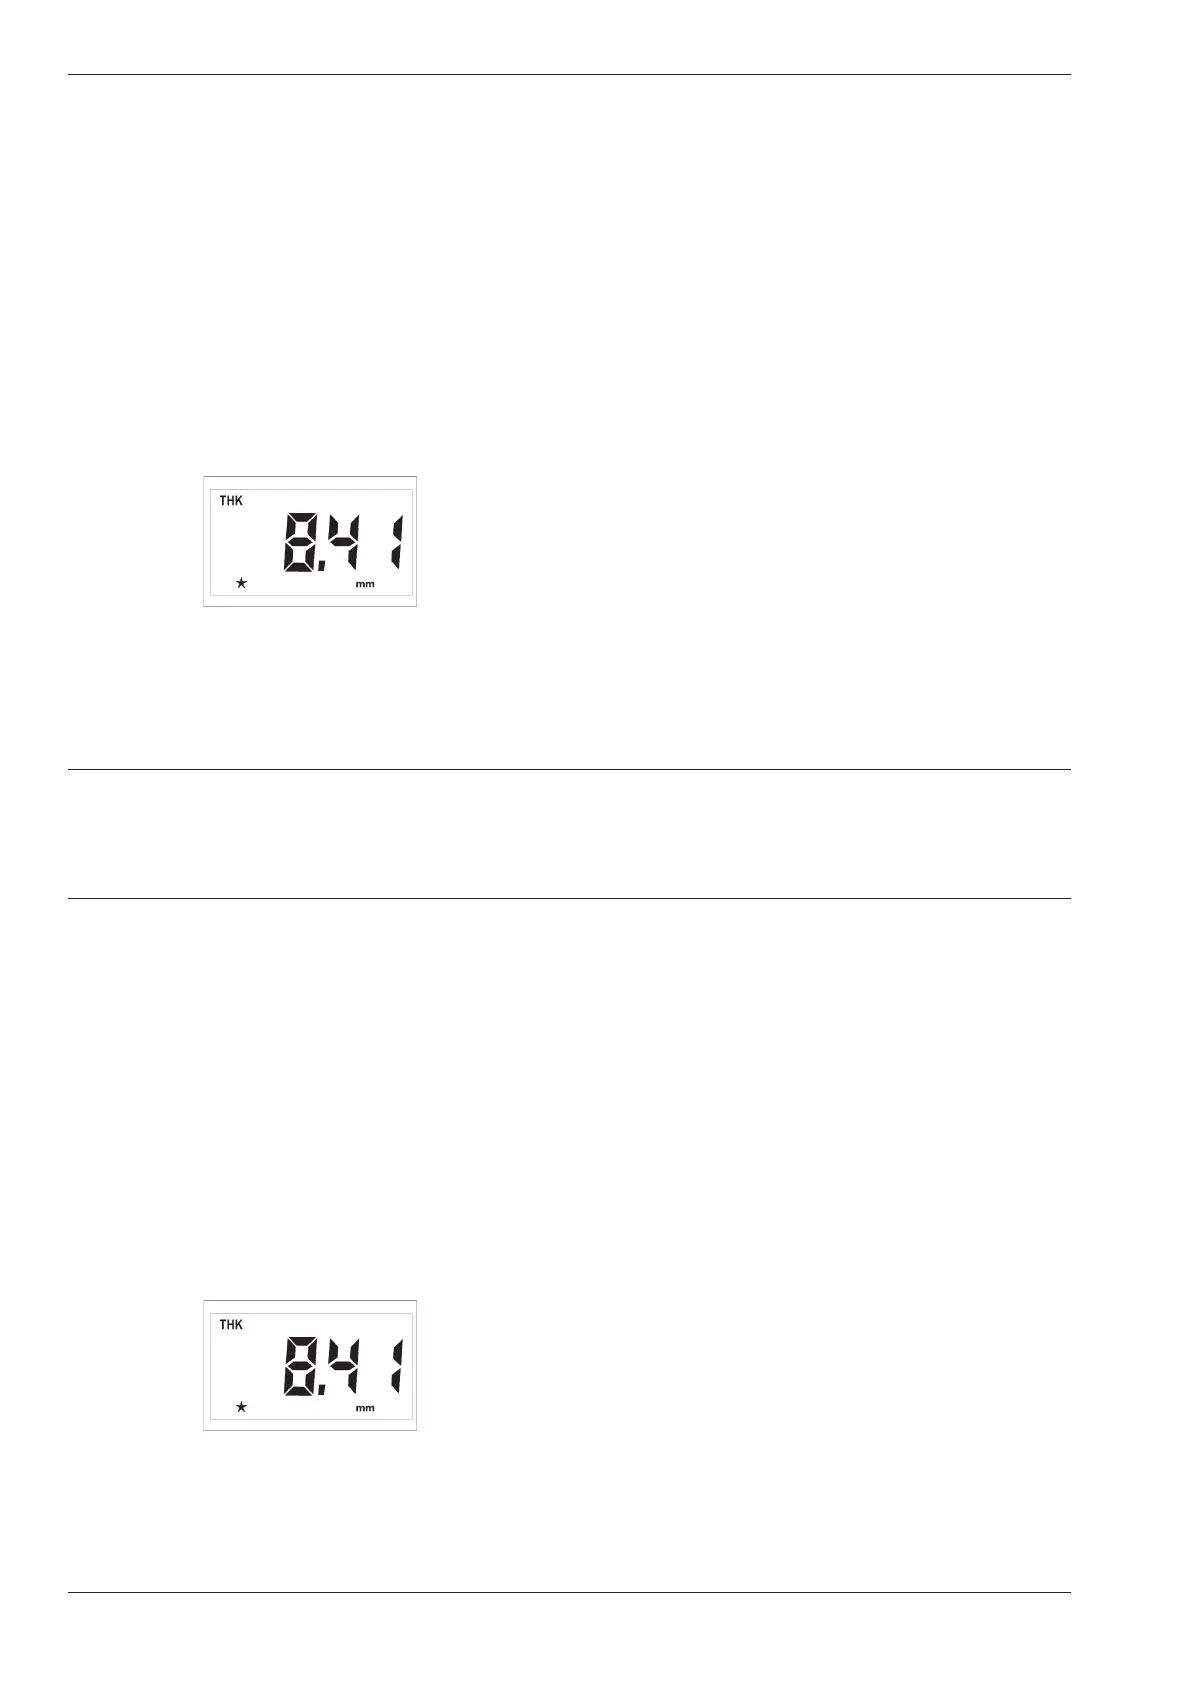
In the measurement mode the recognition of DIALOG
probes is indicated as a star in the display, e.g.:
If you work with other probes, e.g. the DA 3 series
(refer to Chapter 2, Scope of supply and accessories),
the star does not appear in the display. The instrument
operates with general settings.
4.8 Handling the probe
In order to carry out error-free measurements you
should observe a few rules when handling the probe:
– Connect the probe to the socket on the top of the
housing and switch the instrument on.
– If the thickness mode(THK) is not displayed keep
pressing m until THK appears.
– Apply a small amount of couplant (the size of a
small pea) to the surface of the test object.
– Couple the probe to the reference block. Place the
probe onto the surface, applying a constant, slight
pressure. Make certain that the probe is completely
positioned on the reference block.
When there is sufficient coupling, the coupling symbol
p appears on the display and the measured thickness
is displayed immediately.
Make certain that the indicated measurement value is
stable.
When you couple the probe the measurement value is
displayed further.
4-10 Issue 05, 01/01 Krautkramer DM4E / DM4 / DM4 DL
Basics of operation Automatic probe zero adjustment
4.7 Automatic probe recognition
When you work with one of our DIALOG probes, the
correction data stored in the corresponding probe is
automatically recognized. By doing this, a higher mea-
surement accuracy is achieved as well as an optimum
setting and DM4 performance.
The automatic probe recognition of all specified DM4
probes is indicated after the P0 display; the corre-
sponding probe type number is displayed for a short
time (for probe type numbers refer to page 1-13).
In the measurement mode the recognition of DIALOG
probes is indicated as a star in the display, e.g.:
If you work with other probes, e.g. the DA 3 series
(refer to Chapter 2, Scope of supply and accessories),
the star does not appear in the display. The instrument
operates with general settings.
4.8 Handling the probe
In order to carry out error-free measurements you
should observe a few rules when handling the probe:
– Connect the probe to the socket on the top of the
housing and switch the instrument on.
– If the thickness mode(THK) is not displayed keep
pressing m until THK appears.
– Apply a small amount of couplant (the size of a
small pea) to the surface of the test object.
– Couple the probe to the reference block. Place the
probe onto the surface, applying a constant, slight
pressure. Make certain that the probe is completely
positioned on the reference block.
When there is sufficient coupling, the coupling symbol
p appears on the display and the measured thickness
is displayed immediately.
Make certain that the indicated measurement value is
stable.
When you couple the probe the measurement value is
displayed further.