Krautkramer DM4E / DM4 / DM4 DL Issue 05, 01/01 5-7
Calibrating the instrument Operation
2-point calibration
The 2-point calibration enables you to carry out an
accurate calibration. You should carry out this type of
calibration when you are required to carry out mea-
surements within a narrow thickness range.
You require a calibration block having two different
thicknesses (or two calibration blocks) which approxi-
mately correspond to the upper and lower limits of the
thickness range to be measured.
Operation:
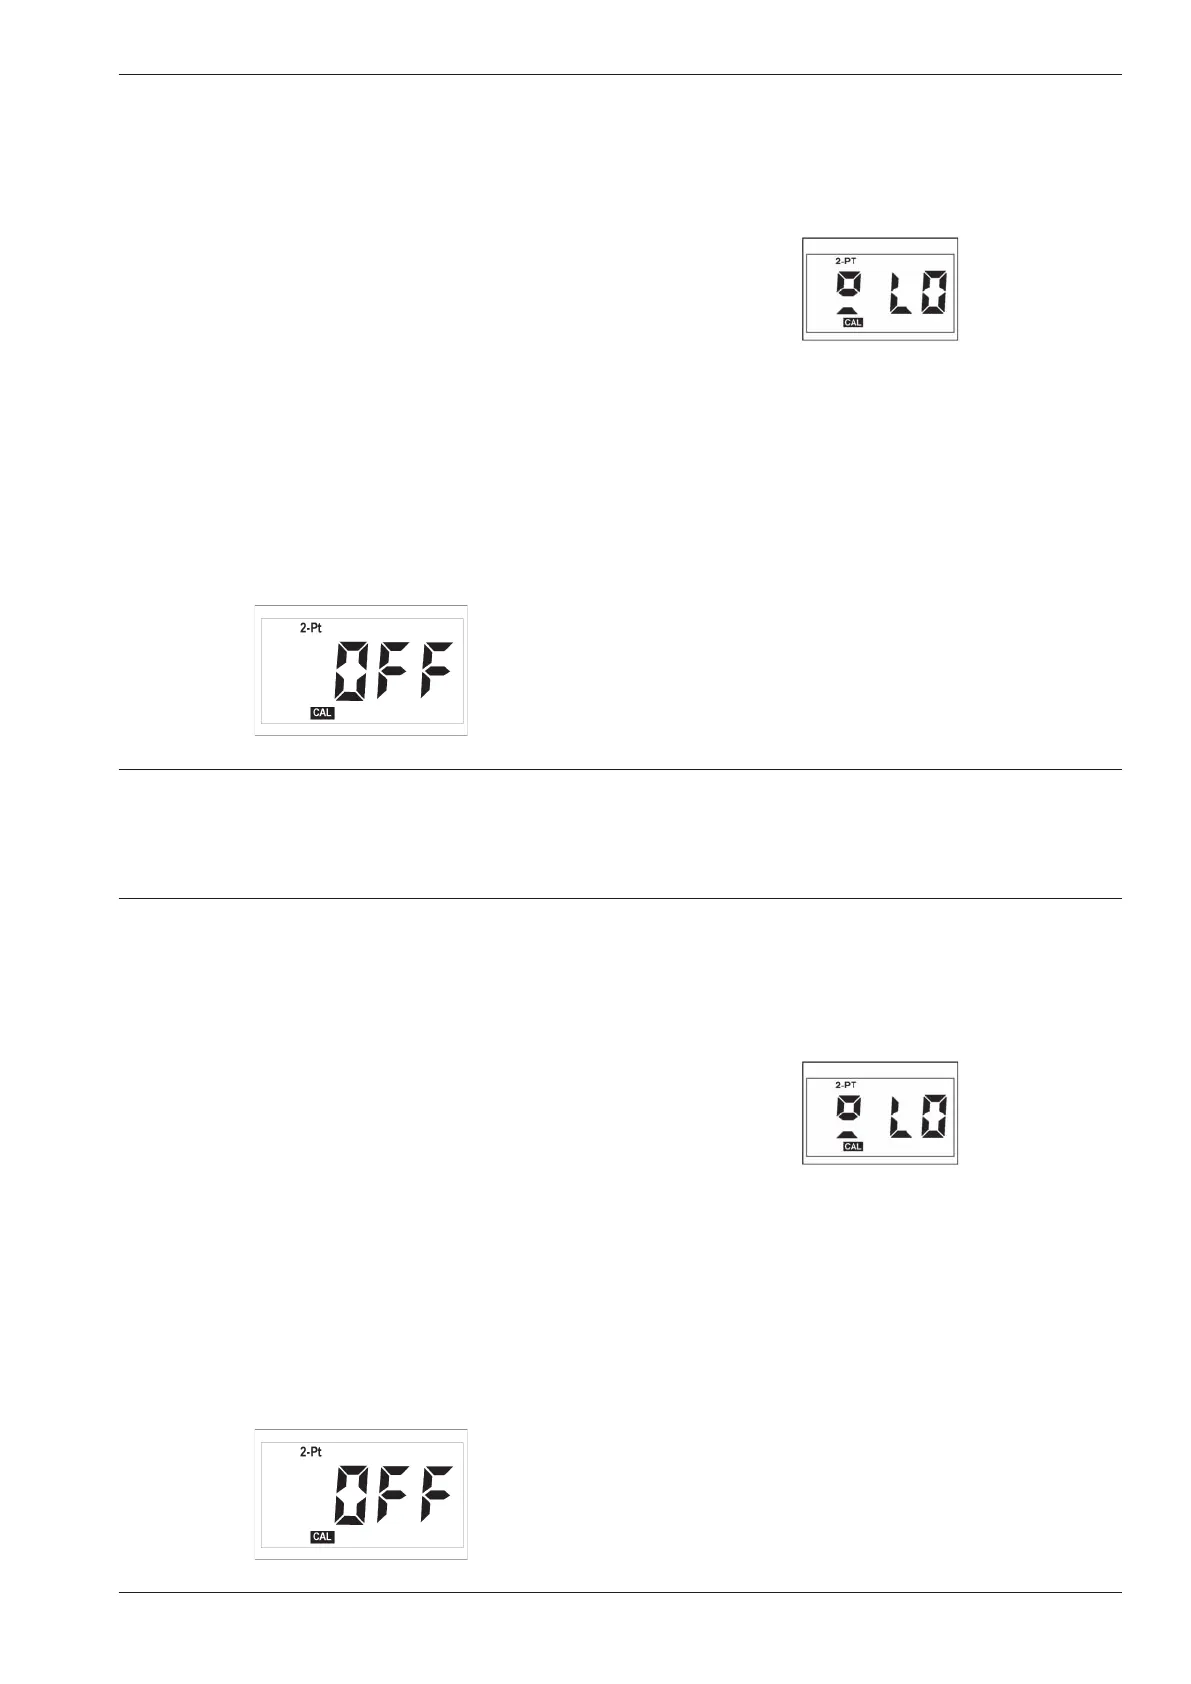
– Press m until the 2-point calibration function (2-PT)
is displayed. This function is switched of in the basic
setting.
– Press c.
The CAL indication now flashes.
– Switch the function on with d or u.
– Press c again.
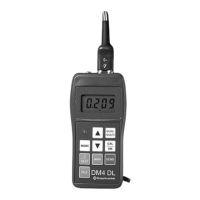
The following display appears:
– Couple the probe to the step with the lowest thick-
ness on the calibration block. Make certain that the
coupling symbol appears and that the indication is
stable.
– You can now decouple the probe because the
measurement value will remain.
– Correct the displayed measurement value using d
u so that it corresponds with the actual thickness
of the calibration block.
– Press c.
After this, calibrate the 2nd point (larger thickness).
– Press c again.
Krautkramer DM4E / DM4 / DM4 DL Issue 05, 01/01 5-7
Calibrating the instrument Operation
2-point calibration
The 2-point calibration enables you to carry out an
accurate calibration. You should carry out this type of
calibration when you are required to carry out mea-
surements within a narrow thickness range.
You require a calibration block having two different
thicknesses (or two calibration blocks) which approxi-
mately correspond to the upper and lower limits of the
thickness range to be measured.
Operation:
– Press m until the 2-point calibration function (2-PT)
is displayed. This function is switched of in the basic
setting.
– Press c.
The CAL indication now flashes.
– Switch the function on with d or u.
– Press c again.
The following display appears:
– Couple the probe to the step with the lowest thick-
ness on the calibration block. Make certain that the
coupling symbol appears and that the indication is
stable.
– You can now decouple the probe because the
measurement value will remain.
– Correct the displayed measurement value using d
u so that it corresponds with the actual thickness
of the calibration block.
– Press c.
After this, calibrate the 2nd point (larger thickness).
– Press c again.