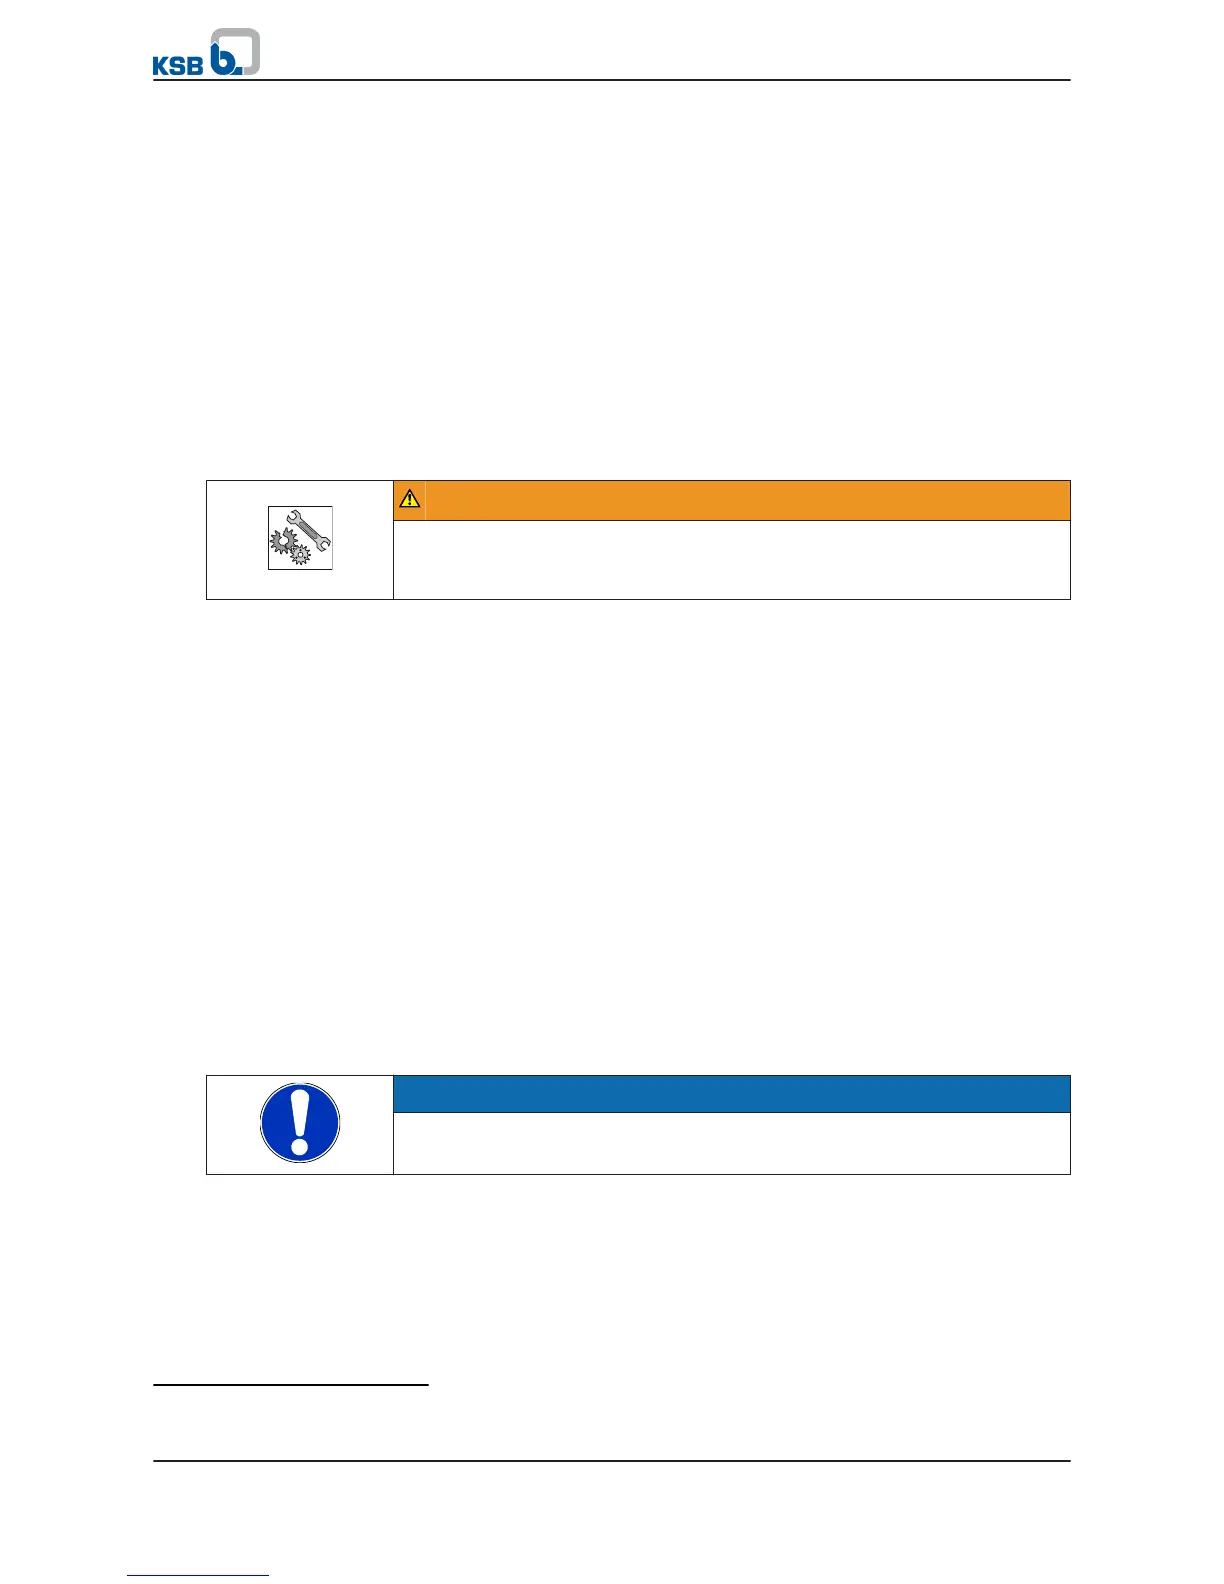
Suspend the submersible borehole pump from the riser to transport it to its actual
place of installation/operation. The riser can differ in design and material.
Consequentially, the installation and application options also differ. Always observe
the installation instructions of the respective riser when installing a submersible
borehole pump! The riser always has to be designed for the maximum forces, torques
and pressures in the system.
General information of lowering the pump set into the well
▪ It is recommended to fit a centring device to prevent the pump set and the walls
of the well from any damage during installation.
▪ Fit cable ties every three metres to protect the power cable against any damage.
Cable ties are suitable for metal risers and/or thick-walled plastic risers. On all
other riser types, the power cable also has to be secured every three metres.
▪ Tighten the cable ties firmly to prevent the power cable from slipping
downwards by its own weight! Otherwise, the cable could be affected by
impermissibly high tensile stress.
WARNING
Installing pipe sections of extensive length
Impermissible bending of the pump set when pulling it upright!
▷ The length of the first pipe section must not exceed two metres.
Installation example with a metal riser (pipes)
✓ Suitable lifting equipment for the total weight has been selected and is on hand.
(⇨ Section 5.2.6 Page 25)
✓ The motor fill has been checked and topped up, if required.
✓ Any extension cables have been properly connected to the power cable as well as
to the measuring and control cables.
✓ The pump set has been placed in horizontal position in a level assembly area and
is protected against rolling off.
✓ Cable ties to securely fasten the power cable and any measuring and control
cables are on hand.
✓ A sealing agent is available.
✓ A mounting plate, pairs of supporting clamps and beams have been selected for
the total weight(⇨ Section 5.2.6 Page 25)and are on hand.
✓
Risers with recesses in the flanges
10)
are on hand.
1. For flanged risers:
Bolt the first pipe section (max. length 2 m) to the connection branch. Fasten
the mounting plate to this pipe section.
2.
Fasten the first pair of supporting clamps below the upper flange.
NOTE
On threaded risers fit an anti-rotation device to prevent the pump set from
unscrewing itself from the threaded riser during start-up.
1. For threaded risers:
Apply a sealing agent and screw the first pipe section (max. length 2 m) into the
connection branch. Secure the connection with the two supplied securing
screws. For this purpose, drill a shallow hole into the threaded end of the pipe
section, taking care not to drill through the threaded end. Insert the locking
screws with thread-locking compound in such a way that their tips rest lightly
but do not press on the threaded pipe end! Allow time for the sealing agent to
cure. The connection is now sufficiently secured against loosening.
10)
Applies to flanged risers only
5 Installation at Site
28 of 64
UPA, UPZ, BSX