Option 2 - Flush-mounting
1. Choose a location based upon the guidelines in
“Choosing the Best Location for the ADCU” on
page 14.
2. A template has been provided in Appendix B on
page 131 as a guide to mark and cut the proper
hole for the flush mount bracket. Cut the hole and
make certain the bracket and ADCU will fit easily.
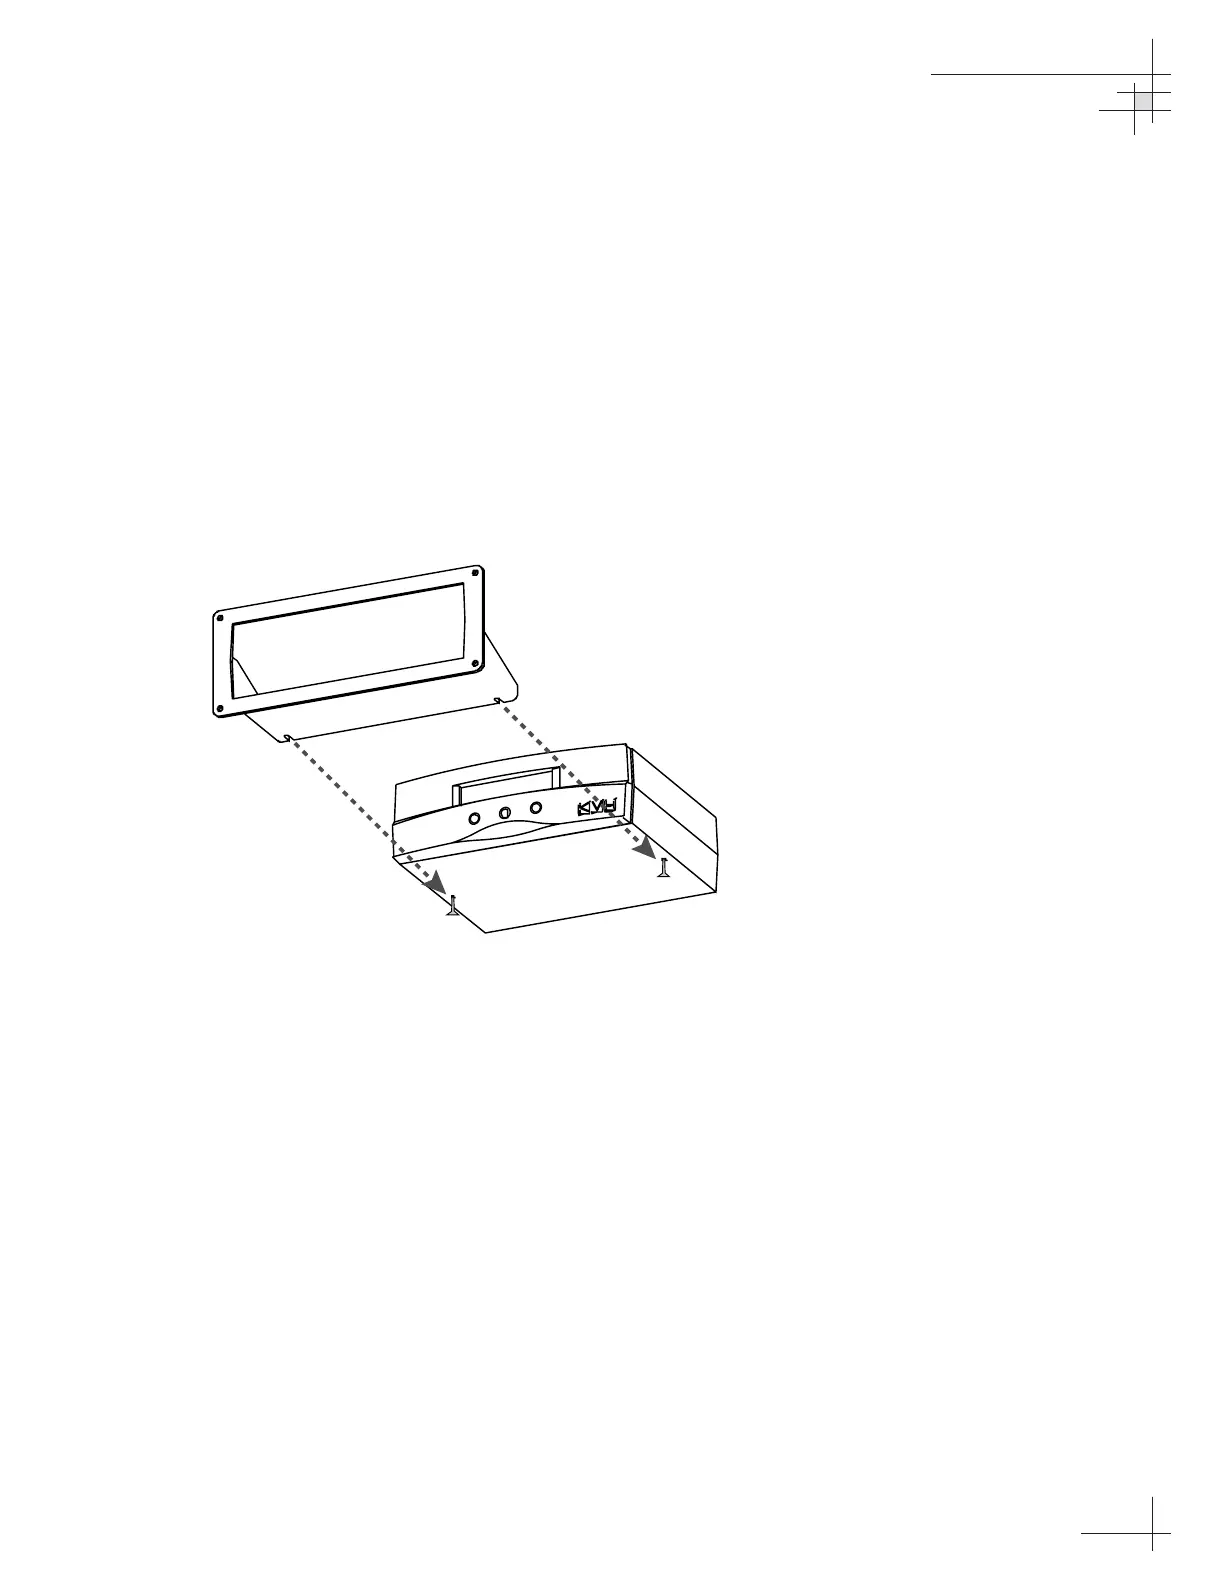
3. Attach the flush mount bracket to the ADCU by
loosening the two screws on the underside of the
ADCU. Slide the flush mount bracket backward
over the ADCU until the two notches meet the
screws as shown in Figure 2-16.
4. Tighten the screws to secure the ADCU to the
bracket.
5. After completing the wiring described in
Section 2.6, “Wiring the ADCU,” insert the ADCU
and bracket into the hole and secure the unit to the
mounting surface with the #8 (black) screws and
#8 washers supplied in the kitpack.
Installation
54-0161
25
Figure 2-16
Securing the ADCU to the
Flush Mount Bracket
 Loading...