2.4 Mounting the ADCU
Mount the ADCU using either of the following options:
Option 1 - Velcro Fastening on a Horizontal Surface
Option 2 - Flush-mounting
The following sections describe how to mount the sensor for both
of these options.
Option 1 - Velcro Fastening on a Horizontal Surface
1. Choose a location based upon the guidelines in
“Choosing the Best Location for the ADCU” on
page 14.
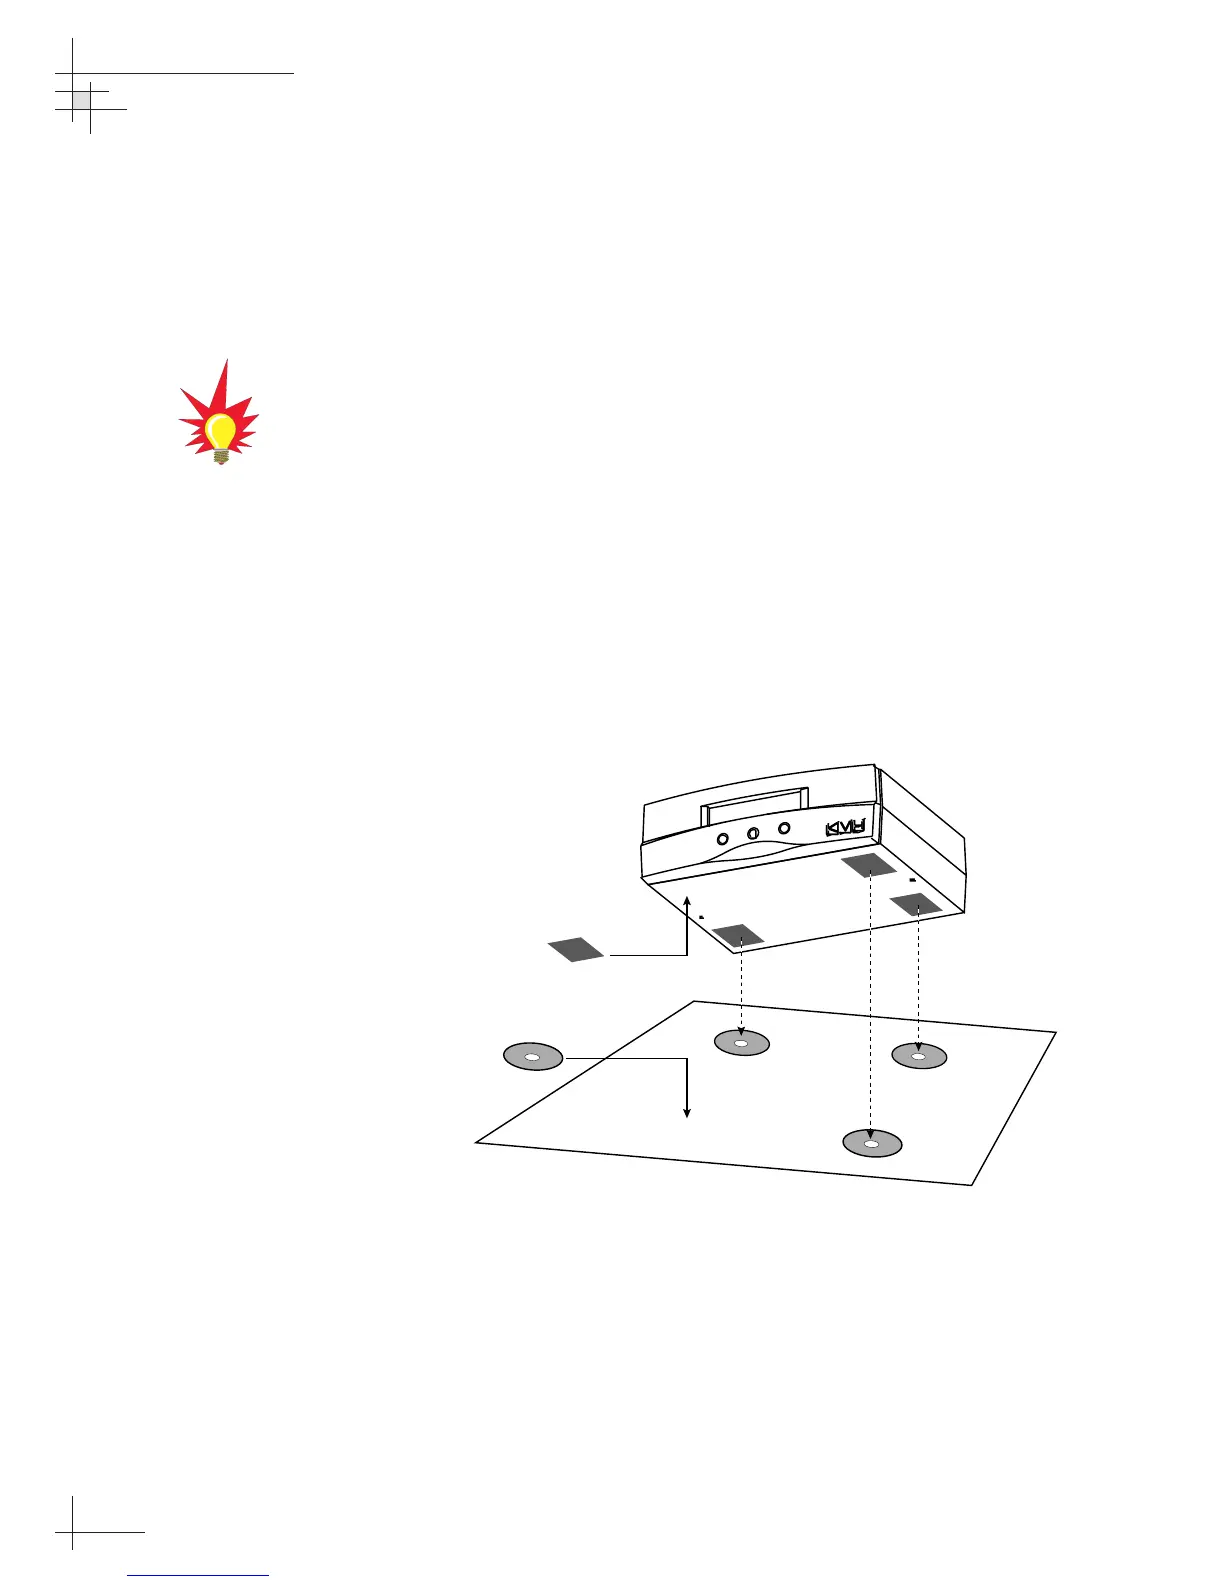
2. Remove the four squares of Velcro fabric from the
kitpack. Clean the bottom of the housing with a
mild detergent and water to remove oils, etc. Peel
the protective backing from the squares and apply
them to the bottom of the housing at each of the
four corners (see Figure 2-15).
3. Position the four Velcro hook disks where the
ADCU will be mounted. Drill screw holes for the
disks and secure in place with the #4-24 screws
supplied in the kitpack.
4. Press the ADCU firmly into place so that the loop
material engages the hook disks.
54-0161
24
TracVision G6 Technical Manual
When choosing a location, take into
account the space required to
route, position, and strain-relieve all
cables that will be attached to the
back of the ADCU. Directions for
proper wiring are presented in
Section 2.6, “Wiring the ADCU” on
page 30.
Figure 2-15
Mounting the ADCU with
Velcro Attachments
 Loading...