5
5-5
Sending Functions
Zoom
Scans the original by automatically zooming it depending on the sending size.
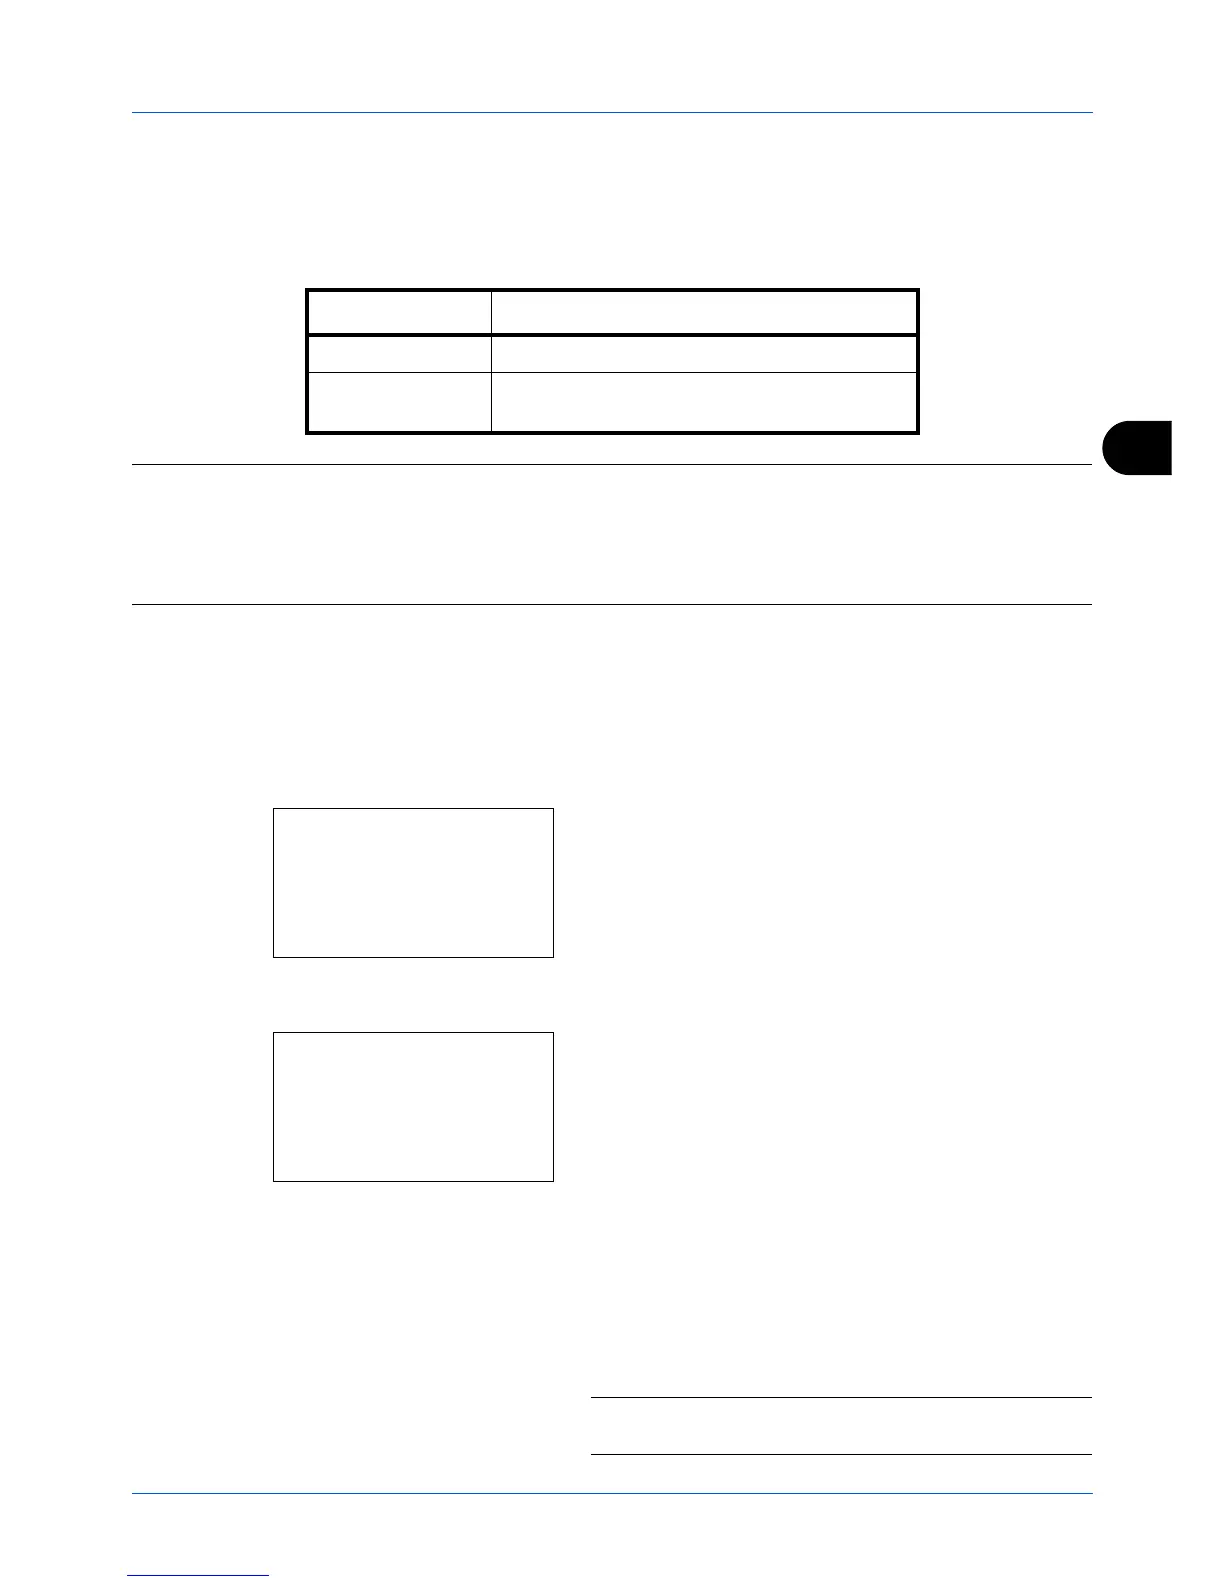
The table below lists the available options.
NOTE:
When zooming in or out, see
Sending Size on page 5-3
when selecting the sending size.
When Custom Size or
Size Entry
is selected as the original size, the originals are sent at normal size and zooming
cannot be used.
Depending on the combination of original size and sending size, the image is placed at the edge.
Use the procedure below to enlarge or reduce the original to match the transmission size.
1
Press the
Send
key.
2
Place the original.
3
Select the transmission size.
4
Press the
Function Menu
key. Function Menu appears.
5
Press the
or
key to select [Zoom].
6
Press the
OK
key. Zoom appears.
7
Press the
or
key to select [100%] or [Auto] and then
press the
OK
key.
Completed.
is displayed and the screen returns to the
basic screen for sending.
8
Specify the destination, and press the
Start
key to start
sending.
NOTE:
Press the
Reset
key to reset the settings selected in
Function Menu.
Item Detail
100% No Zoom (to be scanned at actual size)
Auto Zoomed automatically according to the specified
sending size.
 Loading...