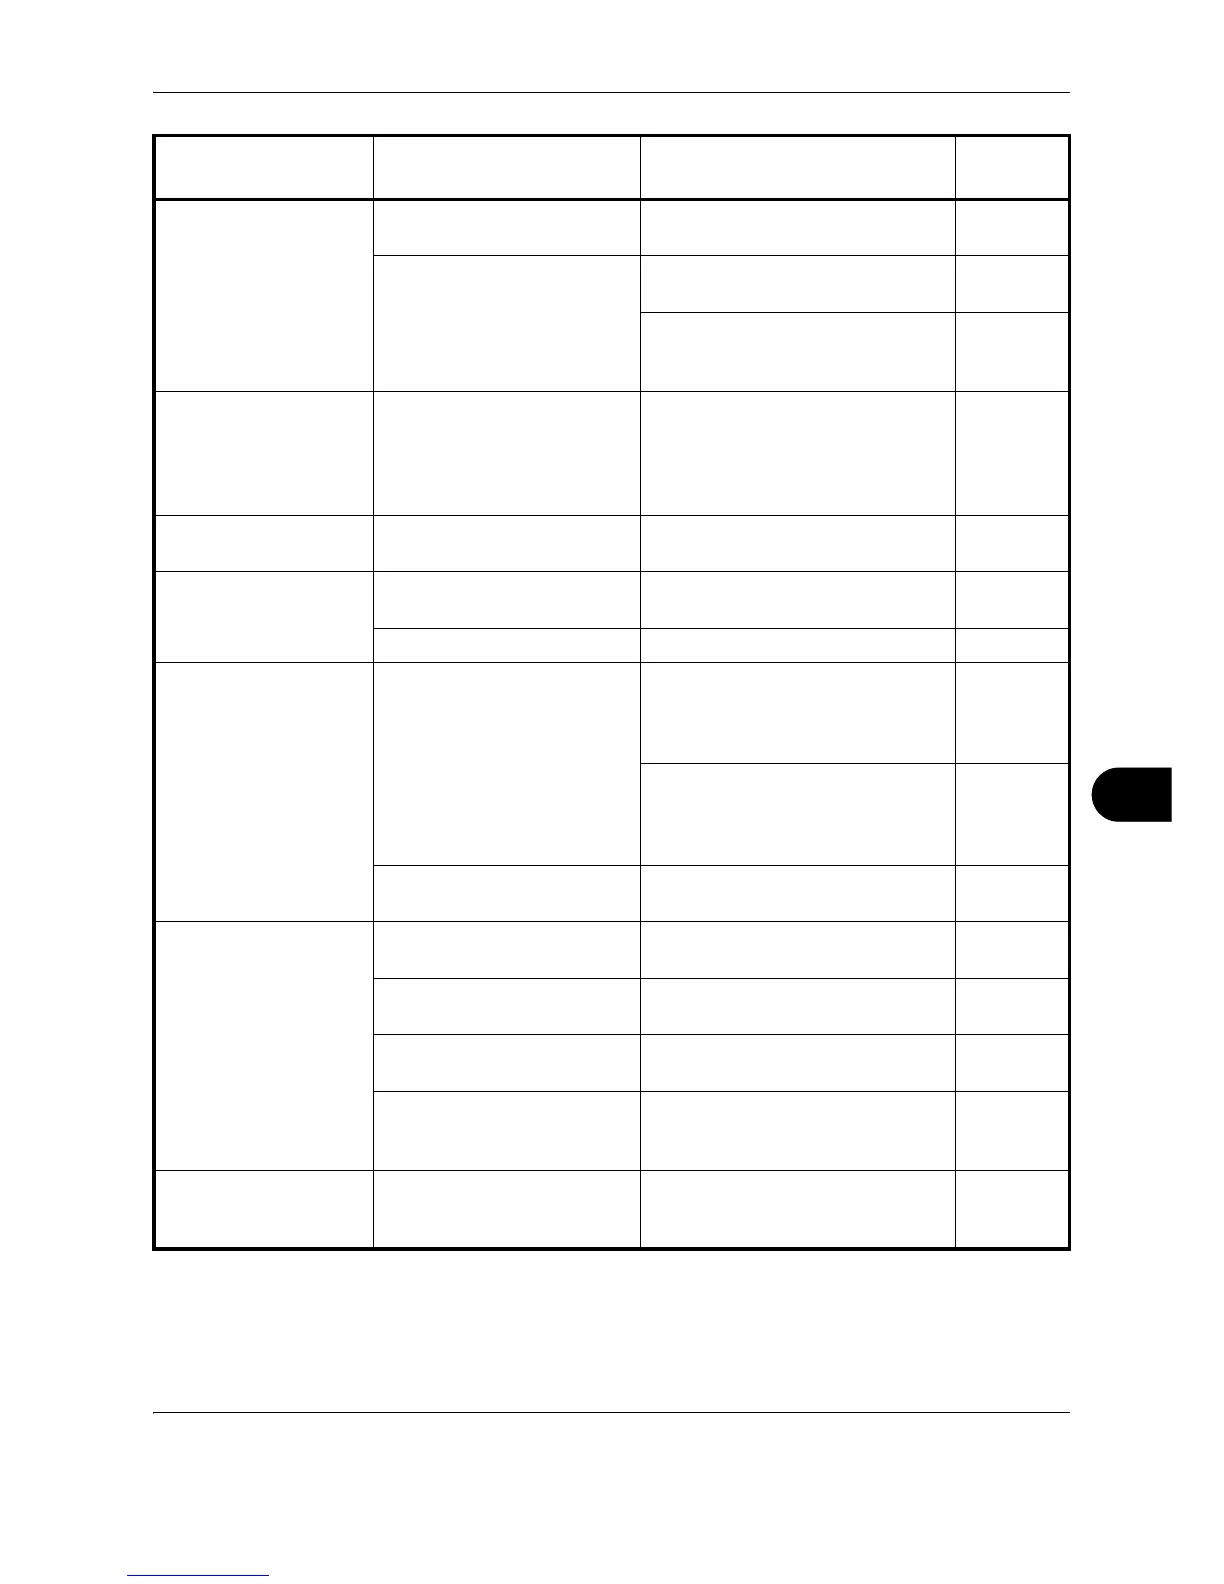
Troubleshooting
OPERATION GUIDE 8-3
8
Printouts are too dark. Is the machine in Auto
Density mode?
Set the correct density level for
auto density.
—
Is the machine in Manual
Density mode?
Use the Image Quality selection
key to set the correct density level.
4-4
When changing the default density
level, adjust the density manually
and choose the desired level.
—
Copies have a moire
pattern (dots grouped
together in patterns
and not aligned
uniformly).
Is the original a printed
photograph?
Select “Photos” in the Image
Quality Mode.
4-4
Printouts are not
clear.
Did you choose appropriate
image quality for the original?
Select appropriate image quality. 4-4
Printouts are dirty. Is the platen or the original
cover dirty?
Clean the platen or the original
cover.
7-2
Is the transfer roller dirty? Brush the transfer roller clean. 7-4
Images are skewed. Are the originals placed
correctly?
Make sure that the original is
correctly set against the Original
Size Indicator Plate when placing
the original on the platen.
2-13
When placing originals in the
optional document processor, align
the original width guides securely
before placing the originals.
2-14
Is the paper loaded
correctly?
Check the position of the paper
width guides.
2-4, 2-7
Paper often jams. Is the paper loaded
correctly?
Load the paper correctly. 2-3
Is the paper of the supported
type? Is it in good condition?
Remove the paper, turn it over, and
reload it.
—
Is the paper curled, folded or
wrinkled?
Replace the paper with new paper. 2-3
Are there any loose scraps or
jammed paper in the
machine?
Remove any jammed paper. 8-9
Printouts from the
document processor
have black lines.
Is the slit glass dirty? Clean the slit glass. 7-2
Symptom Checkpoints Corrective Actions
Reference
Page
 Loading...