Inspection and preventive maintenance
Rigging part inspection
About this task
For critical rigging parts, use the Inspection references (p.59) for comparison and specic manipulations.
Prerequisite
Perform the inspection in a well-lit environment.
Procedure
1. Check that the rigging part is present.
2. If applicable, disassemble the rigging part from the enclosure or the rigging accessory.
Check that the tethers are intact and safely secured.
3. Inspect the part from every side.
Compare with the reference pictures.
Check for:
• corrosion
• wear and cracks
• bends and dents
• holes
• missing safety cues
• missing identication labels
• missing or loose fasteners
Replacing screws
If a screw is loose, remove and replace it.
Always use the new screws provided in the repair kit.
If no new screw is available, add blue threadlocker before reusing the screw.
Do not apply more than the indicated torque.
4. Check the geometry of the part to identify critical deformations.
Place the rigging part on a at surface or hold a level against it.
5. Check the moving parts.
Make sure that the mechanism engages correctly.
What to do next
If a problem is detected, perform the authorized maintenance operations or contact your L-Acoustics representative.
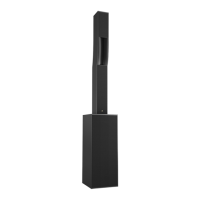
Mechanical system overview
Critical parts of the lifting chains are highlighted.
The indicates a visual inspection. The indicates a functional check.
Perform the Rigging part inspection (p.52) on critical parts.
For each part, refer to the Inspection references (p.59).
Replacing screws
If a screw is loose, remove and replace it.
Always use the new screws provided in the repair kit.
If no new screw is available, add blue threadlocker before reusing the screw.
Do not apply more than the indicated torque.
52 A10 owner's manual (EN) version 1.1