Product Service 1-800-522-7658
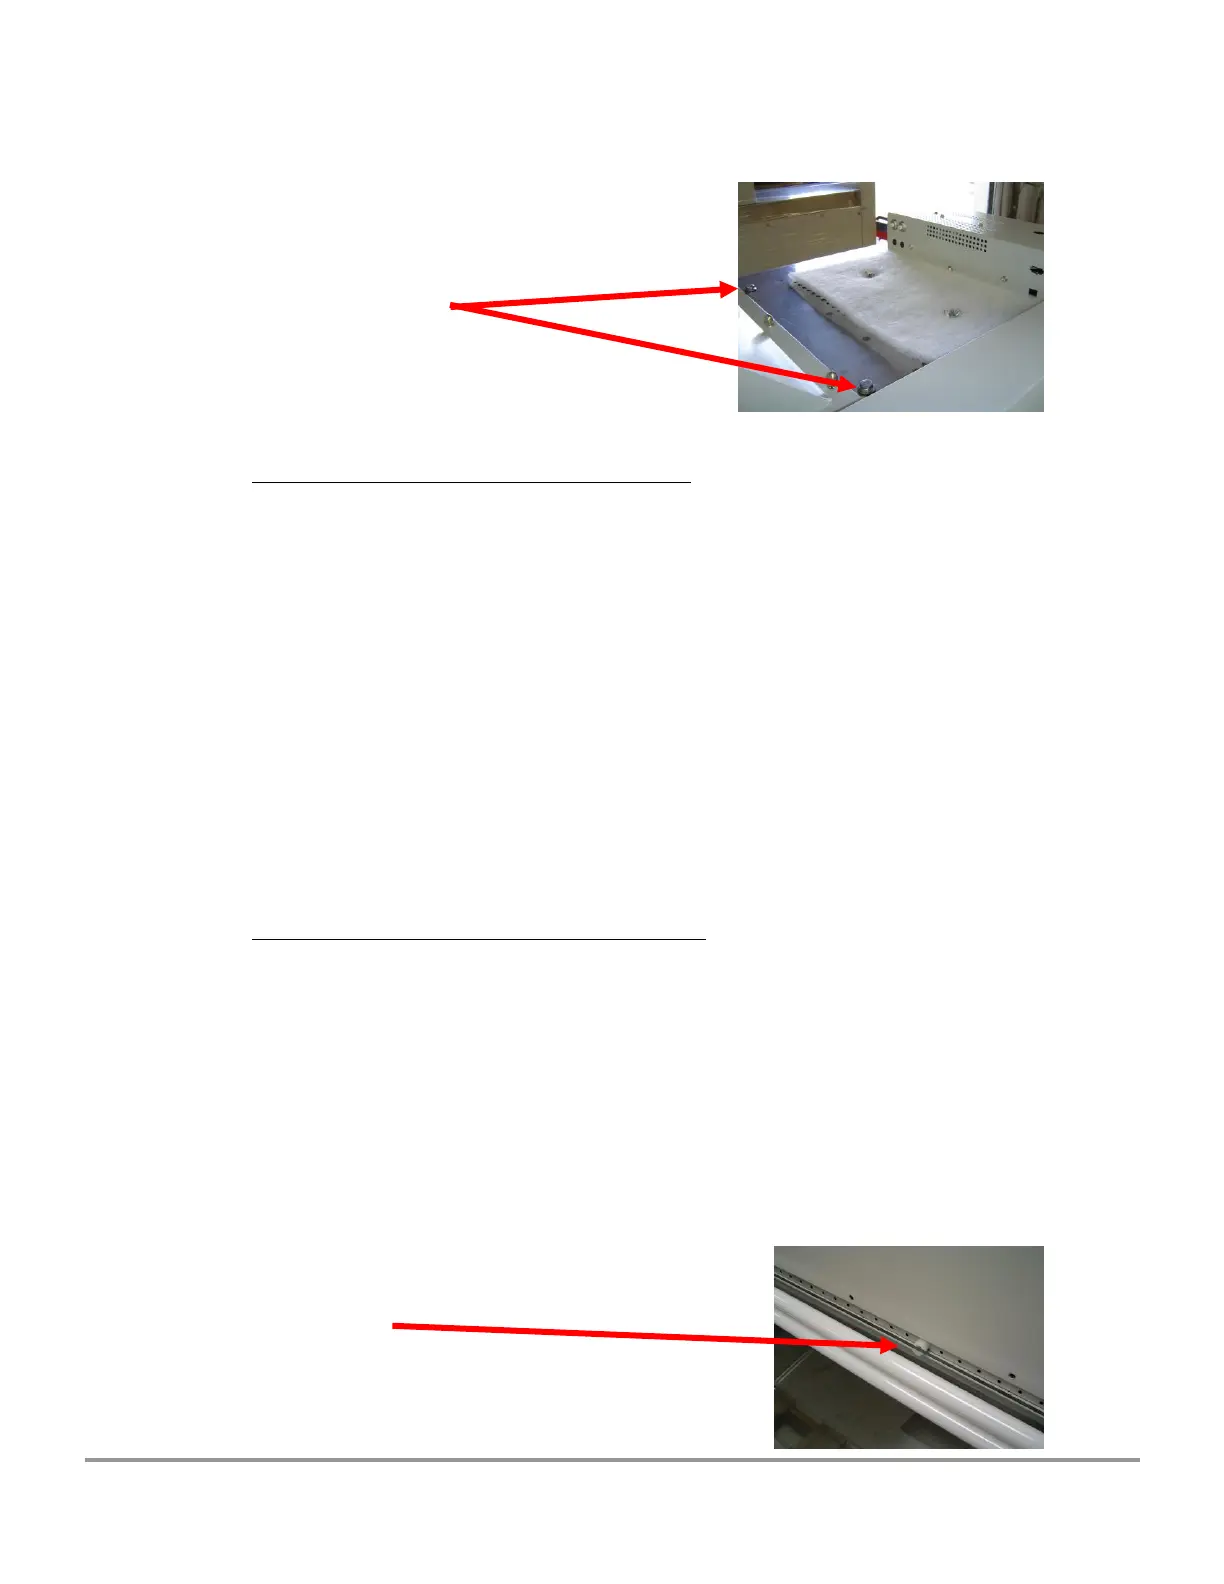
Figure 6-25
Exhaust HEPA Filter bolts
(two in each side of the
exhaust connection)
To Install an Exhaust HEPA Filter:
1. Slide the new exhaust HEPA filter all the way into the pan.
2. Sequentially tighten the four exhaust filter sealing bolts located at each
corner of the exhaust filter tray until the exhaust filter gasket is compressed
no more than 50%.
The exhaust filter sealing bolts should only be tightened enough to ensure a
proper seal of the exhaust HEPA filter. At maximum tightness, the exhaust
filter's gasket should be compressed to 50% of its original thickness. NEVER
tighten the bolts beyond this setting.
3. Install the exhaust HEPA filter cover, uniformly tightening the screws on the
cover until the gasket has formed a proper seal.
To Remove the Supply HEPA Filter:
1. Loosen all of the Phillips screws on the blower/supply filter chamber cover.
Remove all of the screws except two screws on the top center of the panel.
This will support the panel.
2. Remove the last two screws. Gently rock the cover, slide it to the left or
right, and swing it out and away from the unit.
NOTE: During disassembly, the blower plenum cover can rest on the center
sash support, as shown in Figure 6-26, to allow repositioning of the panel or
your grip on it.
Figure 6-26
Center Sash Support