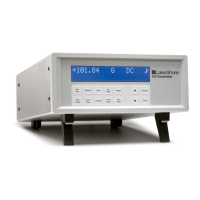
Service
5.6.2.2 10 µA Current Source Calibration and 1 mA
Current Source Verification
Purpose
To calibrate the 10 µA current source to be within the specified tolerance
and verify operation of the 1 mA current source.
Process
1. Configure the input for the silicon diode input type.
2. Accurately determine the value of the 250 k resistor using the DMM.
Determine the calibration value by multiplying the actual resistance of
the 250 k resistor by 10 × 10
–6
.
3. Attach the 250 k resistor to the 211 input using proper 4-lead
connection techniques, configure the DMM to read VDC and attach
across the voltage terminals of the resistor.
4. Remove the four screws on the rear panel of the instrument. Slide the
PC board assembly out enough to expose R9.
5. Adjust the current source calibration pot, R9, on the 211 main board
until the DMM reads the value calculated in Step 2 to ±0.0002 VDC.
6. Slide the PC board back into the enclosure and replace the four screws
on the rear panel.
7. Configure the input for the 1 k platinum input type.
8. Accurately determine the value of the 1 k resistor using the DMM.
Determine the verification value by multiplying the actual resistance of
the 1 k × 10
–3
.
9. Attach the 1 k resistor to the 211 input using proper 4-lead
connection techniques, configure the DMM to read VDC and attach to
the resistor.
10. Measure voltage across resistor and verify it is within ±0.3% of the
value calculated in Step 8.
5.6.2.3 Input Gain Calibration
Purpose
To determine the input offset and gain errors when the input is configured
for each of the input types and provide offset and gain calibration constants
back to the 211. Refer to CALZ and CALG commands in Paragraph 5.6.4.
Process
1. Configure the input for the type to be calibrated.
 Loading...