4: Configuration
Lantronix® xPrintServer® User Guide 37
Enabling or Disabling Discovery
The xPrintServer device’s printer auto-discovery is enabled by default so that whenever you start
up your xPrintServer device, auto discovery will automatically run one time. Auto discovery can
be disabled or re-enabled at any time. Use these instructions to disable or re-enable auto
discovery.
1. Login to the xPrintServer device’s Admin interface (see Logging In.)
2. Click the Printer tab to access the Printers > List page (see Figure 4-1.)
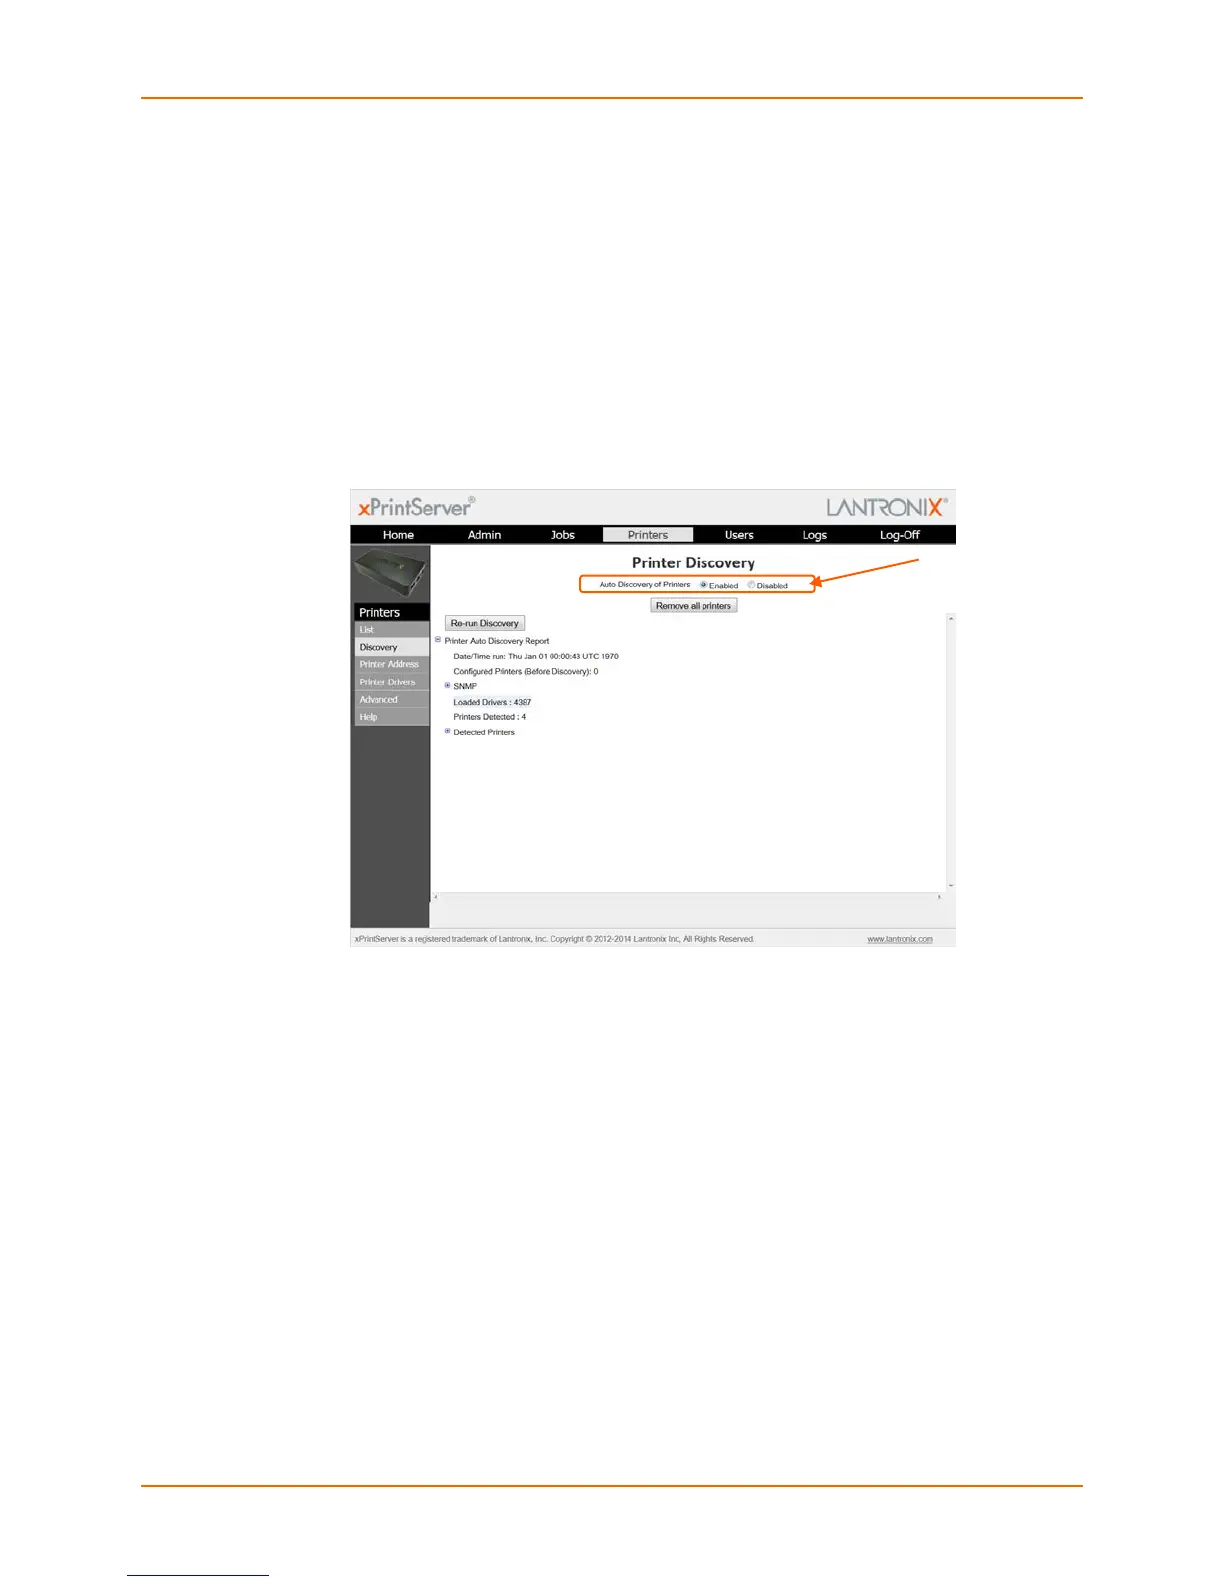
3. Click the Discovery link to the left of the page to reach the Printer Discovery page. The
current auto discovery mode will be displayed at the top of the page.
Figure 4-2 Printer Discovery Page
4. Check Enabled or Disabled to enable or disable printer discovery, as desired. The auto
discovery mode will automatically adjust to your selection in a few seconds and your mode
choice will be remembered for subsequent xPrintServer unit startups.
Configuring Printers through Auto Discovery
Auto discovery of printers happens automatically each time you startup the xPrintServer unit, so
long as auto discovery is enabled prior to the startup.
1. Make sure auto discovery is enabled (see Enabling or Disabling Discovery above.)
2. Startup and login to the xPrintServer device’s Admin interface (see Logging In) as usual. The
Discovery protocol runs one time automatically upon startup.
3. Click the Printer tab to access the Printers > List page (see Figure 4-1.) All printers which
were auto discovered at this startup will be listed here with “Auto Discovered” listed under the
Location column.
4. Click the Discovery link to the left of the page to reach the Printer Discovery page. A
Printer Auto Discovery Report appears showing the current date and time the xPrintServer
unit automatically discovered and configured printers and associated downloaded drivers.