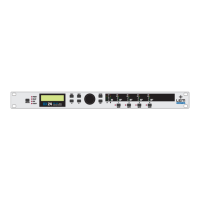
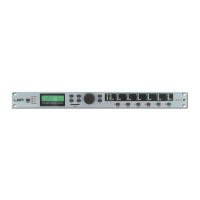
11
Configuration of the System
☞ Refer to the Configurations chapter to find the DX 24 configuration which corresponds with your
sound system (2 x 2 ways; 2 x 2 ways with Mono Sub + Aux Mono; etc.)
☞ Refer to the Connections chapter and,
with the equipment switched off, carry out the audio and power
connections among the various components of your sound system.
☞ Connect the mains cable and switch on
only the DX 24. The display shows data regarding the operat-
ing system release for a few seconds.
LEM DX24
---rel.1.0---
At the same time, the system restores the exact operating conditions at the time of switching off.
N.B.: in actual fact, a “photograph” of the last scene used is uploaded. This includes the last PRESET loaded, all the
temporary changes (if any) made to it and the settings of the various options of the system.
The system then enters default status, showing the main operating information on the display.
A13 B24
2U 2x2W
☞ Set all the DX 24 outputs in MUTE status (LEDs lit) by pressing the relative keys.
☞ Load the Factory PRESET containing the configuration you’ve found:
Press the MODE Key until the PRESET menu LED lights up.
The display shows the Load PRESET page:
Load Preset
3F 2W+MSB+MAX
(example)
Use the DIAL to find the necessary Factory PRESET (indicated by the letter F). Check that if, among
the PRESETS available, there are already some optimized for the specific speaker enclosures being
used.
Press ENTER.
The display shows the PRESET loaded in the unit’s memory and the relative configuration:
A1 B2 S34
3F 2W+MSB+MAX
(example)
Getting Started