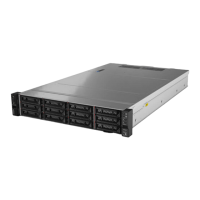
• “Remove the front 2.5-inch drive backplane” on page 53
• “Install the front 2.5-inch drive backplane” on page 54
• “Remove the front 3.5-inch drive backplane” on page 57
• “Install the front 3.5-inch drive backplane” on page 58
Remove the front 2.5-inch drive backplane
Use this information to remove the front 2.5-inch drive backplane.
About this task
Attention:
• Read “Installation Guidelines” on page 25 to ensure that you work safely.
• Power off the server and disconnect all power cords for this task.
• Prevent exposure to static electricity, which might lead to system halt and loss of data, by keeping static-
sensitive components in their static-protective packages until installation, and handling these devices with
an electrostatic-discharge wrist strap or other grounding system.
Procedure
Step 1. Prepare your server.
a. Remove the top cover. See “Remove the top cover” on page 30.
b. Remove the air baffle. See “Remove the air baffle” on page 41.
c. Remove the system fan cage for easier operation. See “Remove a system fan” on page 44.
d. Remove all the installed drives and fillers (if any) from the drive bays. See “Remove a hot-swap
drive” on page 28.
Chapter 4. Hardware replacement procedures 53

 Loading...


