5.Touchthestatic-protectivepackagethatcontainsthenewpowersupplyassemblytoanyunpainted
surfaceontheoutsideoftheserver.Then,removethenewpowersupplyassemblyfromthepackage.
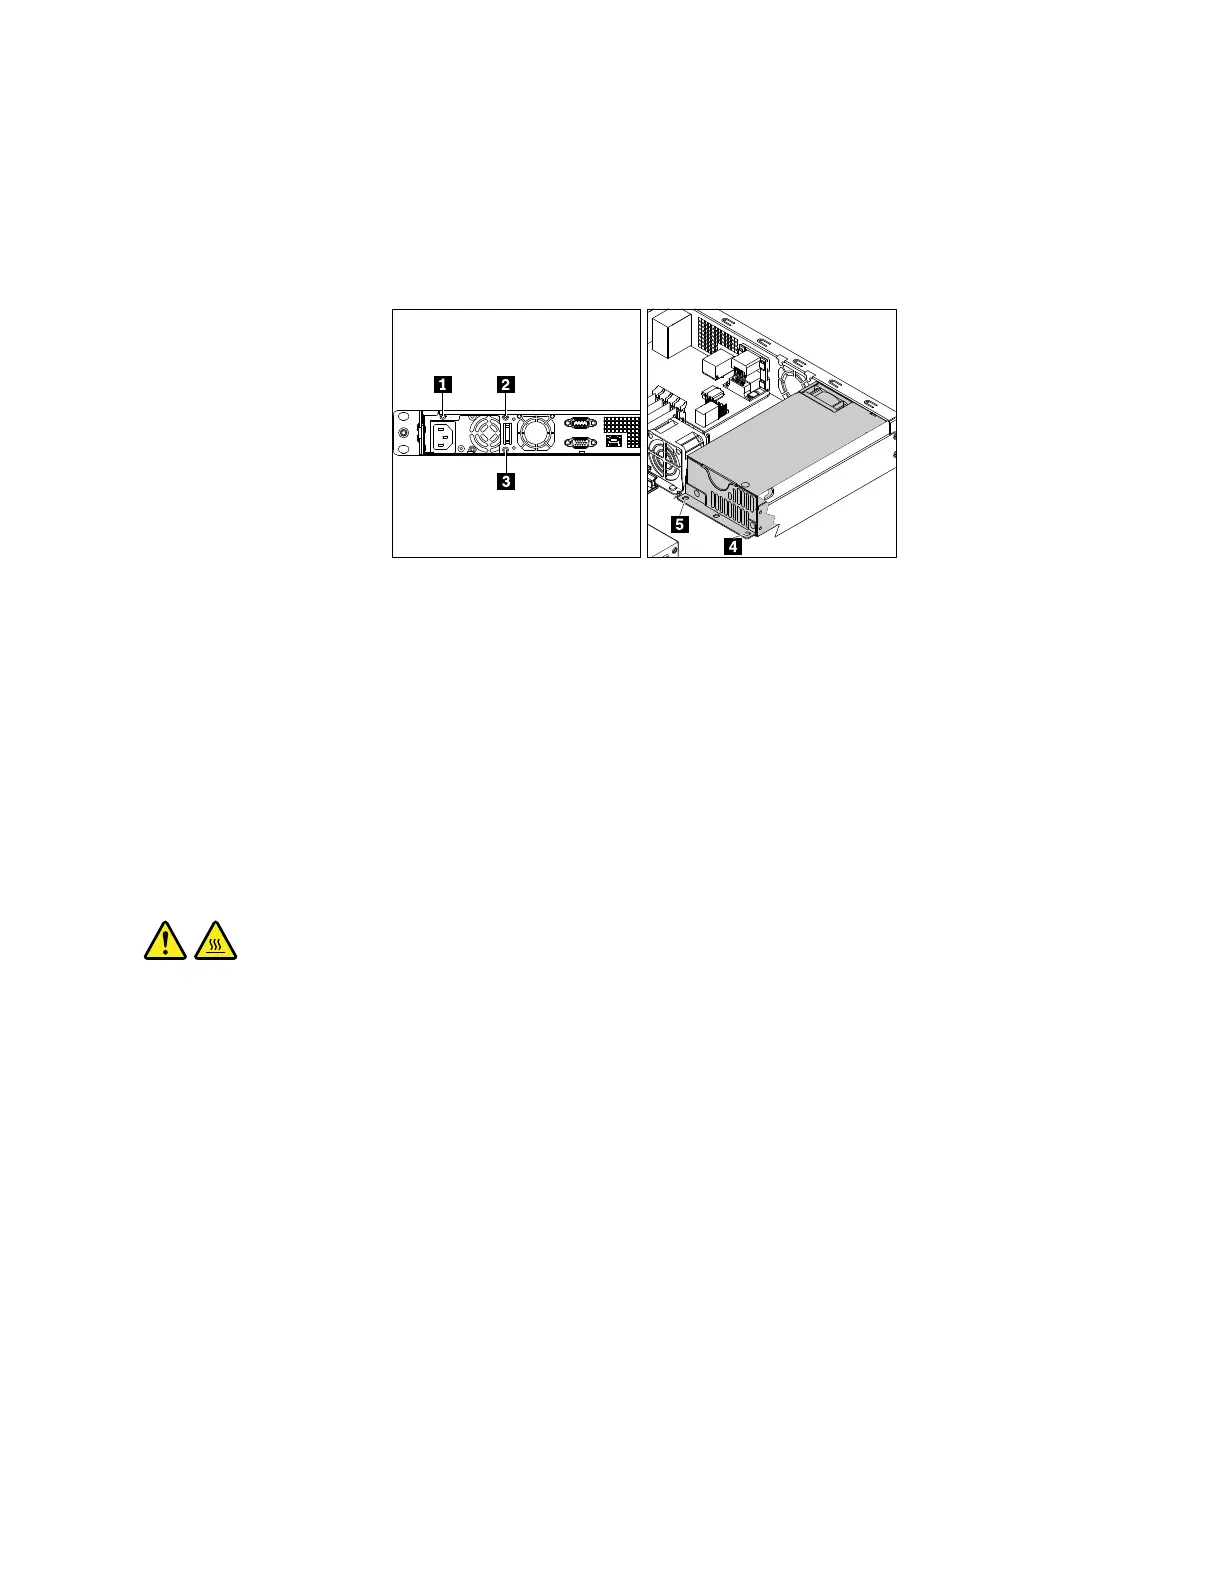
6.Notetheorientationofthenewpowersupplyassemblyandthenpositionitintothechassis.Ensurethat
thefivescrewholesinthenewpowersupplyassemblyarealignedwiththecorrespondingholesinthe
chassis.Then,installthefivescrewstosecurethenewpowersupplyassembly.
Figure72.Installingthescrewstosecurethenewpowersupplyassembly
7.Connectthepowercablestothesystemboardandothercomponents.See“Systemboard
components”onpage25and“Connectingthecables”onpage19.
8.Ifyouareinstructedtoreturntheoldpowersupplyassembly,followallpackaginginstructionsanduse
anypackagingmaterialsthataresuppliedtoyouforshipping.
Tocompletethepartsreplacement,goto“Completingthepartsreplacement”onpage95.
Forservicetechnicianonly:replacingthemicroprocessor
CAUTION:
Theheatsinkandthemicroprocessormightbeveryhot.Turnofftheserverandwaitthreetofive
minutestolettheservercoolbeforeremovingtheservercover.
Notes:
•Ensurethatthenewmicroprocessoristhecorrecttypeyourserversupports.See“Featuresand
specificationsofyourserver”onpage7
.
•Yourmicroprocessor,socket,andsocketcovermightlookslightlydifferentfromtheillustrationsinthis
topic.
Toreplacethemicroprocessor,dothefollowing:
1.Prepareyourserver.See“Preparingyourserverinadvance”onpage47.
2.Removetheairbaffle.See“Removingtheairbaffle”onpage50.
3.Removetheheatsink.See“Removingtheheatsink”onpage52.
Chapter5.Replacinghardware89
 Loading...


