4.UsetheSetupUtilityprogramtosetthedate,time,andanypasswords.See“UsingtheSetupUtility
program”onpage29
.
Frontpanelboard
•“Removingthefrontpanelboard”onpage84
•“Installingthefrontpanelboard”onpage84
Removingthefrontpanelboard
Note:ThefrontpanelboardissensitivetoESD.Ensurethatyoureadandunderstand“Handling
static-sensitivedevices”onpage46firstandcarefullyperformtheoperation.
Toremovethefrontpanelboard,dothefollowing:
1.Prepareyourserver.See“Preparingyourserverinadvance”onpage47.
2.Locatethefrontpanelboard.See“Servercomponents”onpage16.
3.Ifnecessary,removetheHDDsbehindthefrontpanelboard.See“Removinga2.5-inchharddiskdrive”
onpage72
and“Removinga3.5-inchharddiskdrive”onpage75.
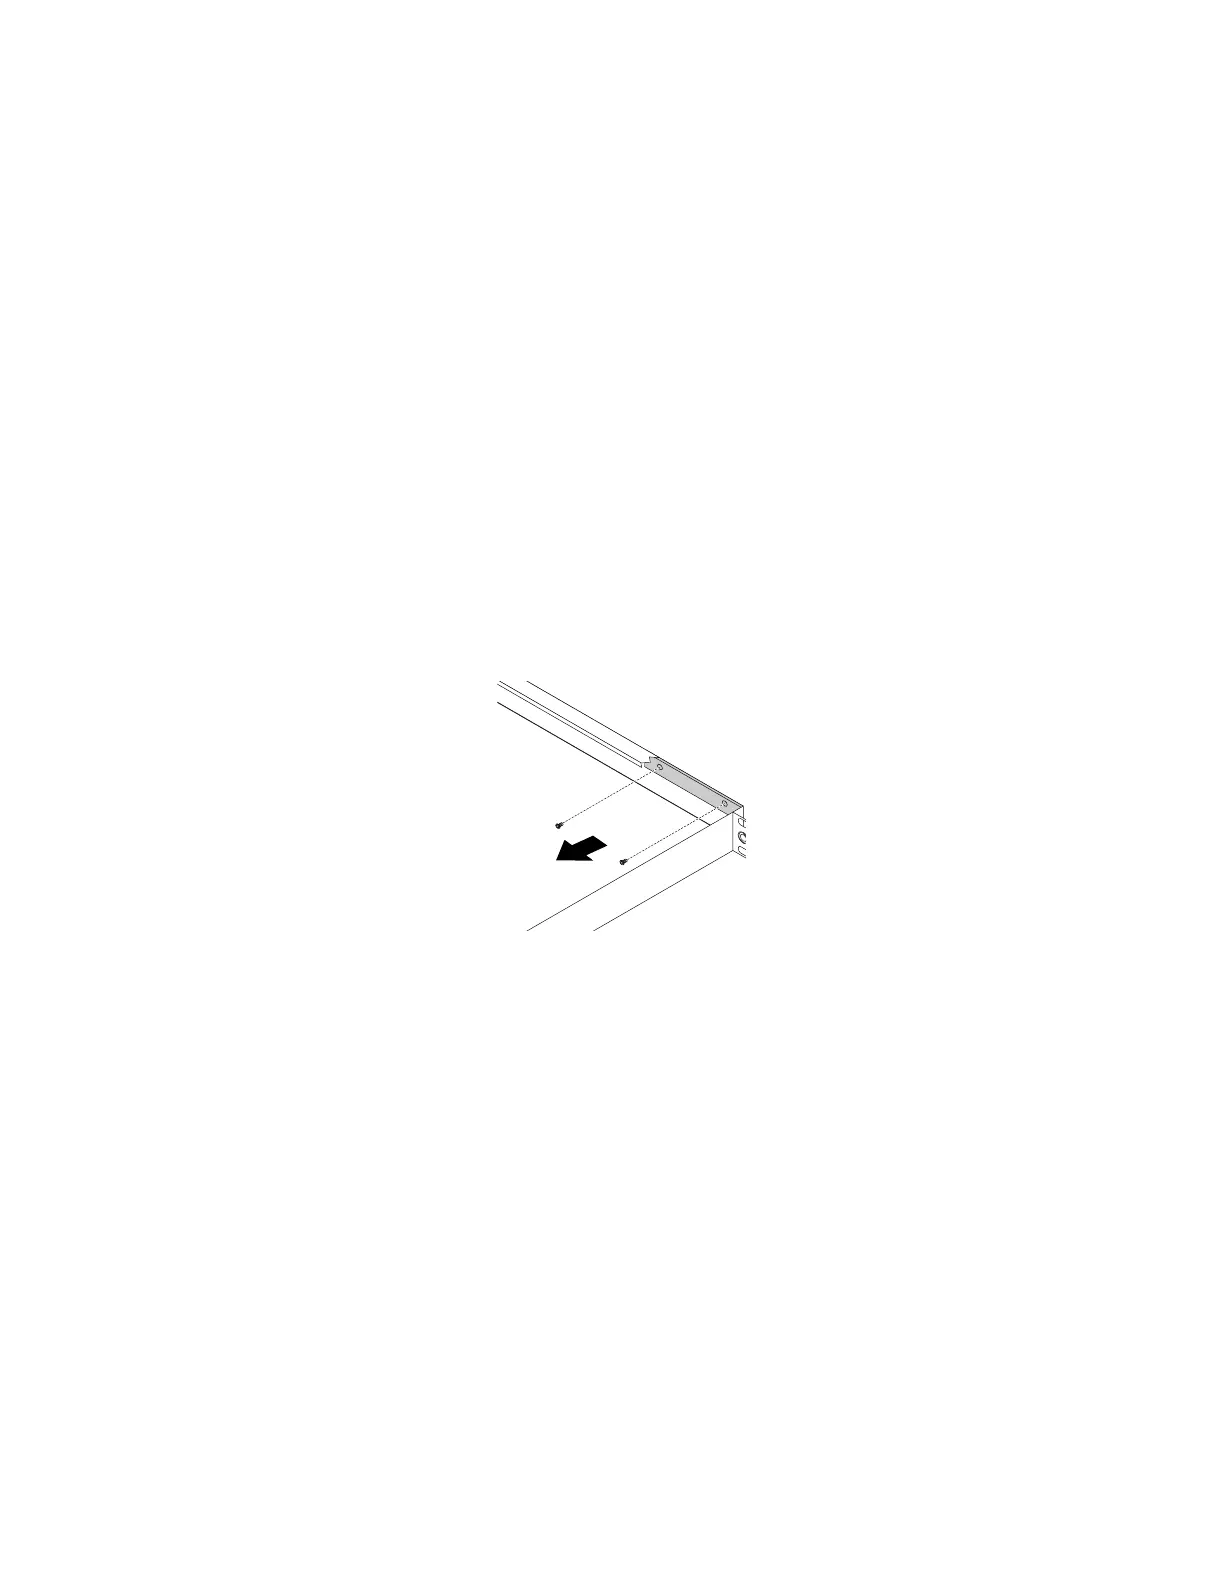
4.Removethetwoscrewsthatsecurethefrontpanelboard.Then,carefullyremovethefrontpanel
boardfromthechassis.
Figure65.Removingthefrontpanelboard
5.Recordthecableroutingandcableconnections.Then,disconnectallthecablesfromthefrontpanel
board.
6.Ifyouareinstructedtoreturntheoldfrontpanelboard,followallpackaginginstructionsanduseany
packagingmaterialsthataresuppliedtoyouforshipping.
Installingthefrontpanelboard
Note:ThefrontpanelboardissensitivetoESD.Ensurethatyoureadandunderstand“Handling
static-sensitivedevices”onpage46firstandcarefullyperformtheoperation.
Toinstallthefrontpanelboard,dothefollowing:
1.Touchthestatic-protectivepackagethatcontainsthenewfrontpanelboardtoanyunpaintedsurface
ontheoutsideoftheserver.Then,takethenewfrontpanelboardoutofthepackage.
Note:Carefullyhandlethefrontpanelboardbyitsedges.
2.Connectallthecablestothenewfrontpanelboard.
84ThinkServerRS160UserGuideandHardwareMaintenanceManual
 Loading...


