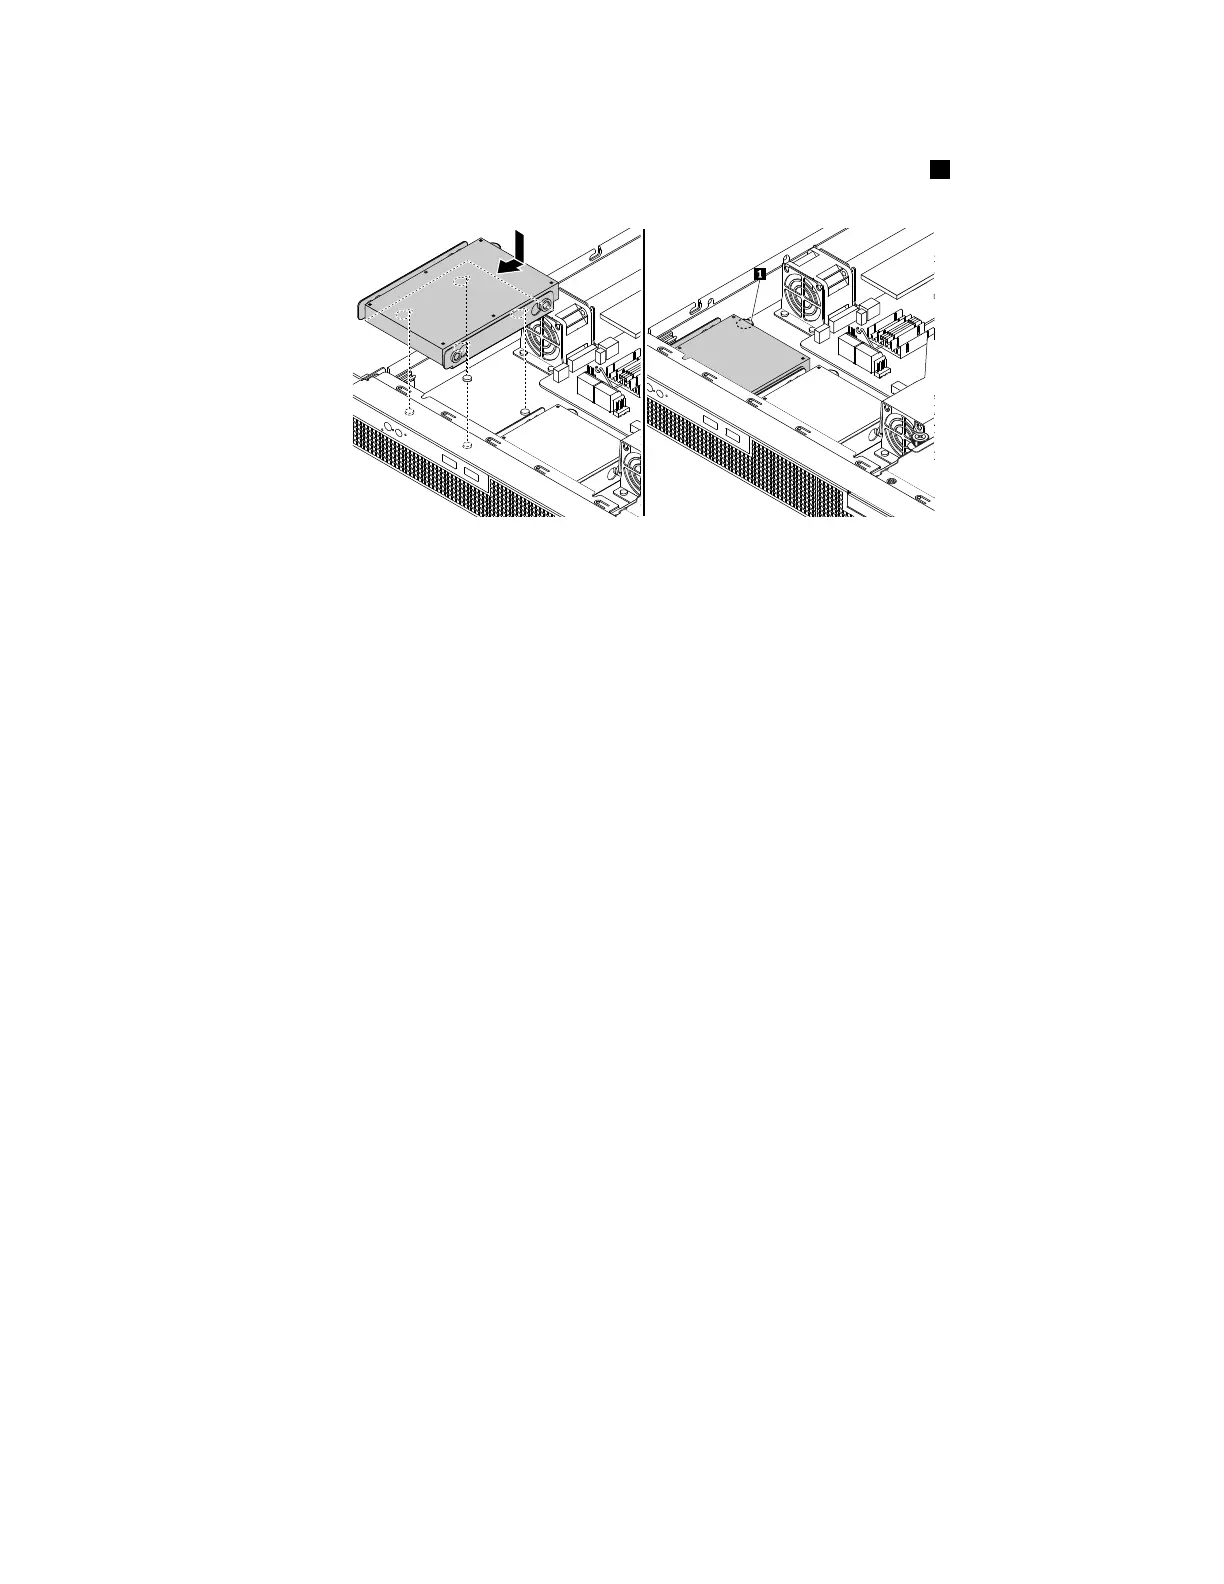
6.Alignthefourslotsinthebracketwiththemountingstudsonthechassis.Positionthe2.5-inchHDDand
itsbracketintotheserver.Then,slidethedrivetothefrontoftheserveruntilthepin
1snapsintoplace.
Figure53.Installingthe2.5-inchHDDanditsbracket
7.Connectthecablesforthe2.5-inchHDD.See“Connectingthecables”onpage19.
8.Reinstalltheslim-optical-drivebracketifyouhaveremovedit.See“Installingtheslim-optical-drive
bracket”onpage71
.
Tocompletethepartsreplacement,goto“Completingthepartsreplacement”onpage95.
Harddiskdrive(3.5-inch)
•“Removinga3.5-inchharddiskdrive”onpage75
•“Installinga3.5-inchharddiskdrive”onpage76
Beforeyoubegin,reviewthefollowingharddiskdrive(HDD)installationrules:
•FollowtheorderoftheHDDbayswheninstallinganHDD.
•ForRAIDconfiguration,theHDDsmustbethesametypewiththesamecapacityiftheyarewithinasingle
RAIDarray.Formoreinformation,see“ConfiguringRAID”onpage38.
•ForHDDswithdifferentcapacities,installtheHDDbyfollowingtheorderoftheHDDbaysaswellasthe
orderfromthelowestcapacitytothehighestcapacity.
Removinga3.5-inchharddiskdrive
Toremovea3.5-inchHDD,dothefollowing:
1.Prepareyourserver.See“Preparingyourserverinadvance”onpage47.
2.Locatetheappropriate3.5-inchHDDthatyouwanttoremove.Ifyouwanttoremovethe3.5-inchHDD
thatisinstalledundertheslim-optical-drivebracket,removetheslim-optical-drivebracketfirst.See
“Removingtheslim-optical-drivebracket”onpage70
3.Disconnectthecablesfromthe3.5-inchHDDthatyouwanttoremove.
Chapter5.Replacinghardware75
 Loading...


