Accessing jam areas
When a jam occurs, a message indicating the jam location appears on the display. Open doors and covers and remove
trays to access jam locations. To resolve any paper jam message, you must clear all jammed paper from the paper
path and then press .
Jam number Jam location What to do
200–201 In the printer Open the front door, remove the photoconductor unit, and
then remove any jams.
202 In the printer Open the front door and top cover, and then remove any
jams.
203 In the printer or standard exit
bin
Open the front door and top cover, and then remove any
jams.
230 In the printer Remove Tray 1, open the front door, and then remove any
jams.
24x In the paper trays Open each tray, and then remove any jams.
250 In the multipurpose feeder
1 Remove all media from the multipurpose feeder.
2 Flex and stack the media.
3 Reload the multipurpose feeder.
4 Adjust the paper guide.
200–201 paper jams
CAUTION—HOT SURFACE: The inside of the printer might be hot. To reduce the risk of injury from a hot
component, allow the surface to cool before touching.
1 Open the front door.
Warning—Potential Damage: To avoid overexposing the photoconductors, do not leave the front door open
longer than 10 minutes.
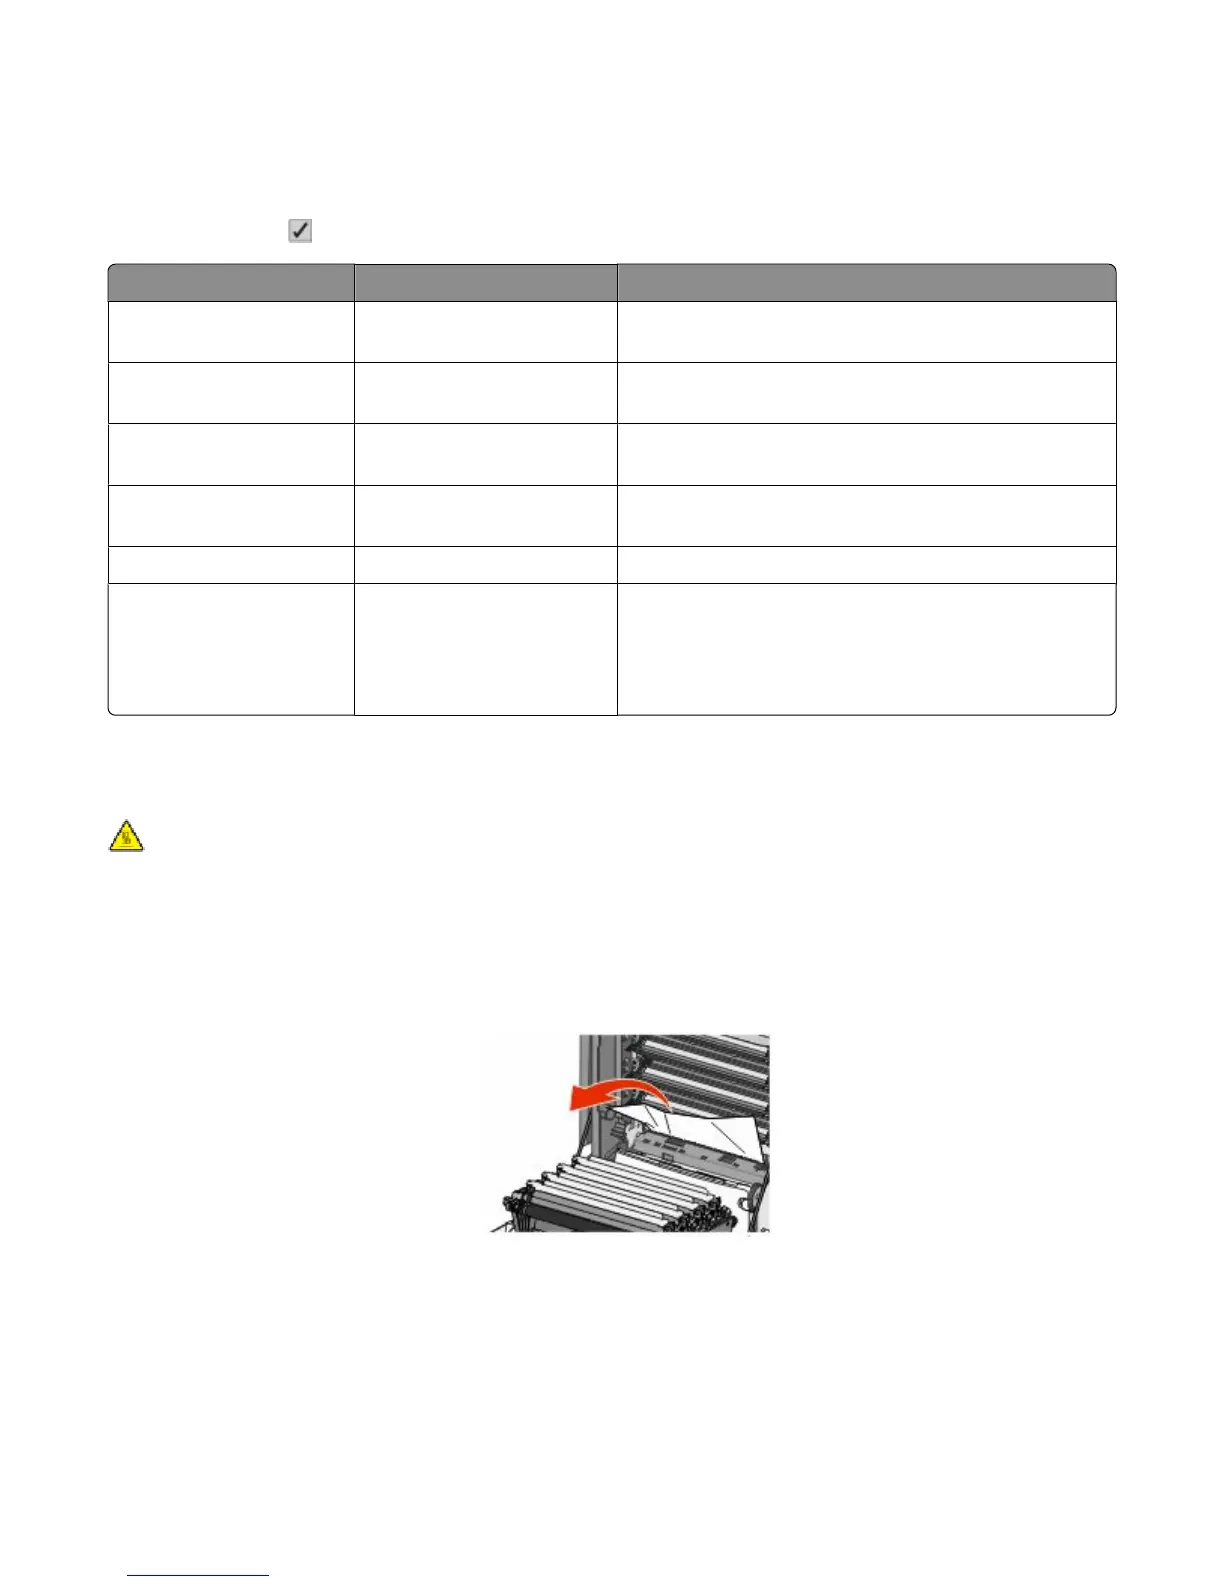
2 If the jam is behind the toner cartridge area, pull the jammed paper up and out.
Note: Make sure all paper fragments are removed.
Clearing jams
152