3 Remove the protective plug from the EXT port of the printer.
FAX
4 Connect a second telephone cord from the telephone to the computer modem.
5 Connect a third telephone cord from the computer modem to the EXT port of the printer.
FAX
Setting the outgoing fax name and number
1 Make sure the printer is on and Select Function appears.
2 From the printer control panel, press System.
3 Press or repeatedly until Admin Menu appears, and then press OK.
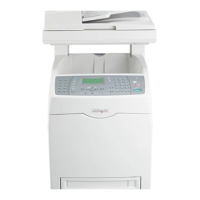
Learning about the printer
27