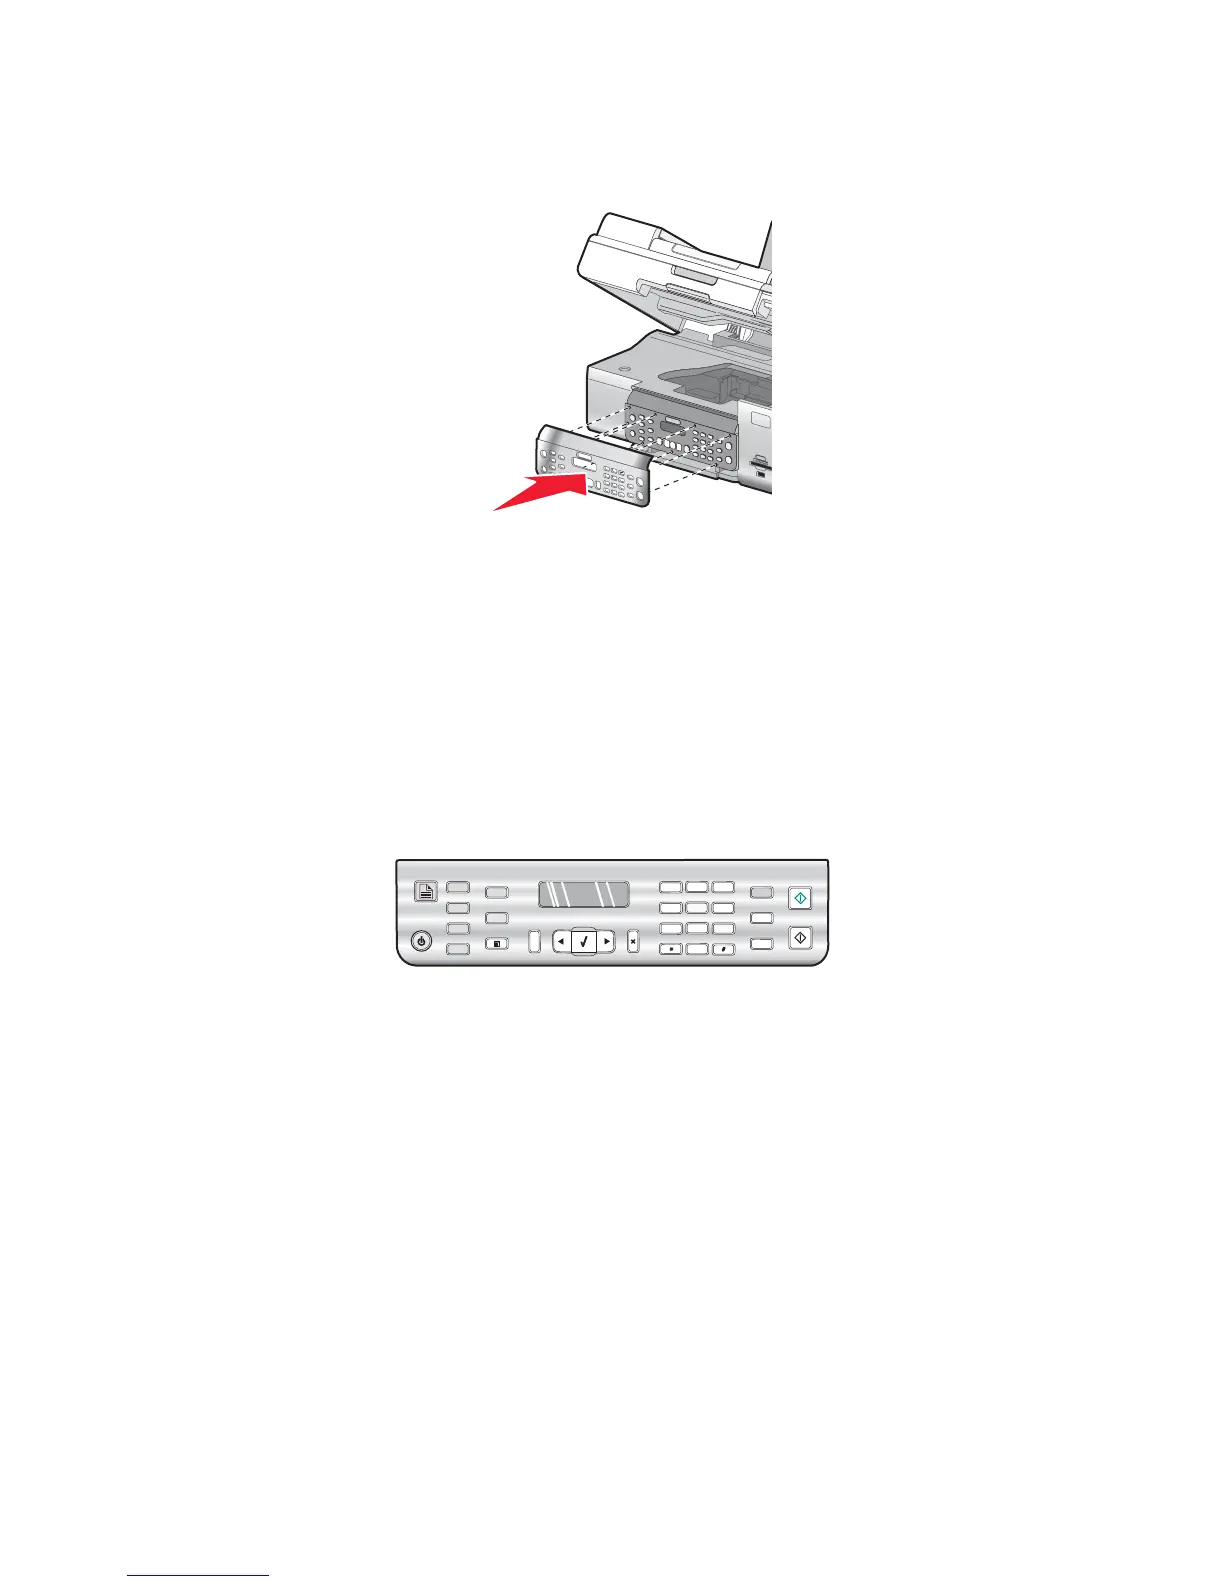
4 Align the tabs on the control panel with the holes on the printer. The control panel is at an angle.
5 Lower the control panel slightly at its front. Press the control panel down until it snaps into place.
Related topics:
• “Using the control panel” on page 109
• “Understanding the parts of the printer” on page 106
Using the control panel buttons and menus
Using the control panel
The control panel contains:
• Power on/off button
• Two-line display to show the printer status, messages, and menu items
• 30 buttons
1
2
3
4
6
7
9
0
5
8
A
The following diagrams explain the sections of the control panel:
Understanding the printer
109