38
EVOS
®
FL and EVOS
®
FL Color User Guide
4.
Move the light cube selection lever to the position you want to use for the new
cube.
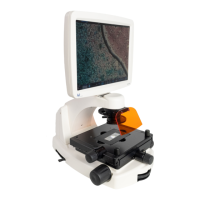
5. Use the light cube tool to loosen the 2 slotted screws, as shown in Figure 36,
below.
Figure 36 Loosen slotted screws with tool
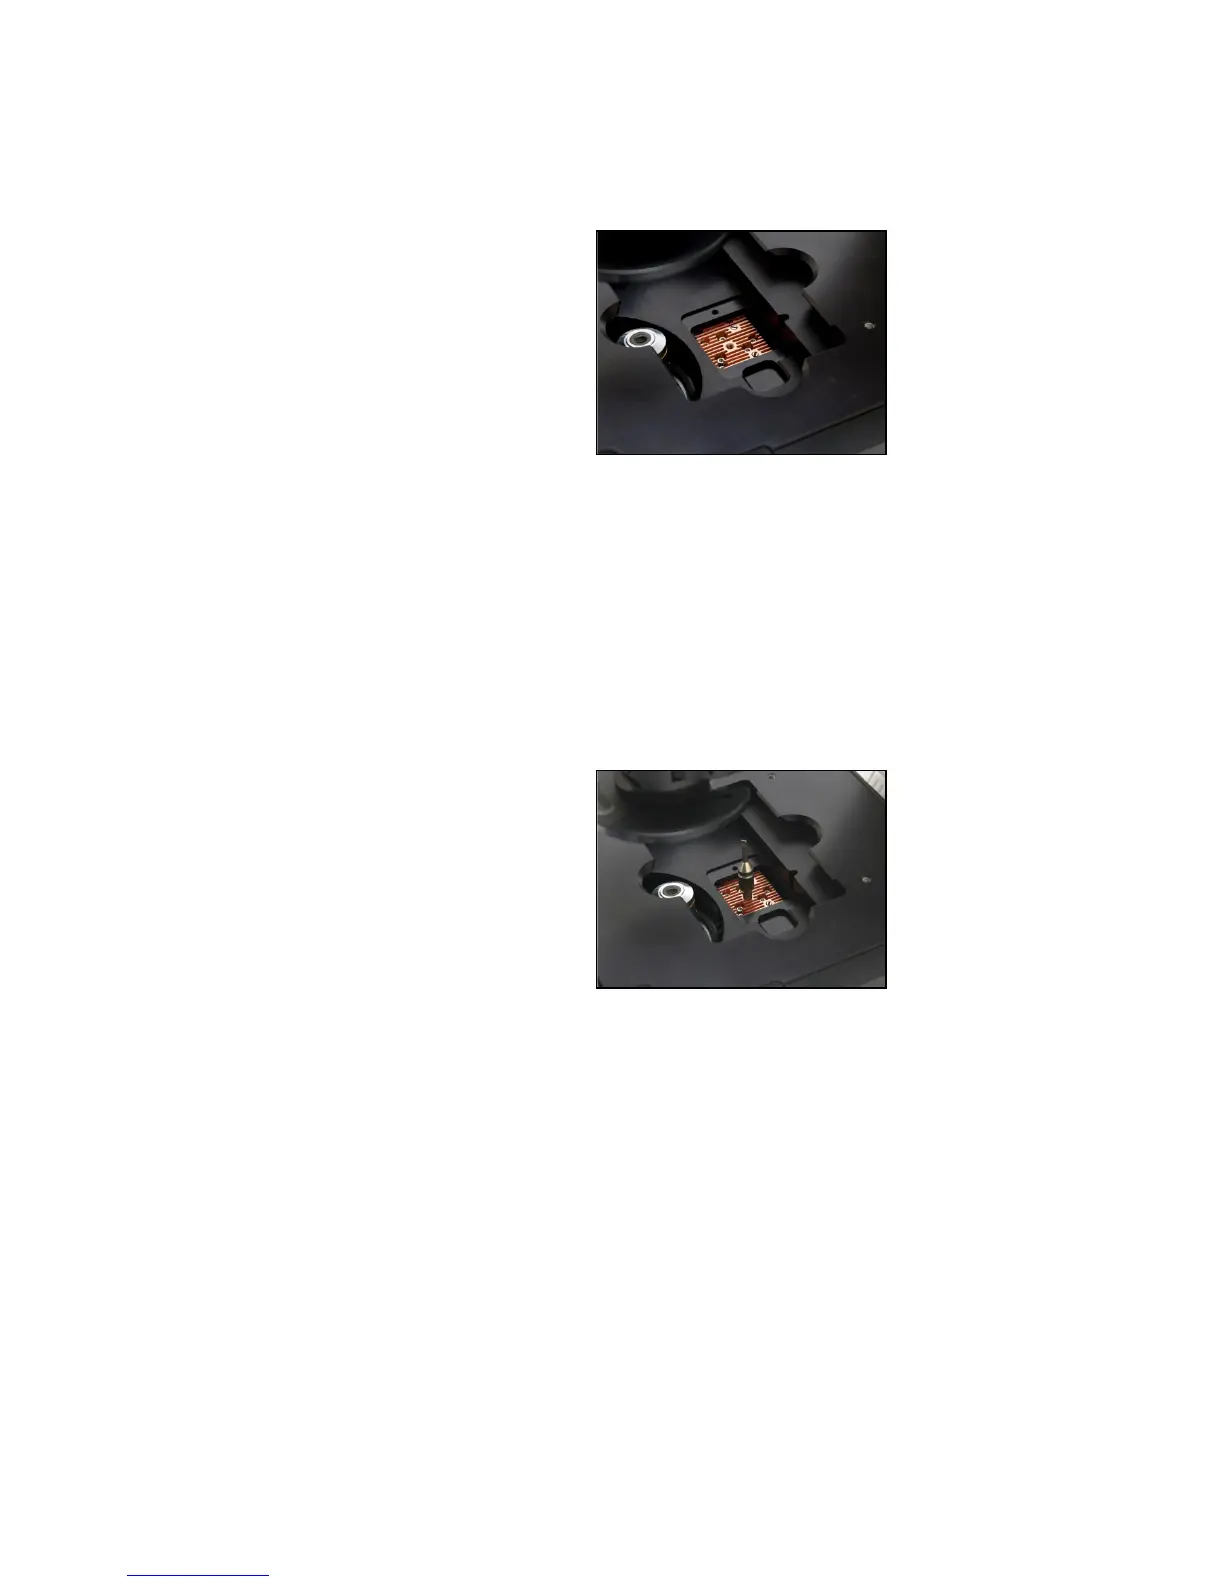
6.
Screw the threaded end of the light cube tool into the hole in the center of the
light cube as shown in Figure 37, below.
7.
Use the tool to tilt the light cube slightly toward you and lift out gently, then
remove tool from cube.
8. Attach the tool to the new light cube and then lower the cube into position so
that the electronic connection aligns properly (facing the back of the
instrument) and the cube sits squarely in place.
9. Use the light cube tool to gently tighten the 2 slotted screws so that the screw
heads sit flush with the ridges on the light cube. (Figure 37)
Figure 37 Light cube tool attached to light cube
10. Slide the tool into its storage slot.
11. Replace the light cube access cover and ensure the thumbscrew is tightened.
12. Turn the power switch to the “|” (ON) position.