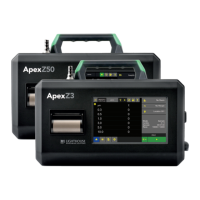
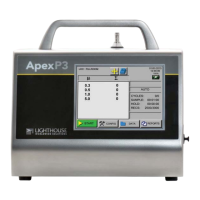
Operate the ApexPortable
248083440-1 Rev 5 5-7
Note: Also see Figure 5-
54 for more information on
Locations.
• The blue highlight indicates which location is currently selected.
• Use the UP and DOWN arrows to highlight a location. The arrows
will move pages up and down. Press on the location name desired
to select the location. A location that has been assigned to a recipe
will display an asterisk at the end of its name.
• When a highlighted location uses a specific recipe, it will be
prompted to load when the MAIN button is pressed.
• The AUTO INC button, when active, pauses the
ApexPortable to
allow the user to move the ApexPortable to the next location when
the current cycle is completed. It waits for the user to ackowledge
the change by pressing the Start button to continue counting at the
new location.
• Press the MAIN button to return to the MAIN screen. Whichever
location that was highlighted / selected will be the location
displayed on the MAIN screen.
Locations in AUTO Mode
When the instrument is in Automatic Mode and the START button is
pressed, the instrument will start counting particles automatically based
on the SAMPLE time, HOLD time and number of cycles that are
configured.
Zoomed Data View
There are two different Zoom views. The user can view a single
column of data (differential or cumulative) in a larger font or view both
differential and cumulative data on the same screen in a smaller font.
While the ApexPortable is stopped, tap anywhere in the Particle Data
area to display the Zoomed Data View. See Figure 5-7.
Figure 5-7 Zoomed Data View
 Loading...