Livescribe
™
Desktop for Windows User Guide 41
5 Using Custom Notebooks
You can create Custom Notebooks in Livescribe Desktop to organize and better manage your pages.
A Custom Notebook is similar to a music playlist, or a digital photo album, but instead of pointing to
user-selected songs or pictures, it points (links) to user-selected pages in their source notebooks.
Currently, Custom Notebooks does not make copies of pages from source notebooks.
In a Custom Notebook, you can add pages from any notebook, and drag them to arrange them in any
order. Pages in a Custom Notebook work like other notebook pages. For example, you can view,
zoom, search, and print pages.
Creating Custom Notebook
To create a Custom Notebook:
1. Choose File > Custom Notebooks... > Create. Or, click the Create new Custom Notebook link
under Custom Notebooks in the Library tab.
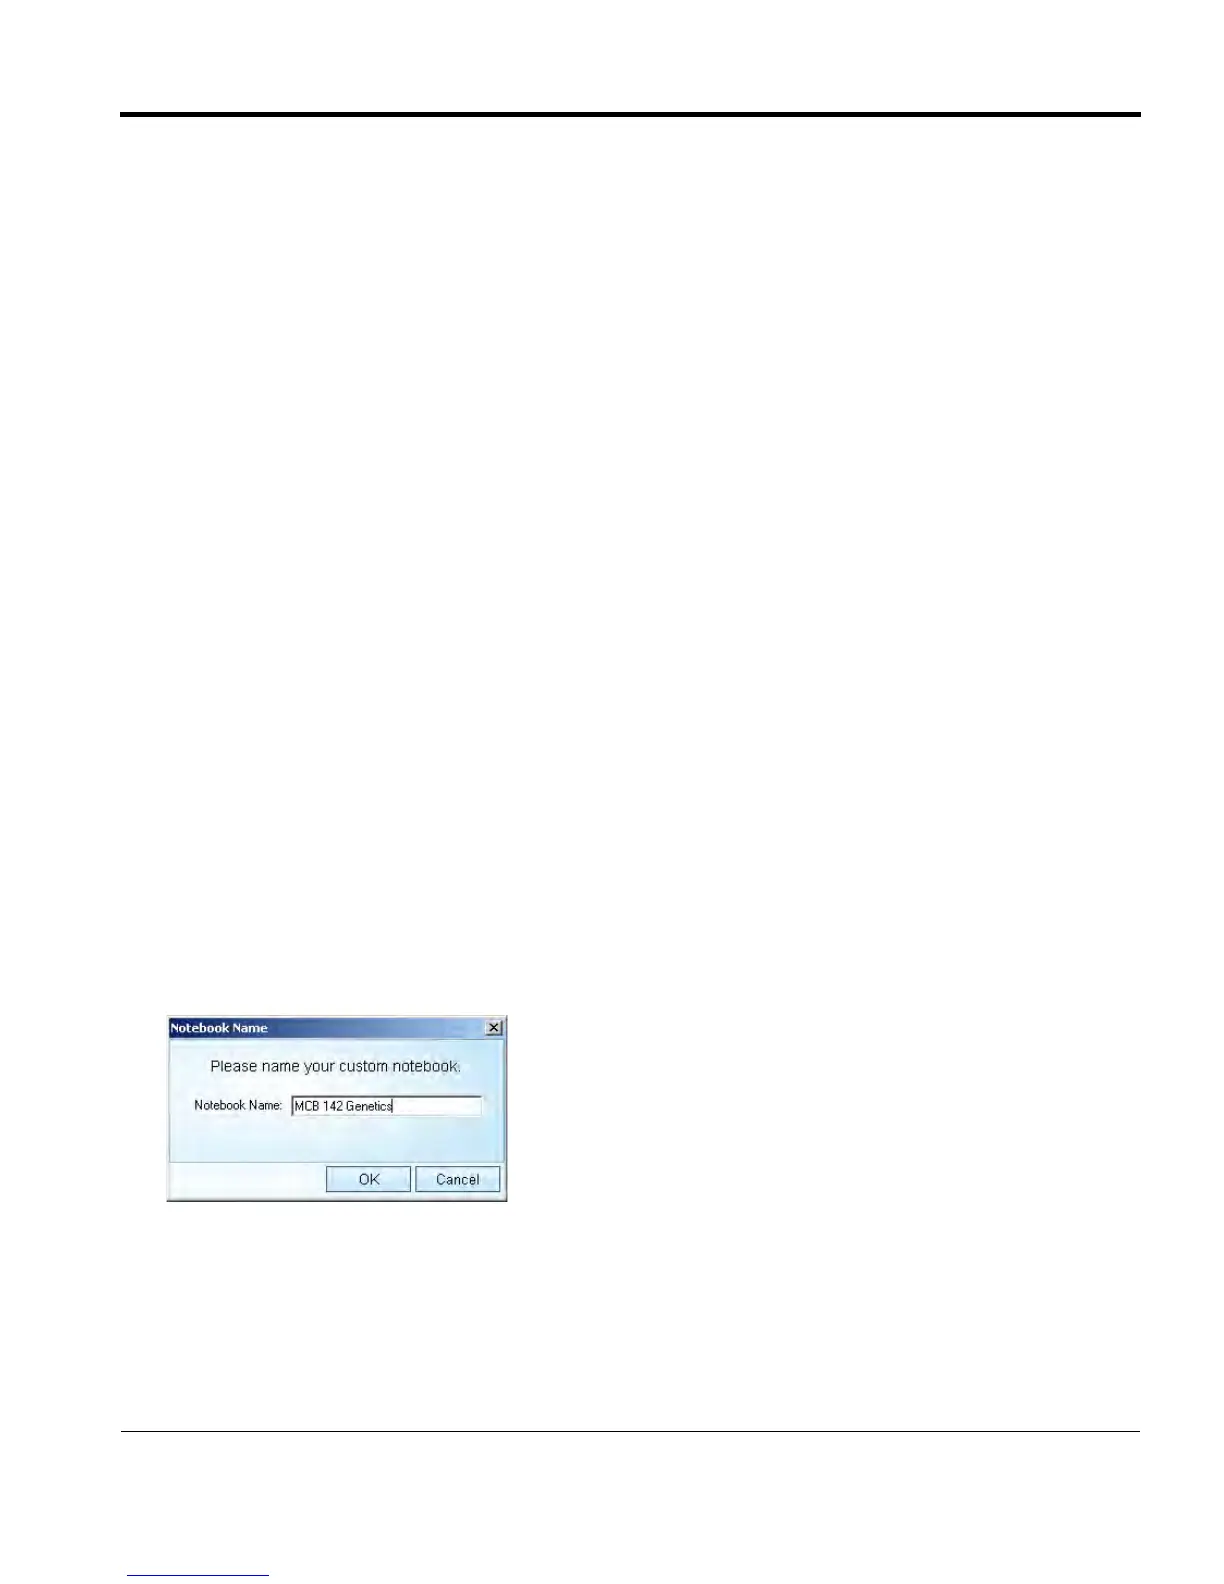
2. In the Notebook Name dialog, type in a name for the new notebook.
3. Click OK. Livescribe Desktop creates and opens the new notebook and places it in the Library tab
under the heading Custom Notebooks.
 Loading...