Livescribe
™
Desktop for Windows User Guide 58
Sharing Content Using Livescribe Online
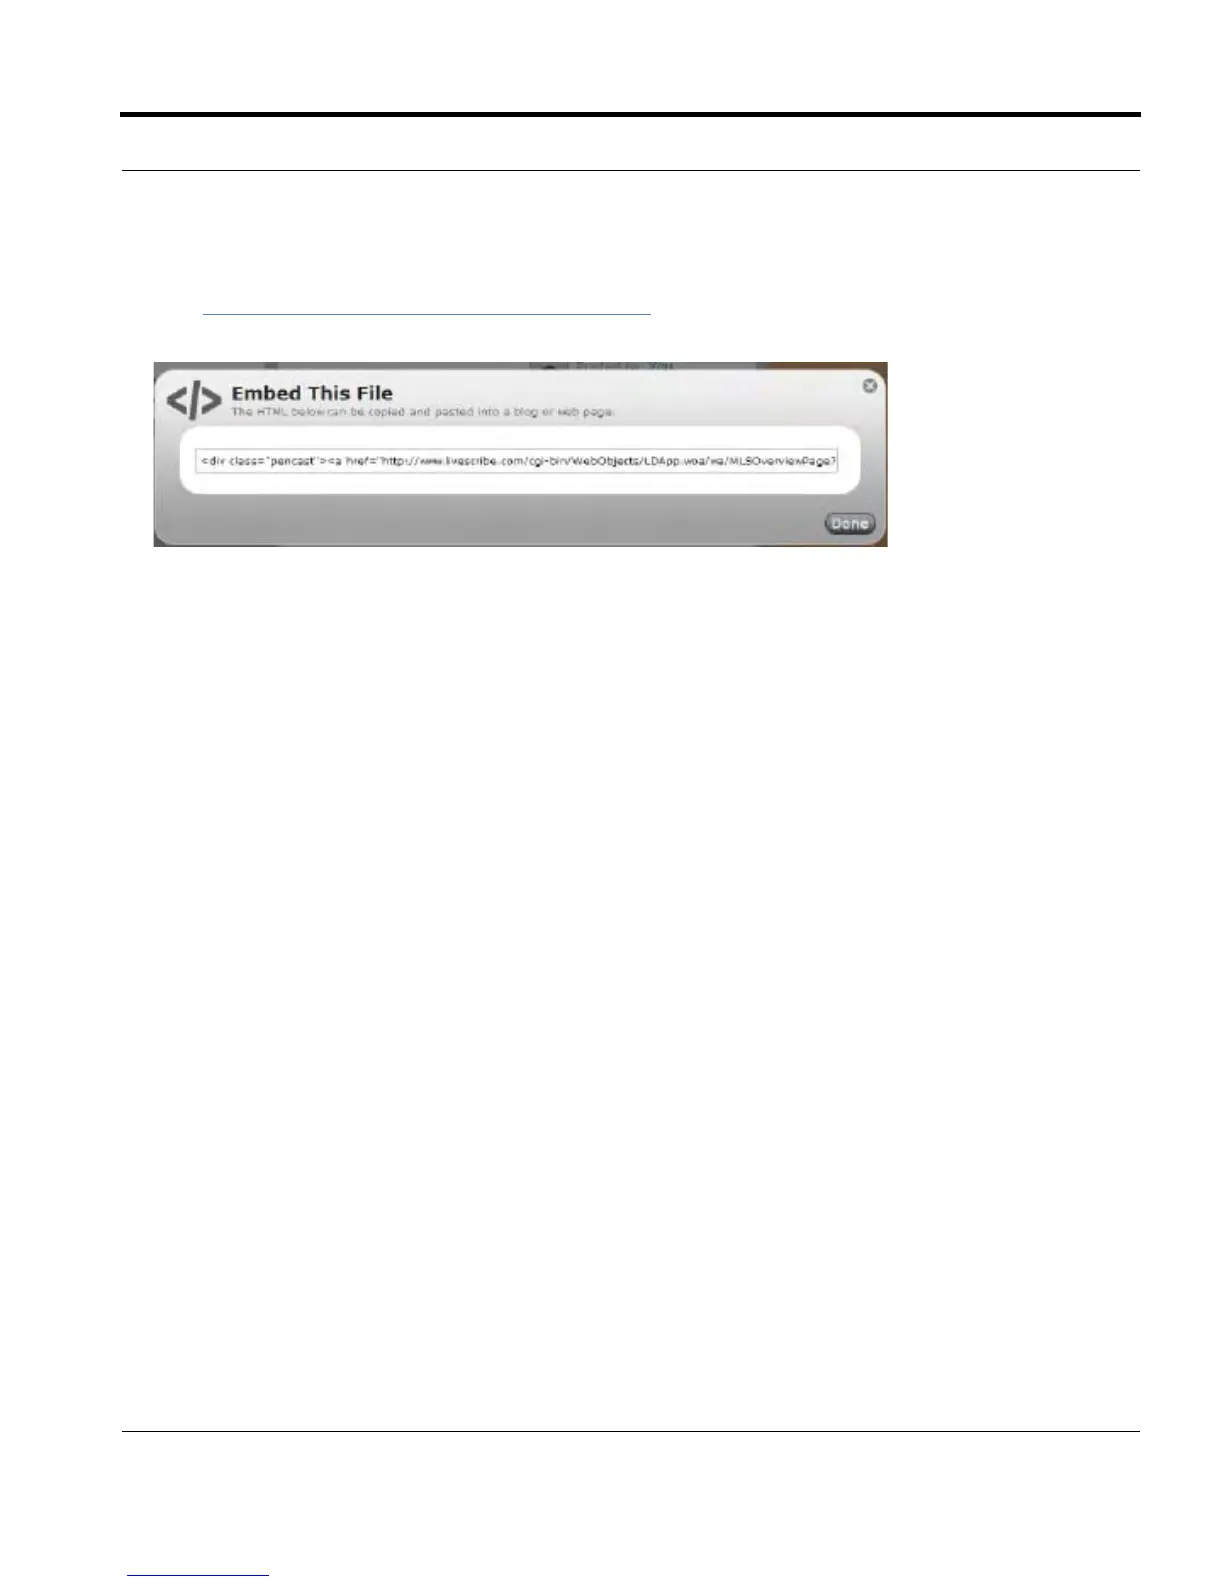
2. Click the Embed this file link. If the file is on your myLivescribe page and private, make it public
(see Making Content Public or Private
on page 58).
3. In the Embed this file dialog, highlight the HTML code and copy it to the clipboard.
4. Open your HTML editor for your website, forum, or blog.
5. Access the HTML edit area and click in the edit field. Make sure you are in HTML edit mode, not
Text composition mode.
6. Paste the text.
7. Preview the posting in your HTML editor.
8. If the pencast displays and plays back properly, publish the file.
9. Click Done to close the Embed this file dialog.
Making Content Public or Private
Make your uploaded content public to allow others to access it without an invitation. When a file is
public, visitors can view the file without logging in.
I
MPORTANT: When you upload your Livescribe™ smartpen content to your myLivescribe space,
Livescribe makes the content private by default. Making a file public allows anyone to
access the file. Livescribe recommends that you not make any of your confidential files
public.