4D-Nucleofector™ Manual – Bioscience Solutions 31
2.13 PC Editor Software
The PC Editor is a PC-compatible version of the 4D-Nucleofector™
User Interface. It can be used to dene experiments on the PC and
then transfer them to the 4D-Nucleofector™ System via USB stick.
This chapter describes the installation of the 4D-Nucleofector™ PC
Editor as well as the transfer of experiment les from your PC to the
4D-Nucleofector™ System.
It is not required to run an installation routine to install the
4D-Nucleofector™ PC Editor on your PC. Just follow the steps below to
copy the software onto your hard disk drive:
– Insert 4D-Nucleofector™ user information USB stick into the USB
port of your PC
– Copy all les from the 4D-Nucleofector™ PC Editor software folder to
your hard disk – preferably into a folder called 4D-Nucleofector™
PC Editor
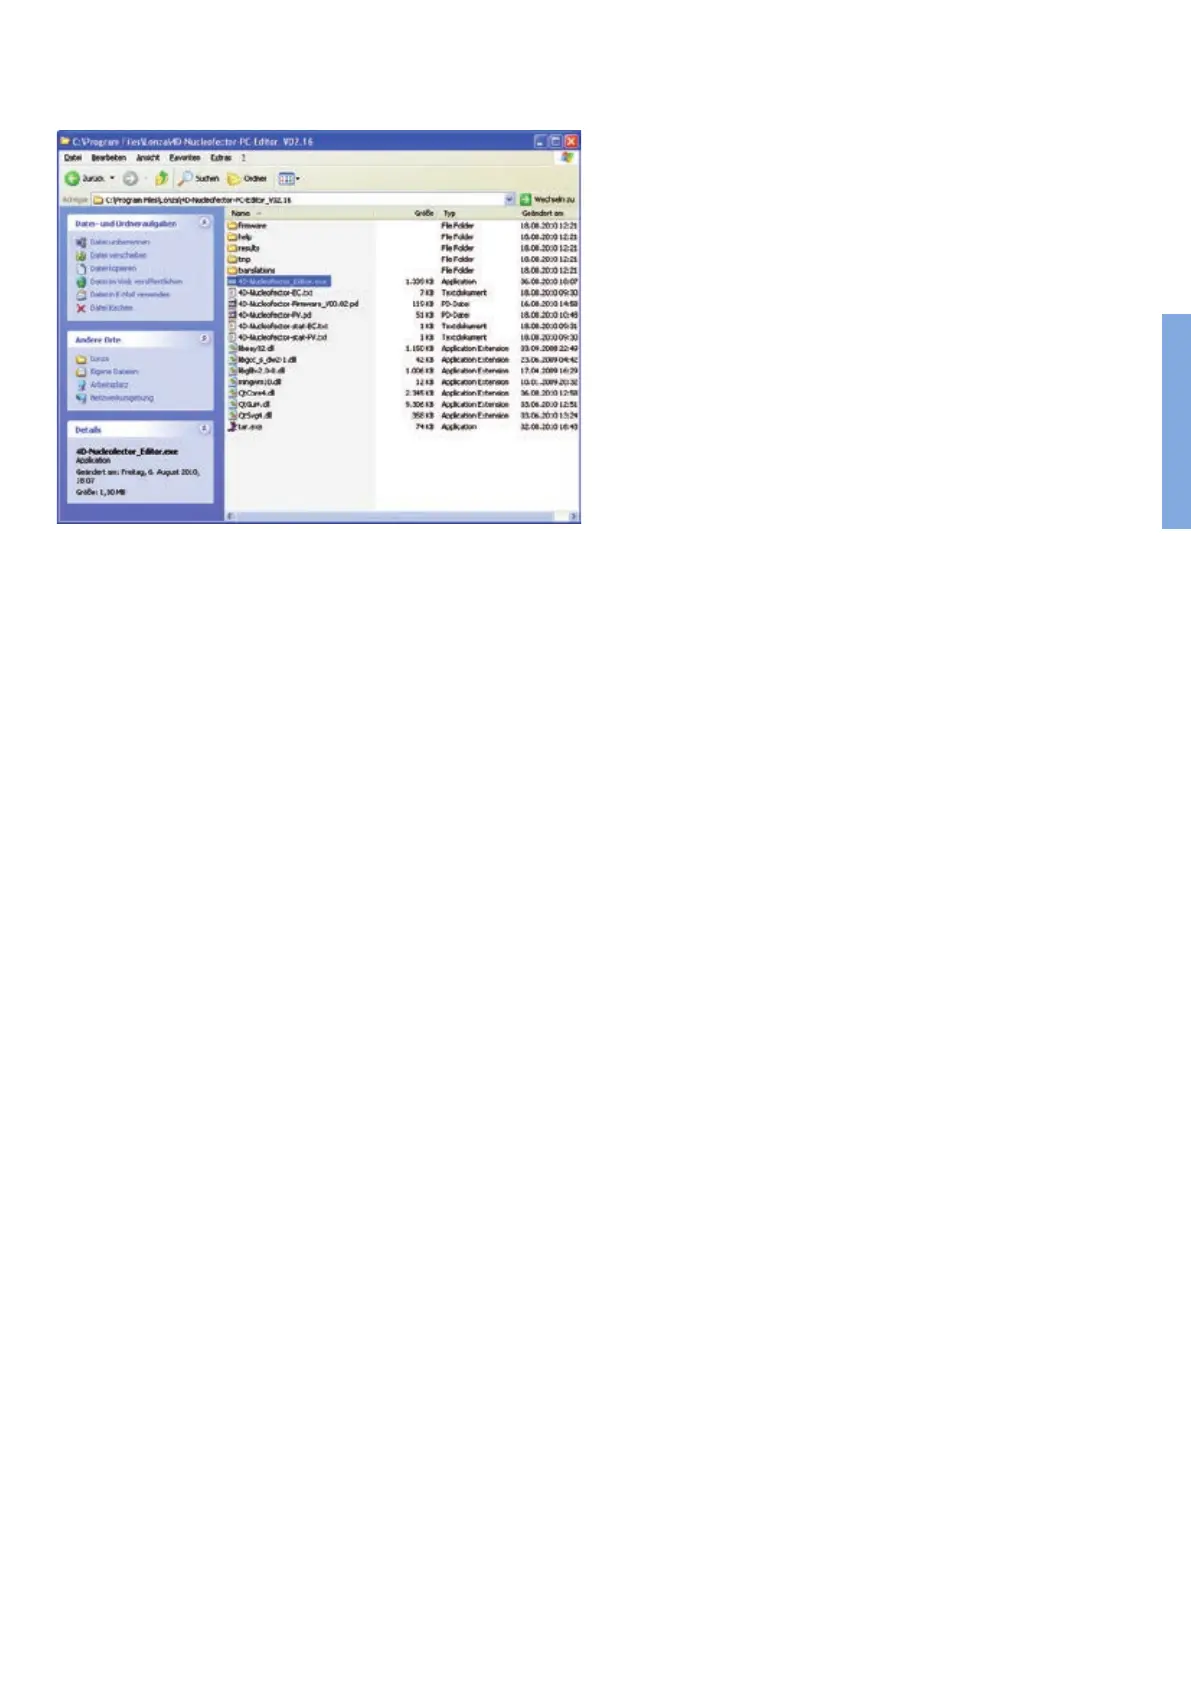
– Open the folder, search the le called “4D-Nucleofector_Editor” and
double click on it to start the software (highlighted in gure 2.28)
– A window will appear displaying the graphical user interface of the
4D-Nucleofector™ PC Editor. Functionality of the PC Editor matches
with the operation of the 4D-Nucleofector™ Software
– Use the PC Editor to set-up experiments as described in the
4D-Nucleofector™ Manual
– To transfer experiments edited with the PC Editor please follow
instruction given in the next paragraph
Figure 2.28: Files comprising the 4D-Nucleofector™ PC Editor
2