2.2. RECOMMENDED PRINT SETTINGS
Figure 2.7: Custom Support Settings Location
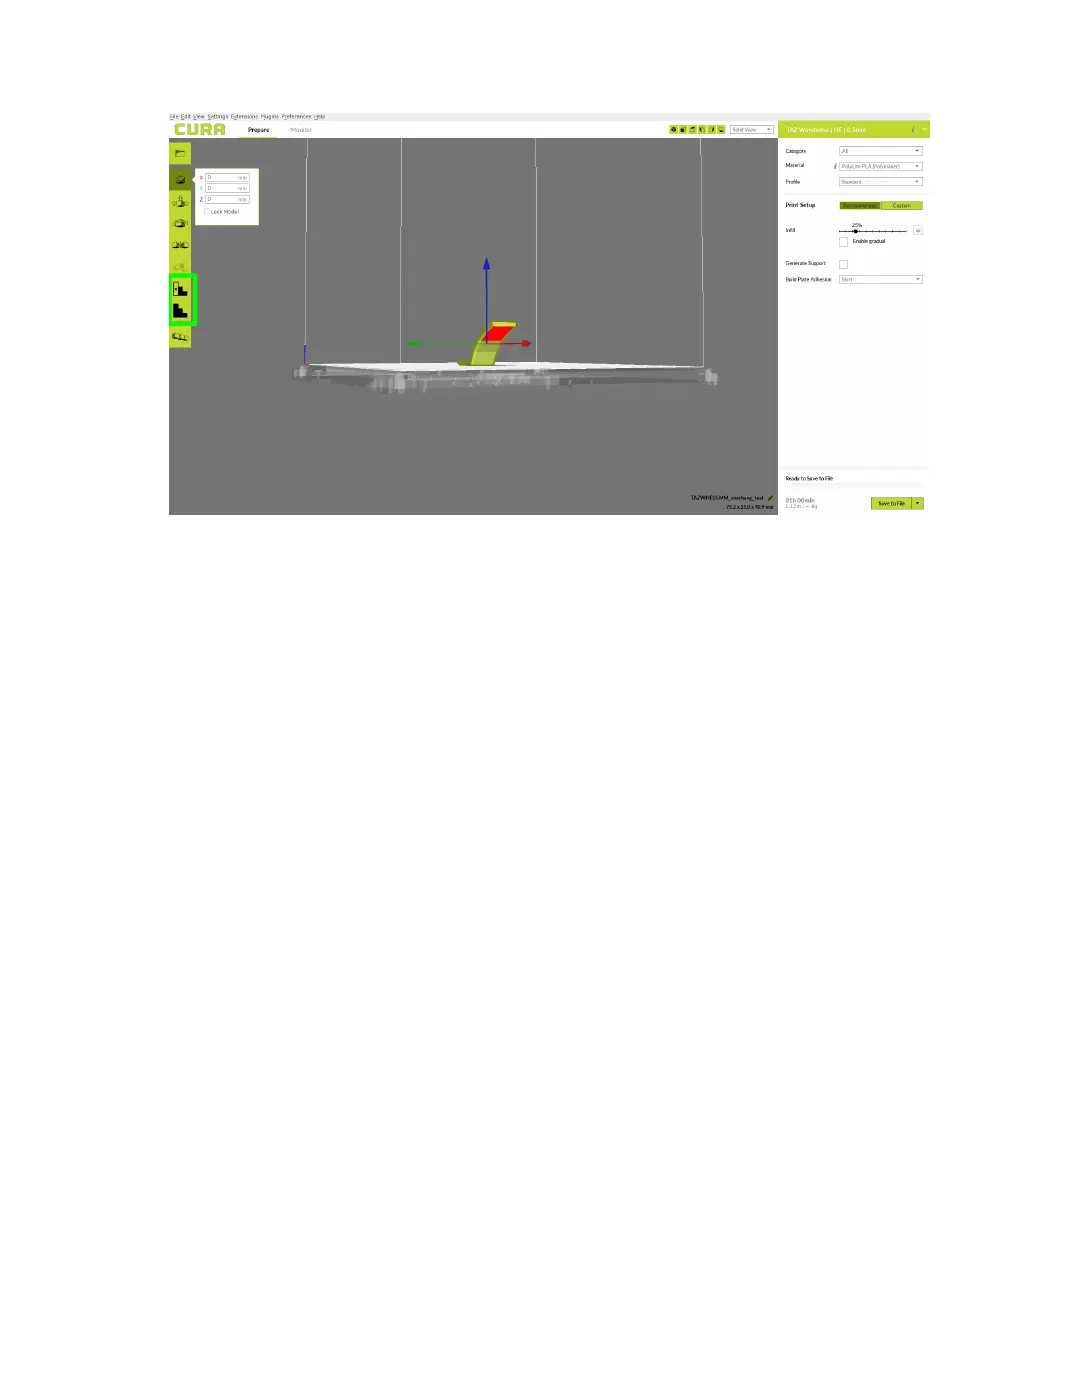
After selecting your model and choosing your custom support option,
you can now left click on areas of the model to place blocks. These
blocks will either generate support in just that area, or prevent automatic
support from being generated in that area depending on the choosen
option. This action can also be performed by right clicking the object,
and selecting which extruder you would like to print it. Please note that
when working with the custom supports the blocks that are created won’t
extend all the way down to the build platform. This is normal, as long as
you see the visible block connected to your model then the support was
placed. You can check layer view before printing to ensure proper support
generation/blocking.
Multiply Object
In the very lower left hand corner, there will be an easy button to
multiply objects. Select your model, select the multiply object button, and
determine the number of copies you would like. These will be automatically
arranged on the build plate if they t, and can be moved after the automatic
placement. This action can also be performed by right clicking the object,
and selecting multiply object.
25